DIYables DIYables STEM V3, Fully Compatible with Arduino Uno R3
 Click to zoom
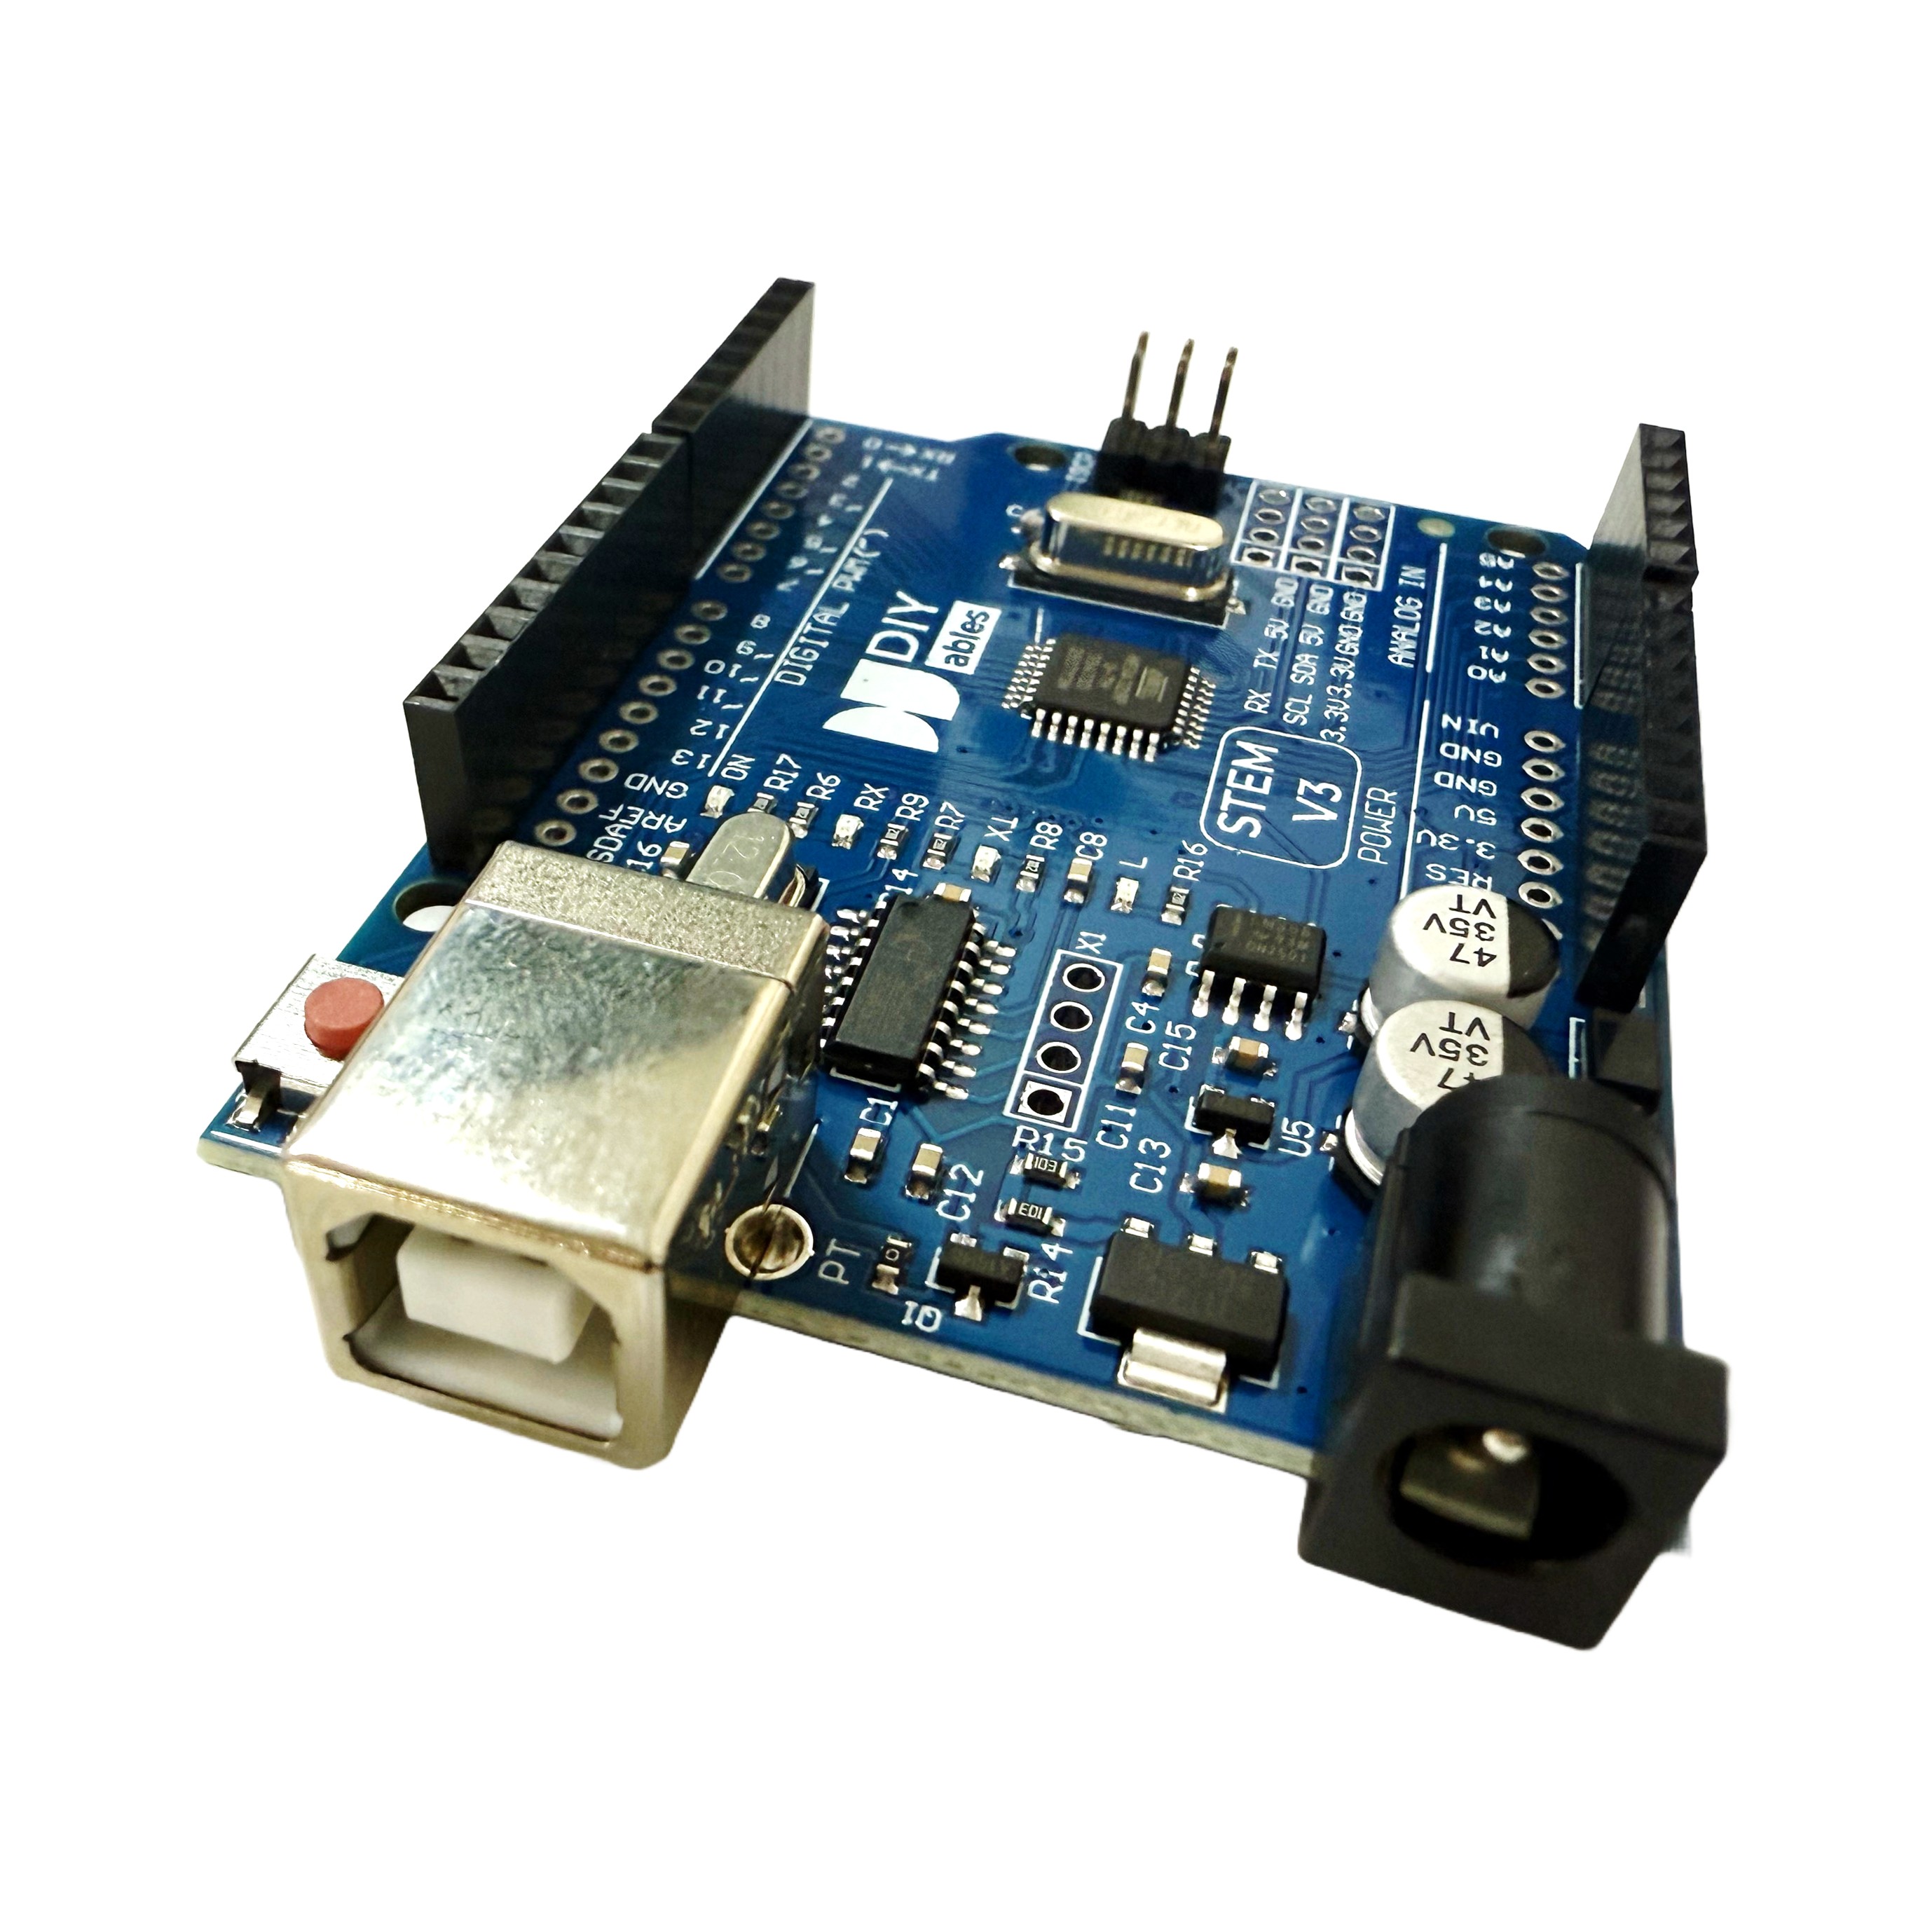

Quick Overview
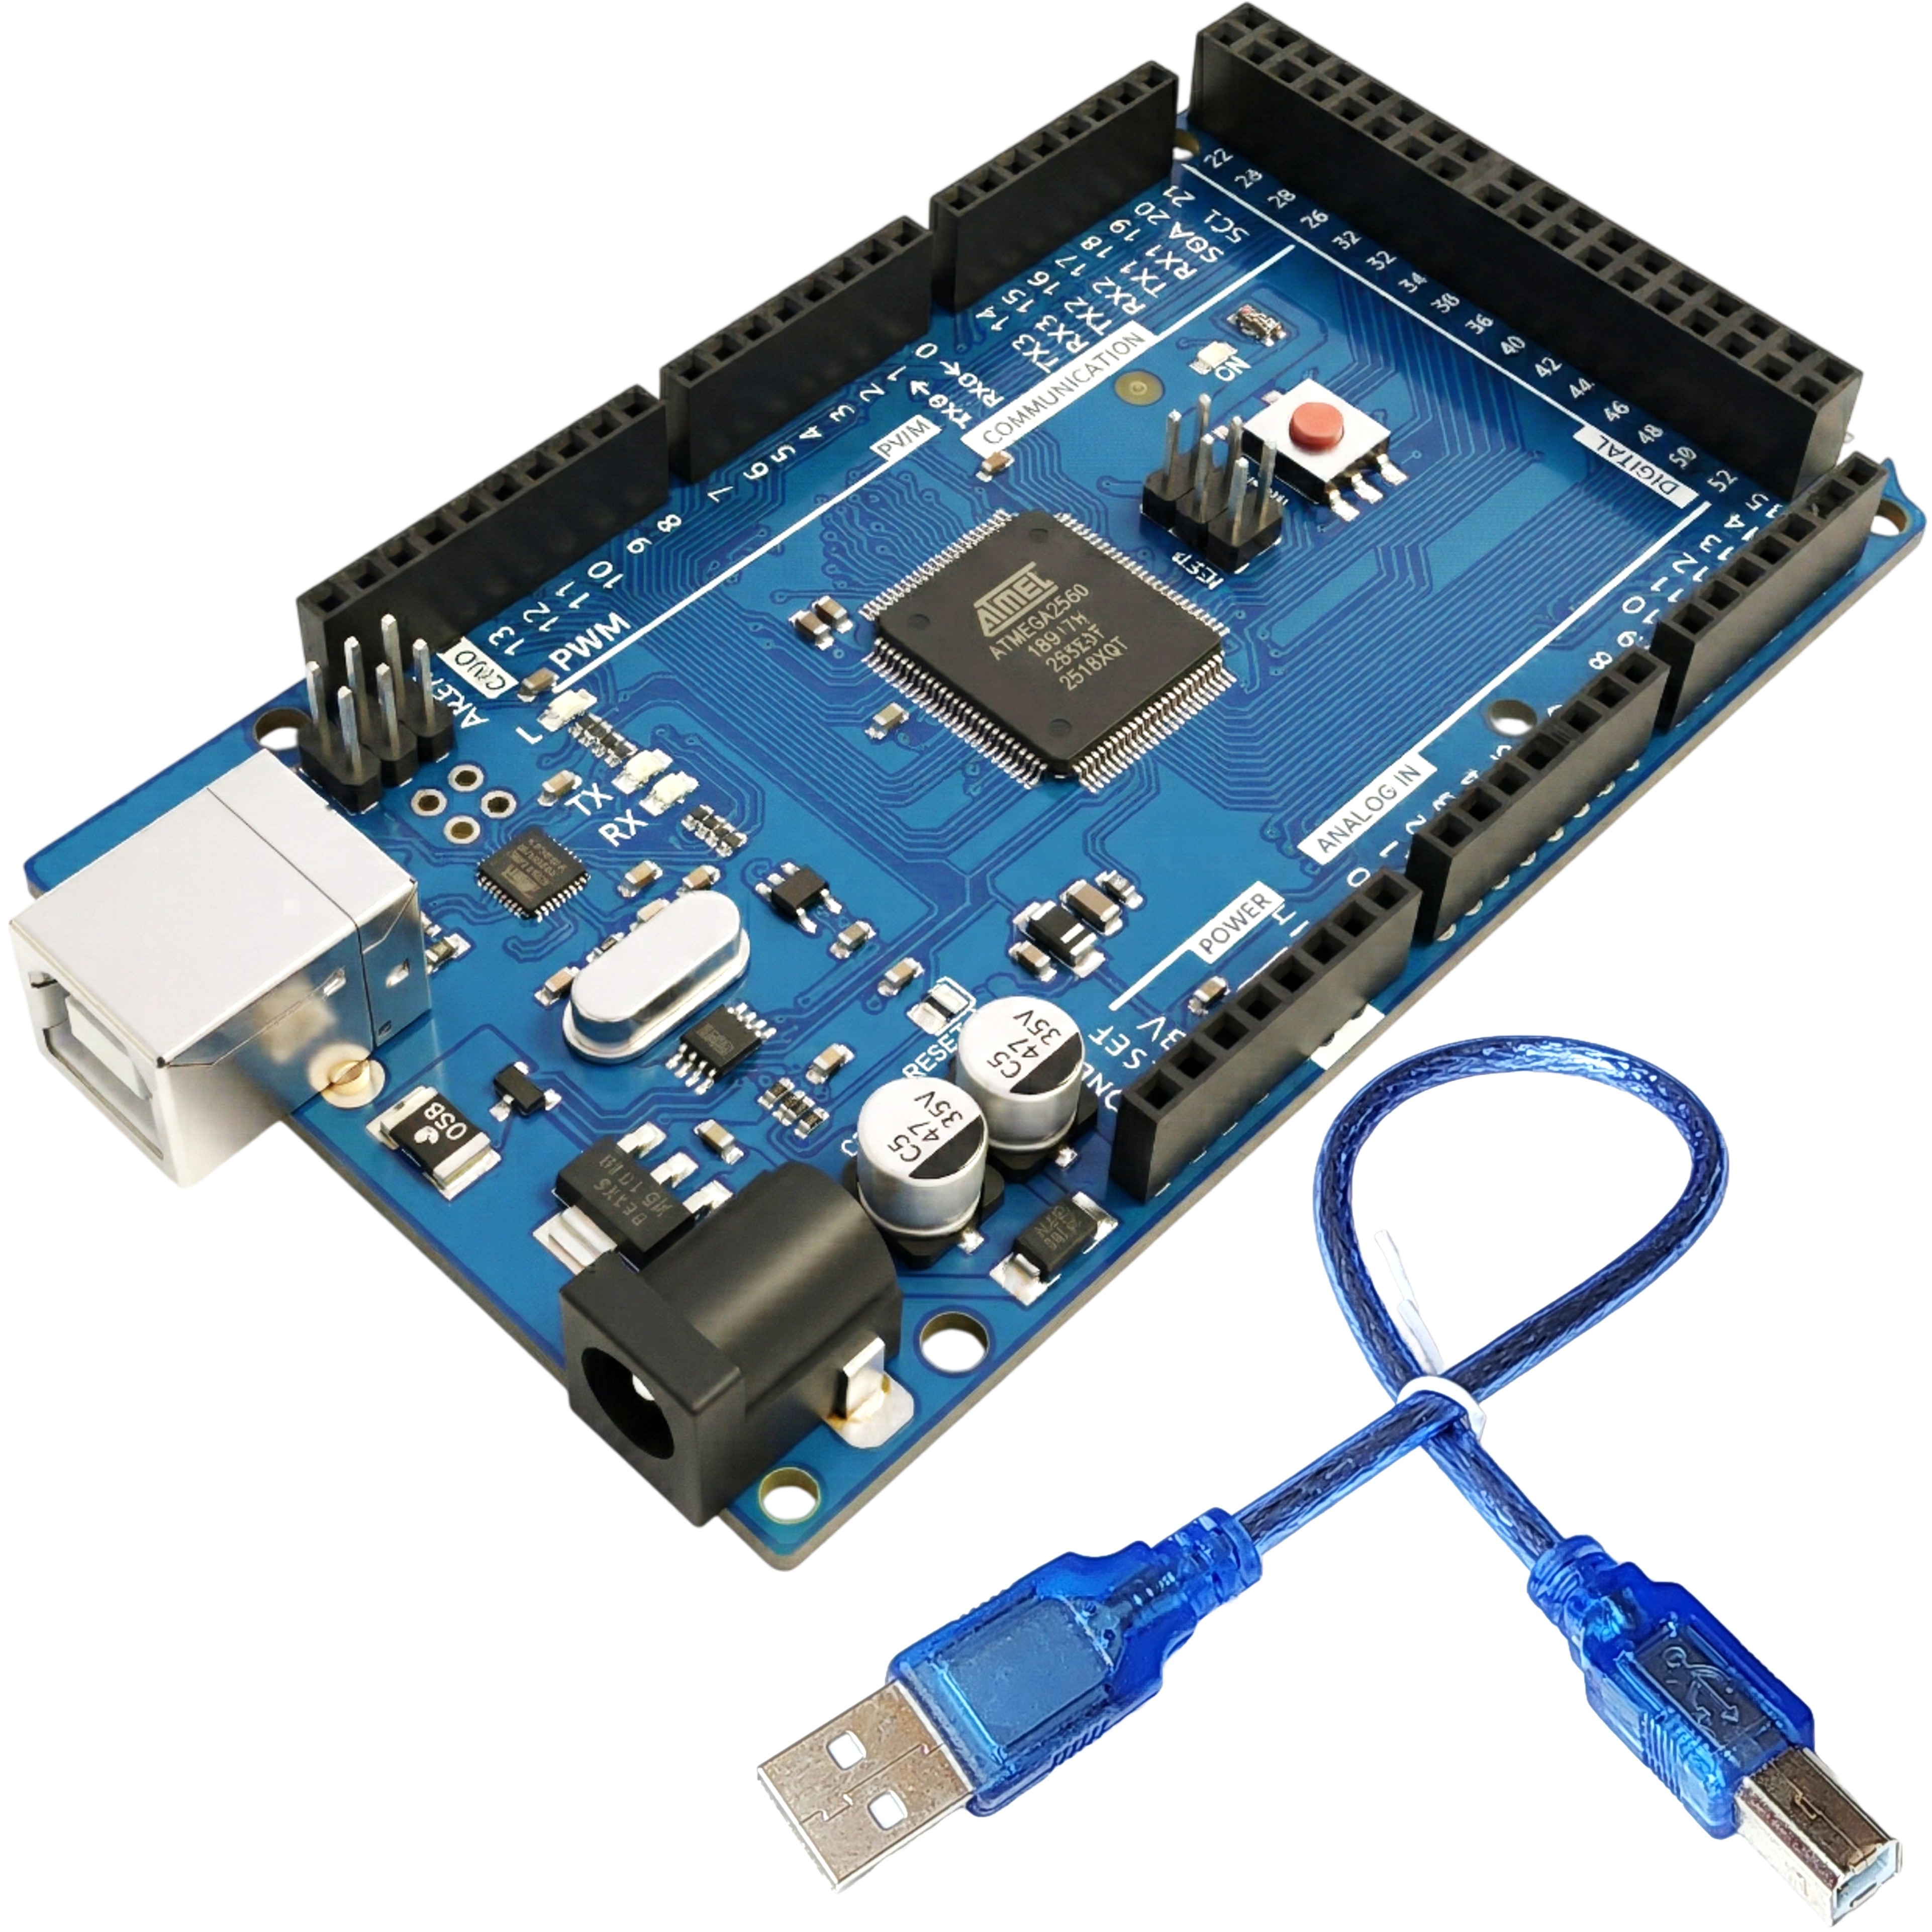
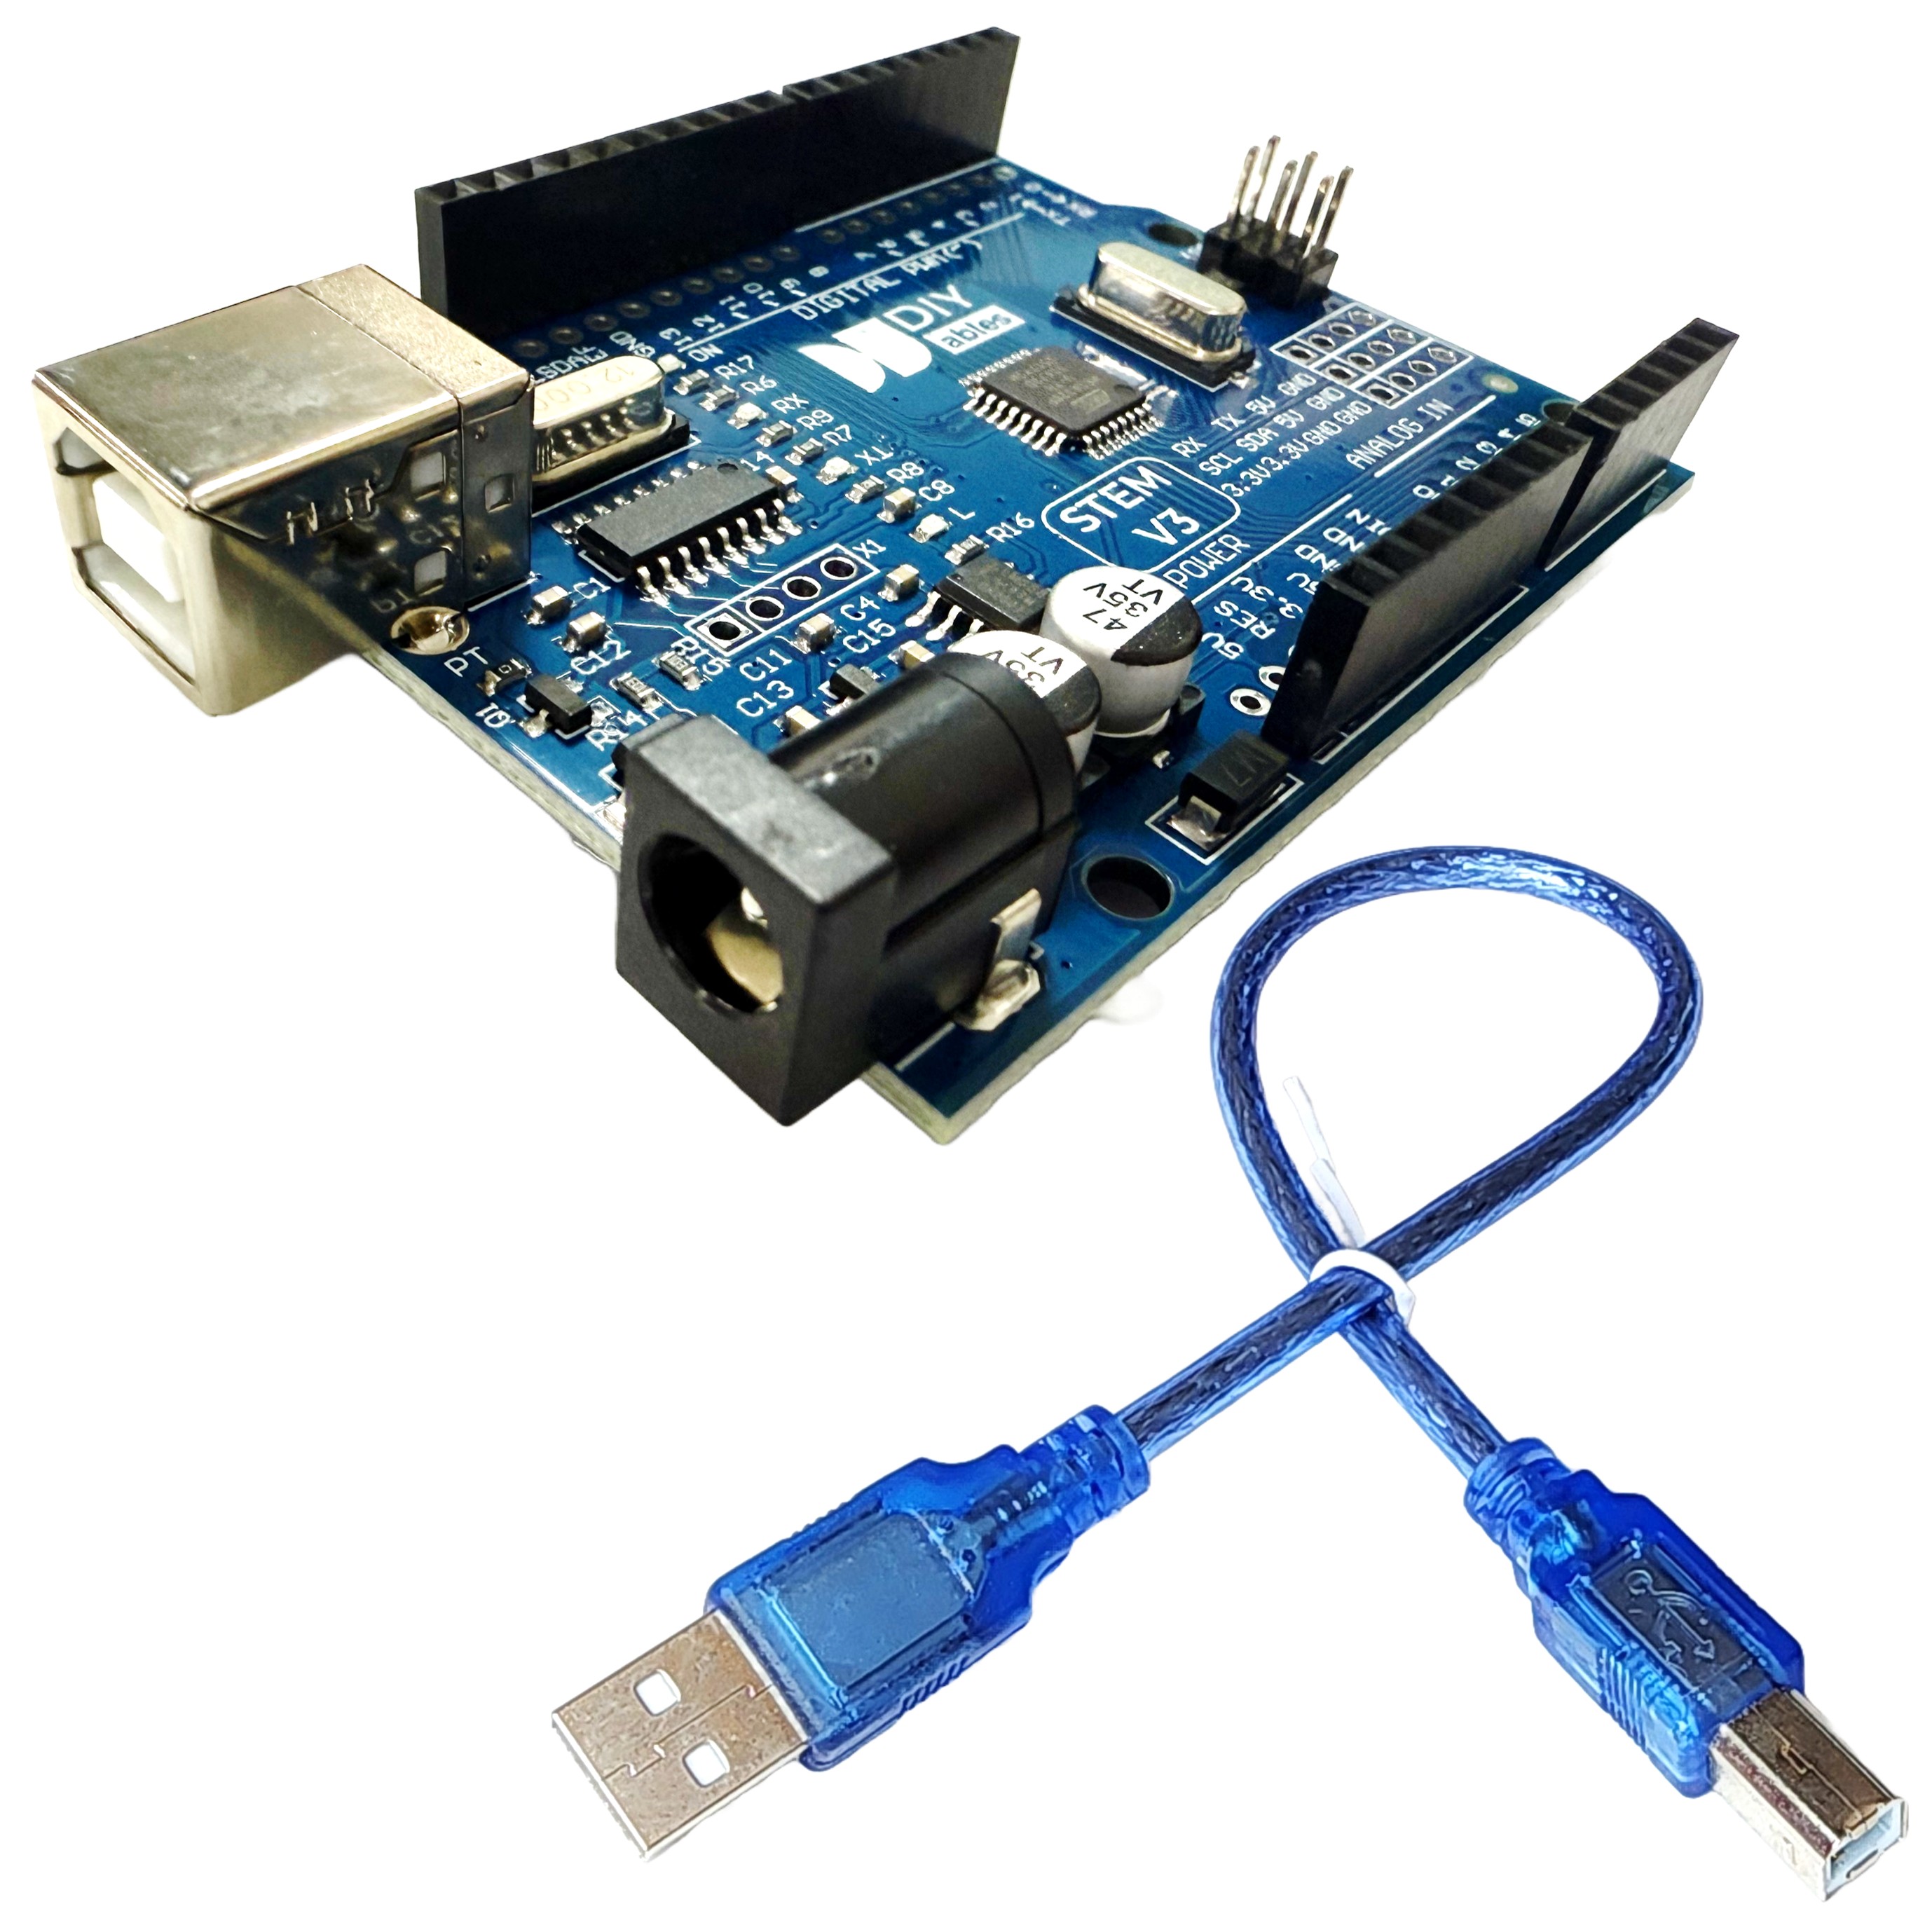
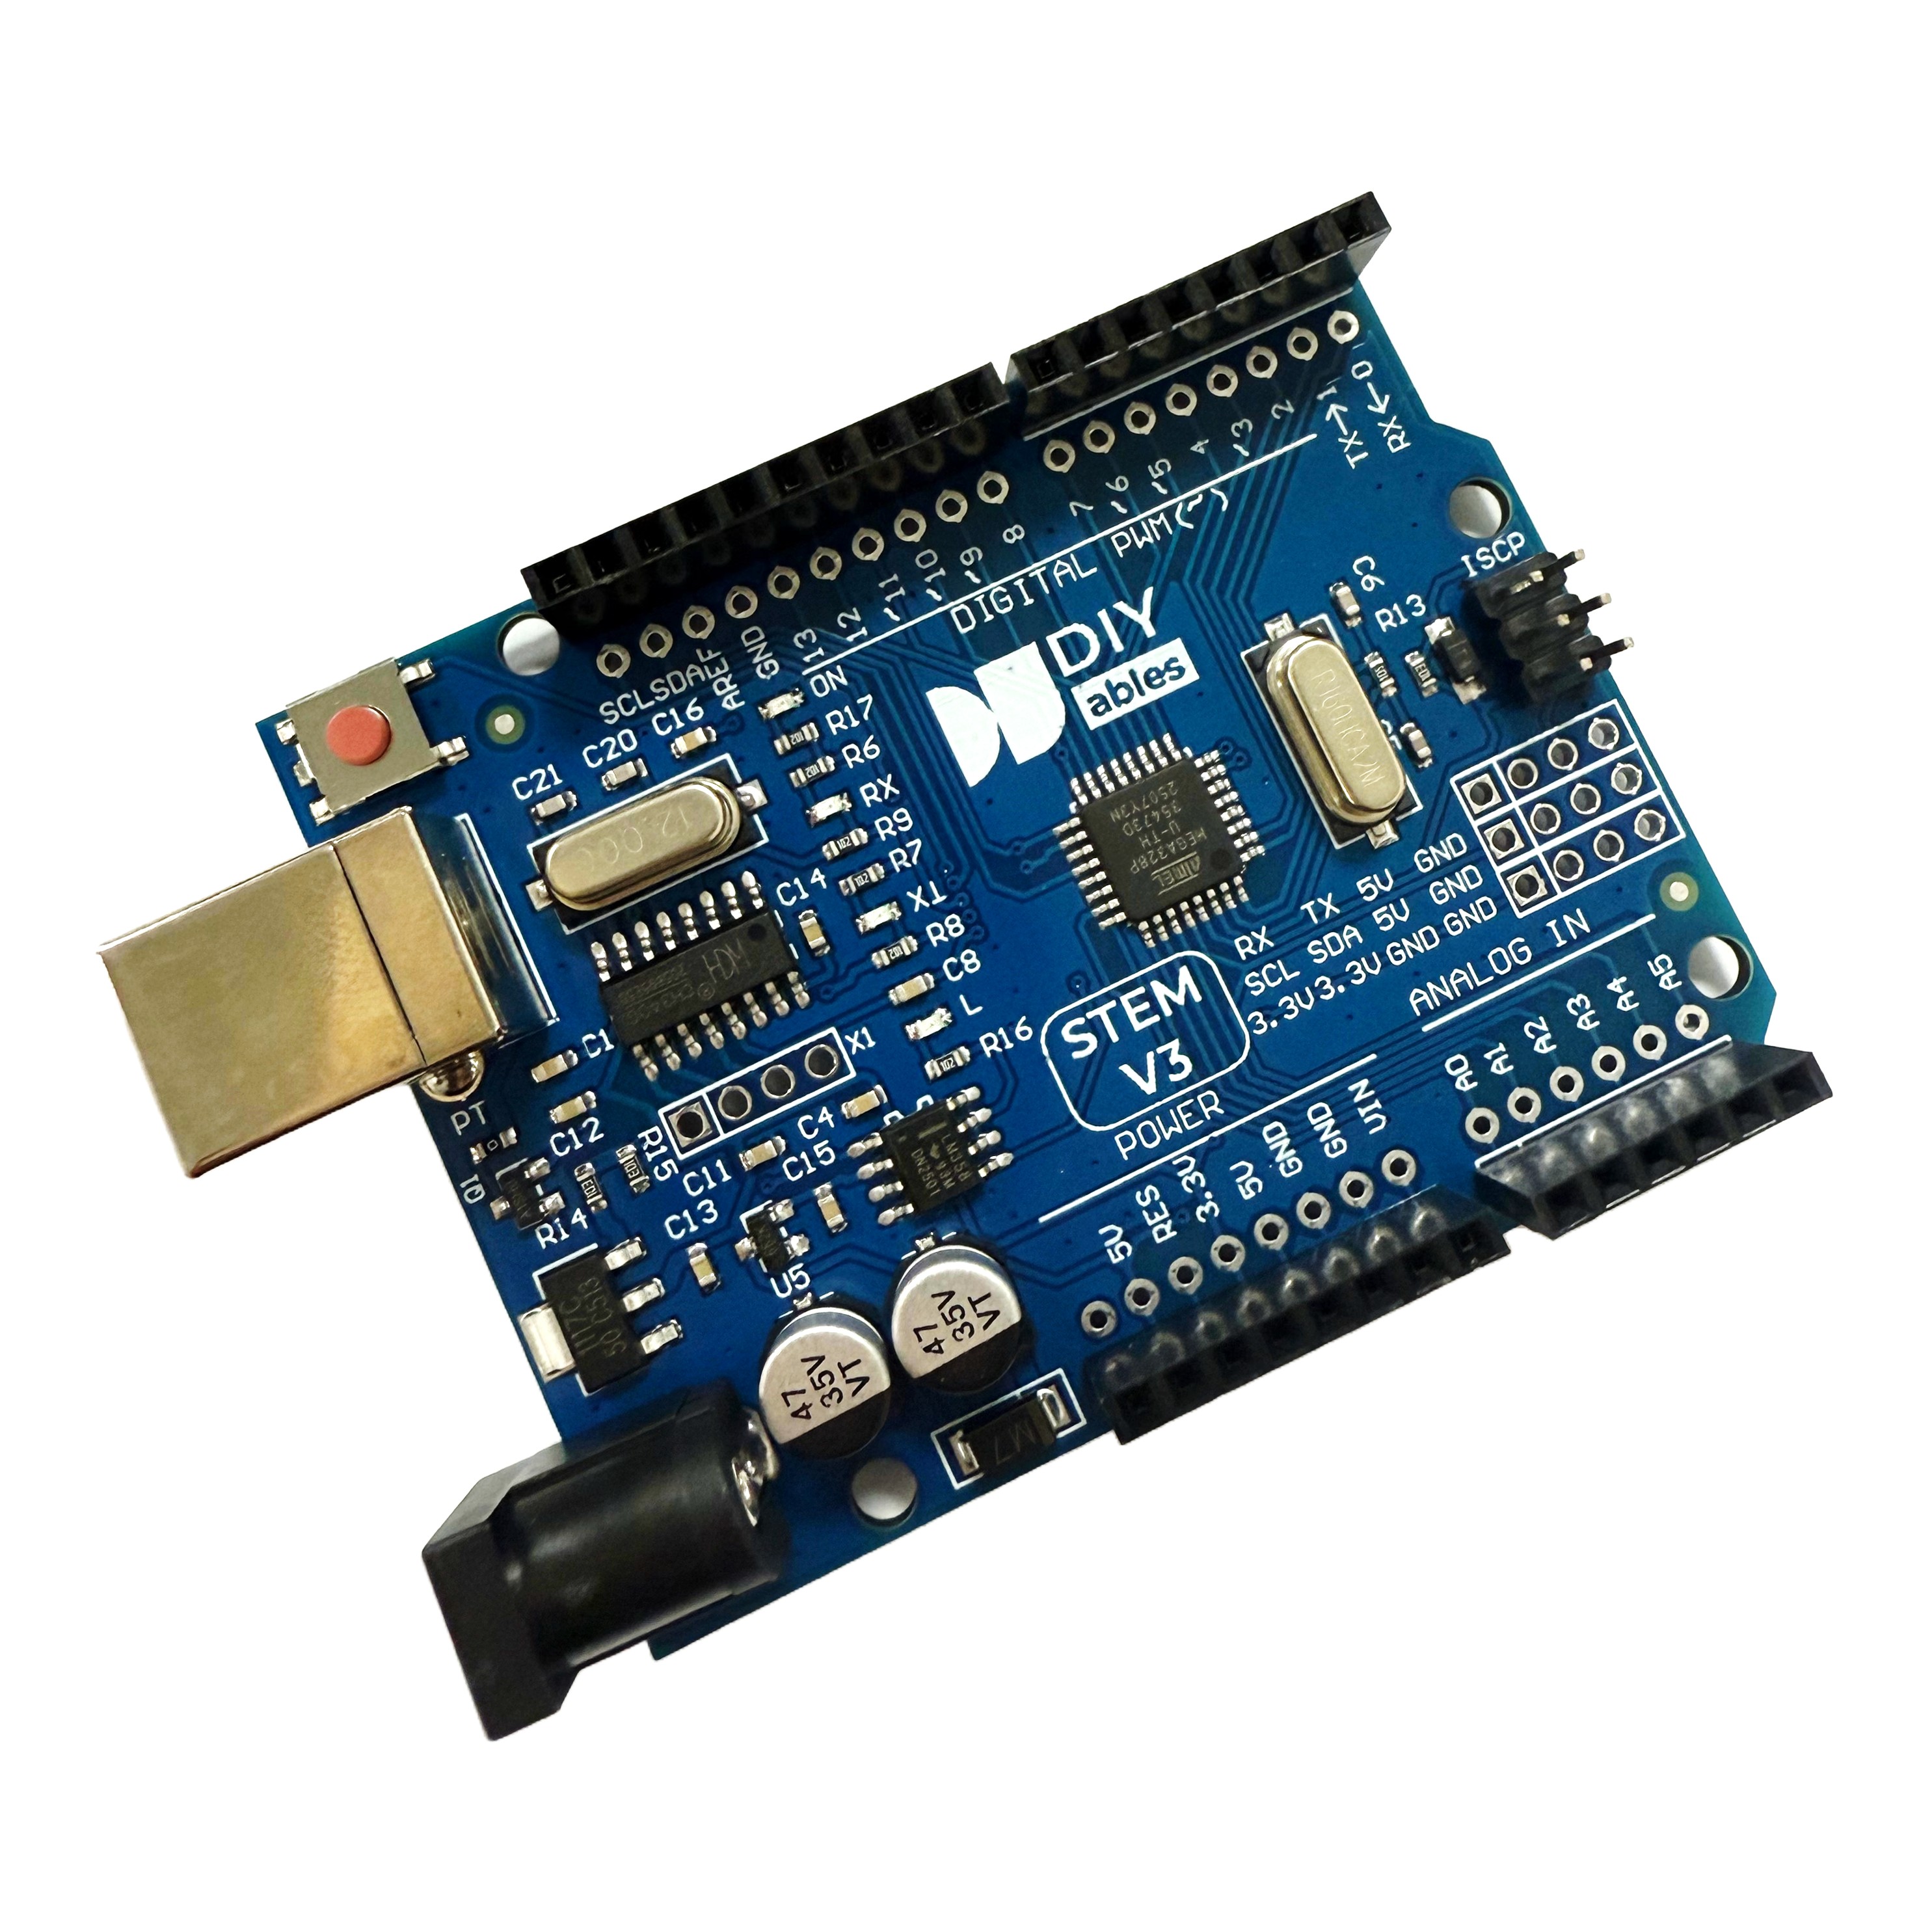
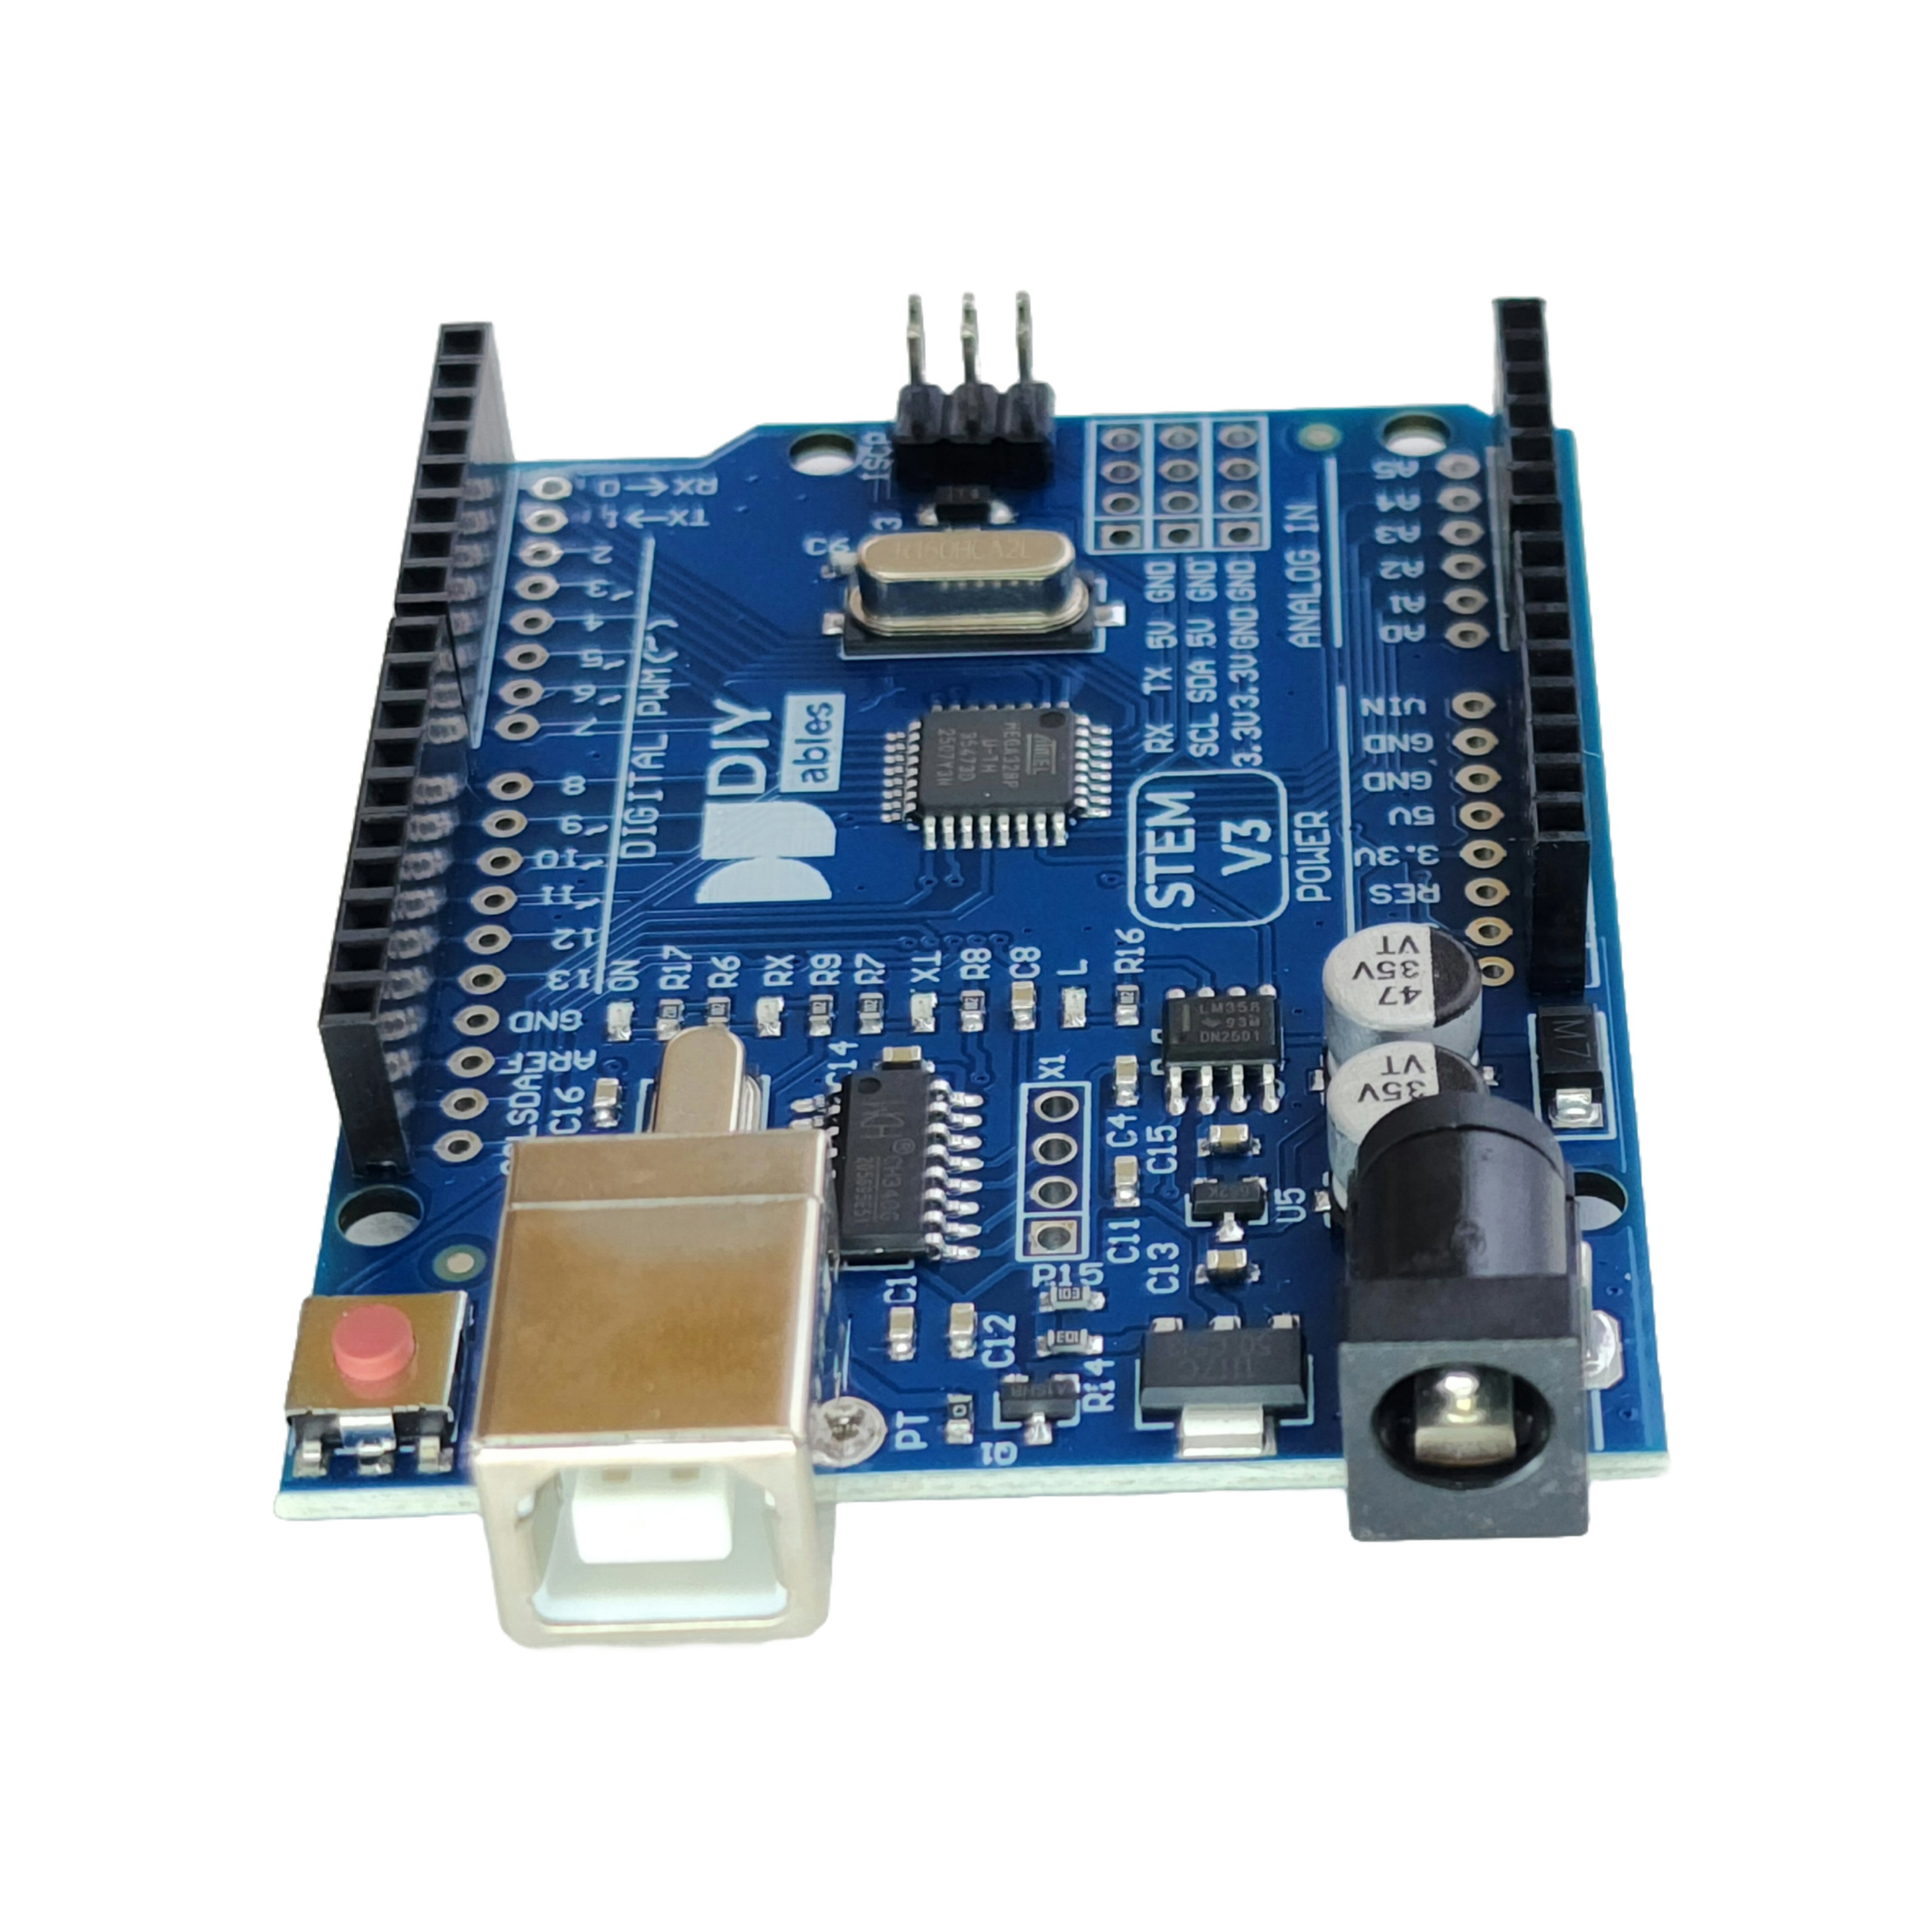
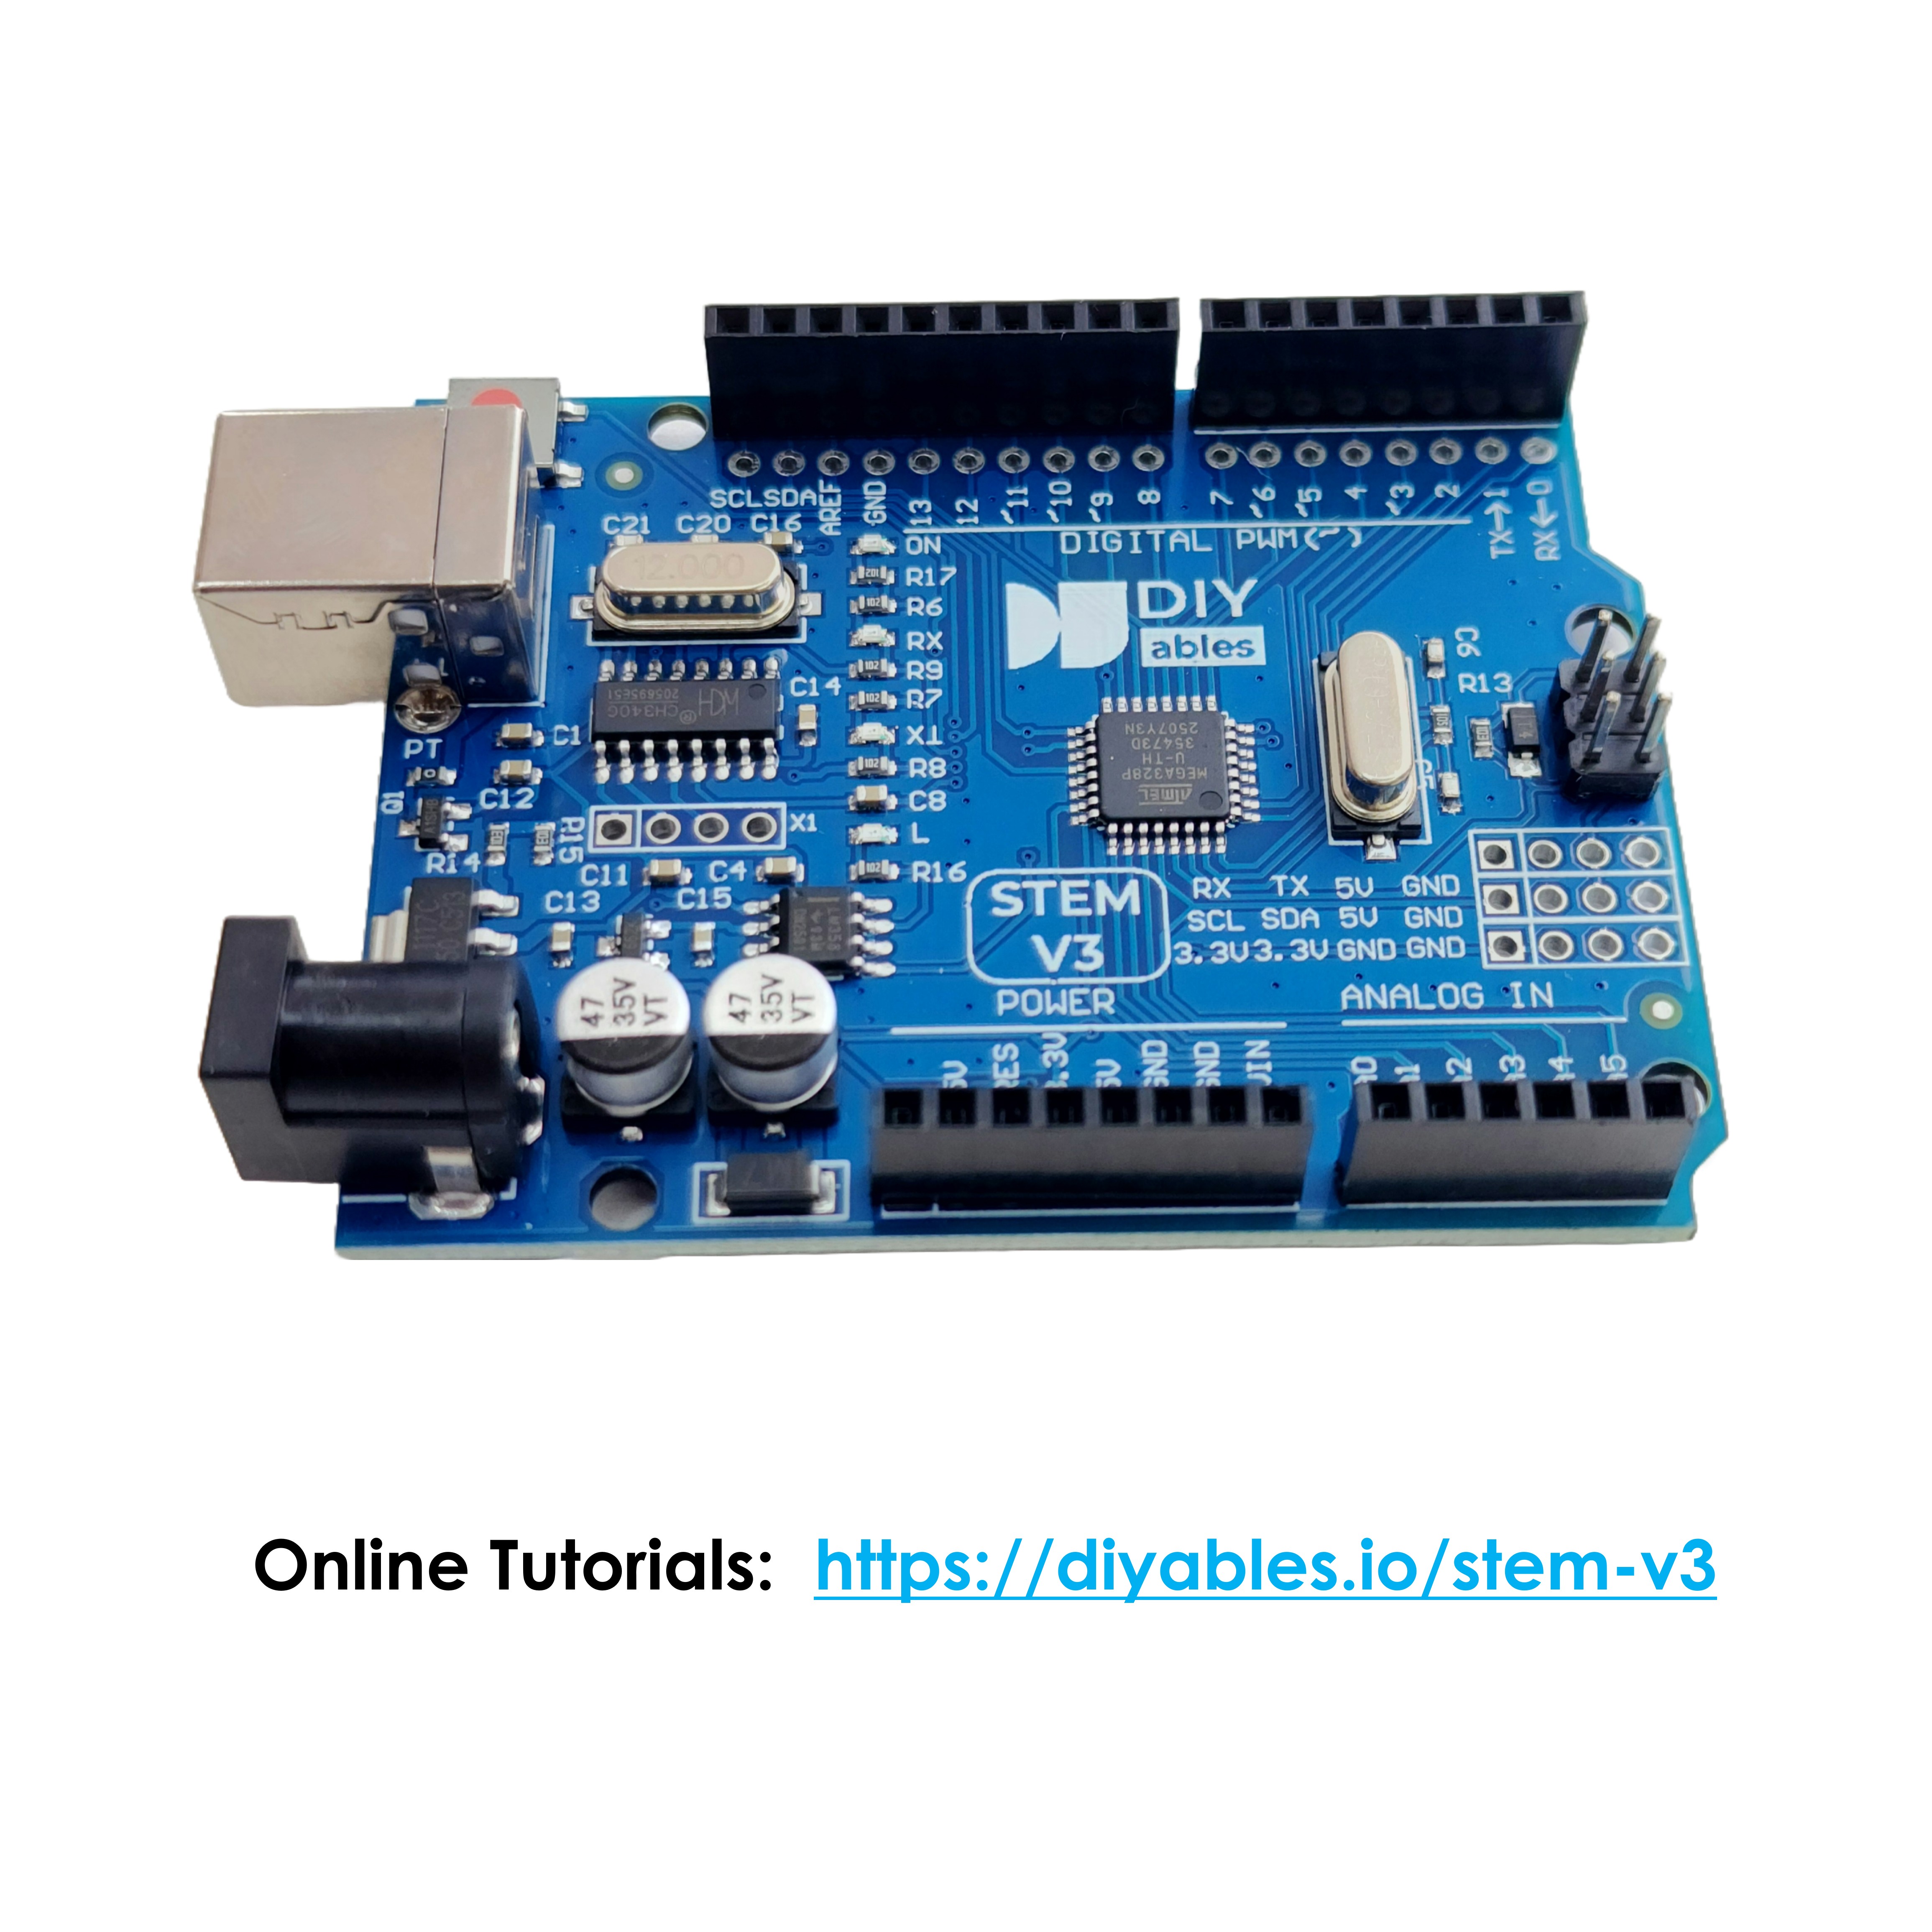
The DIYables STEM V3 development board is fully compatible with Arduino UNO R3, designed specifically for STEM education and maker projects. Featuring the ATmega328P microcontroller and CH340 USB chip, this board provides reliable performance and seamless integration with the Arduino IDE.
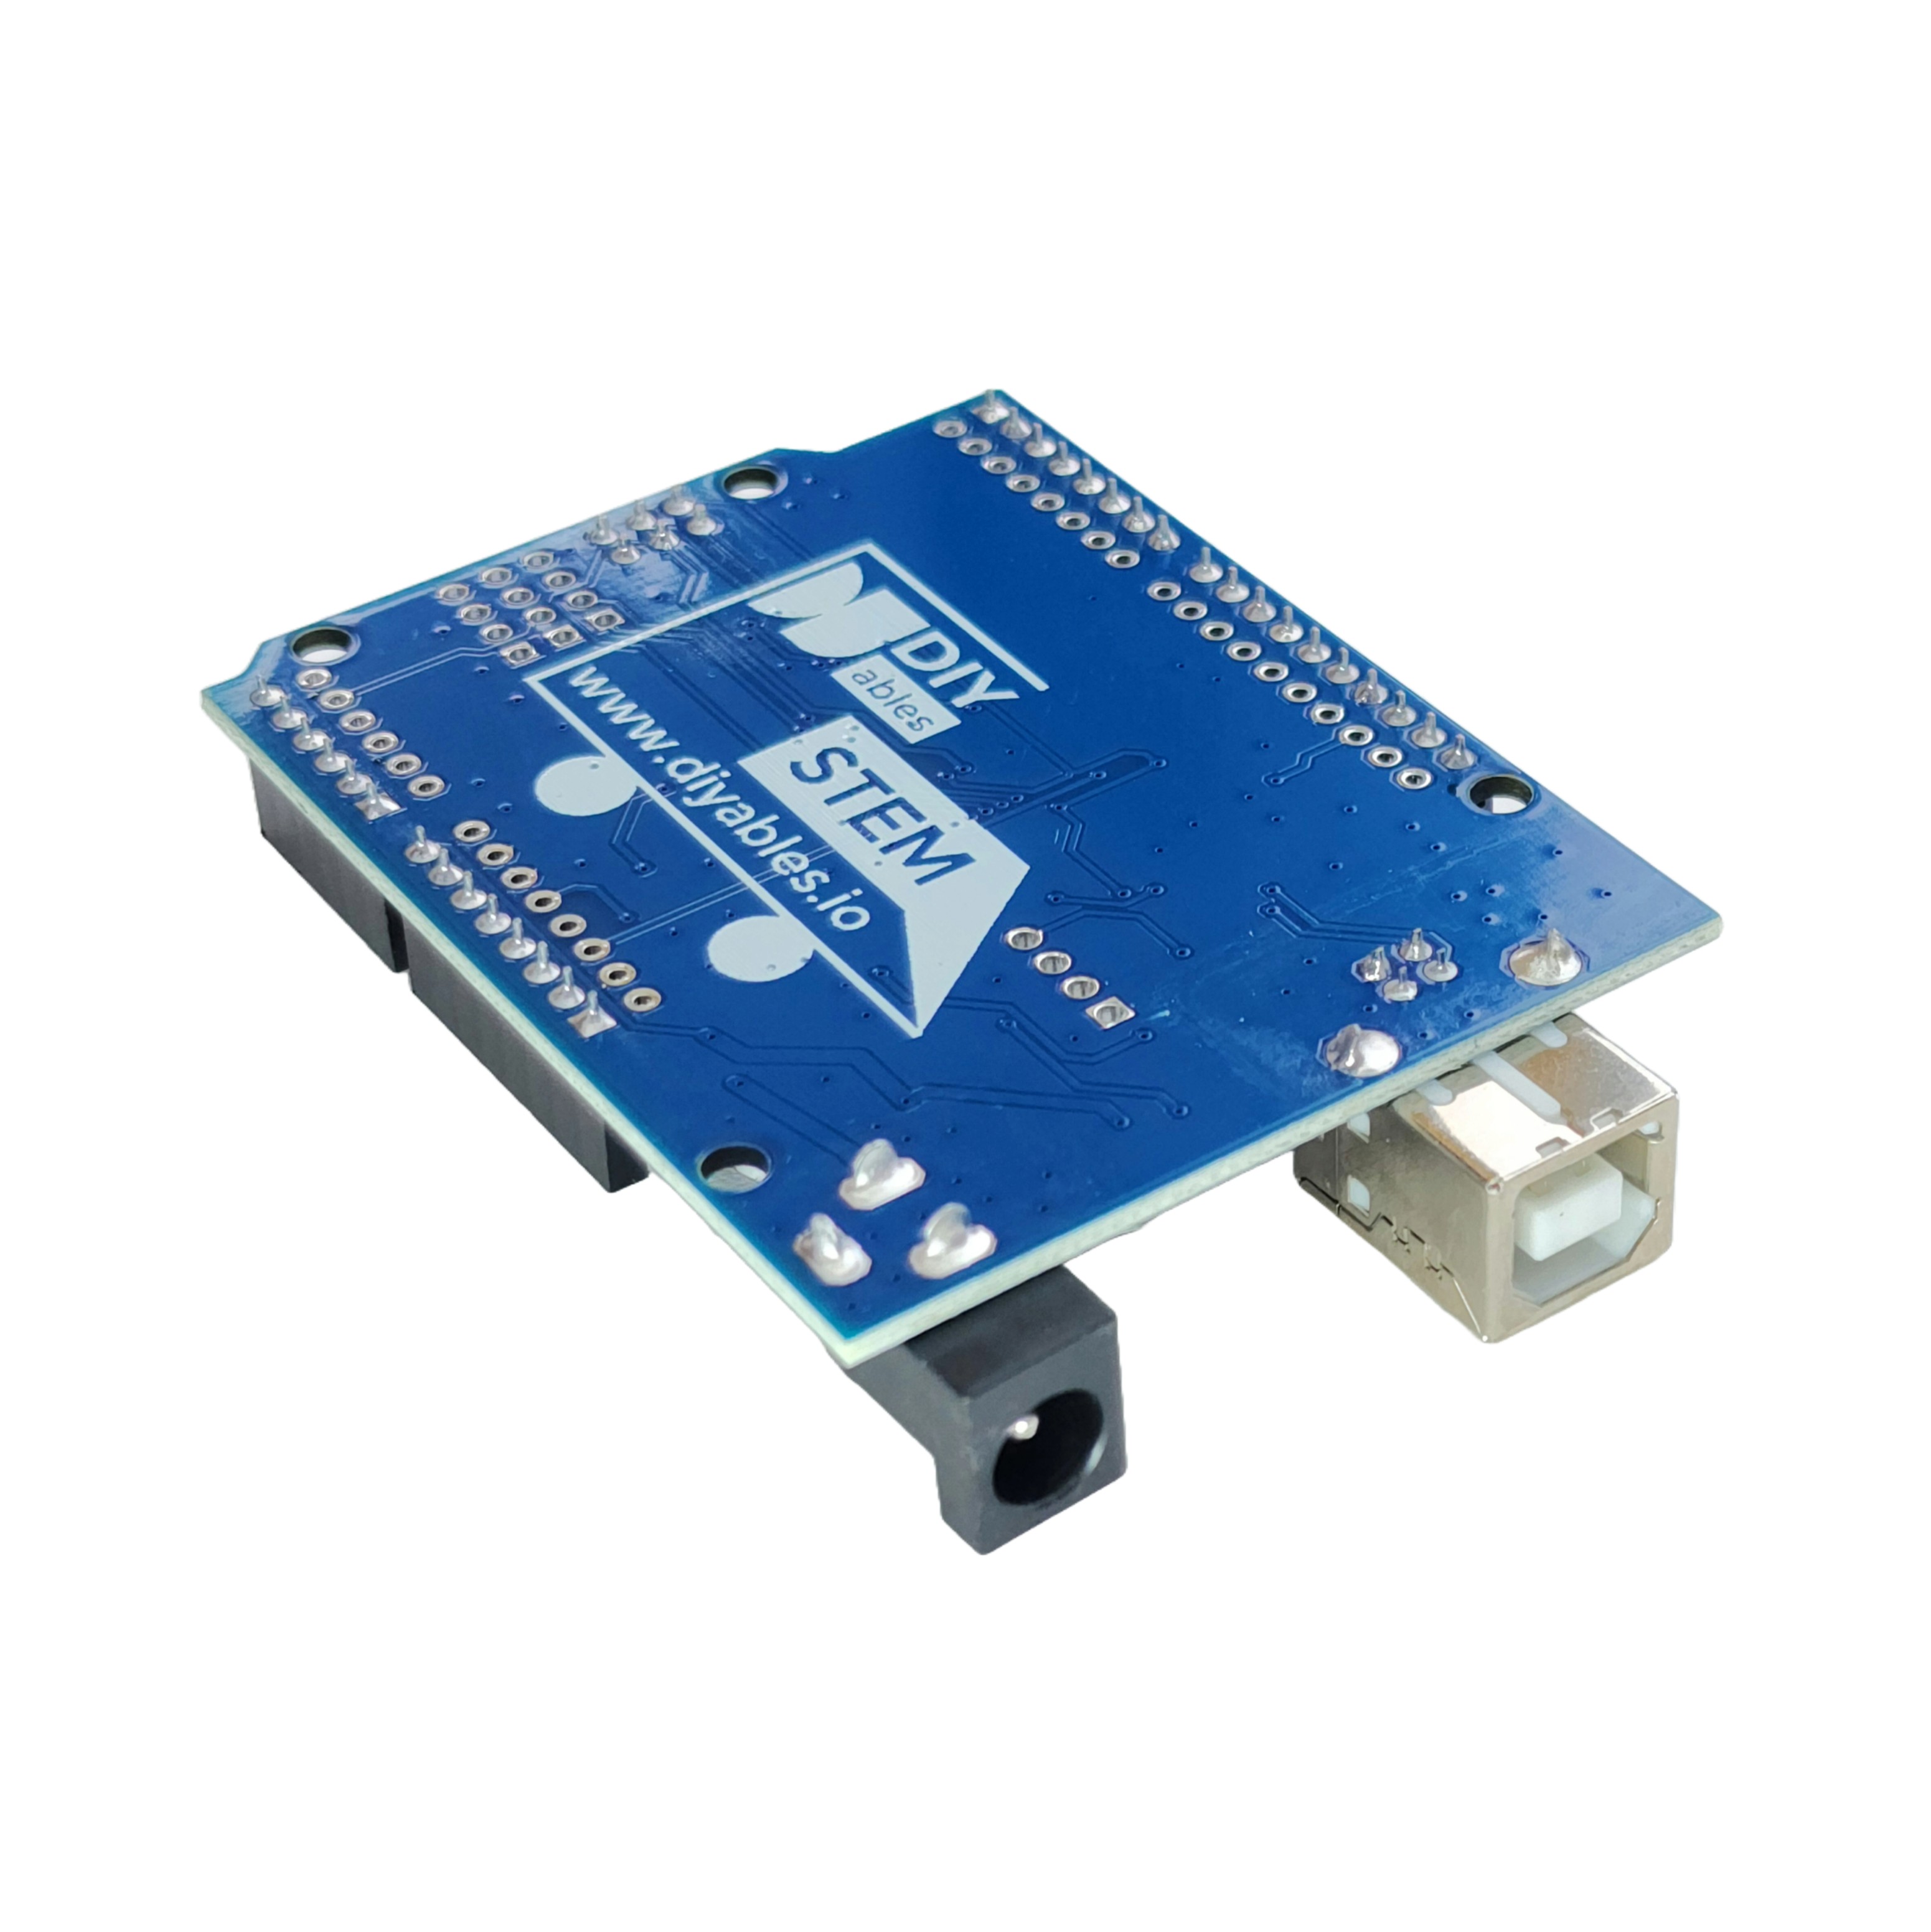
The board maintains the standard Arduino UNO R3 pin layout with 14 digital I/O pins (6 PWM), 6 analog inputs, USB connectivity, and a 16 MHz crystal oscillator. It includes a USB cable for quick setup and immediate project development.
With free online tutorials available, this board is perfect for students, educators, hobbyists, and makers learning programming, electronics, robotics, and IoT development.
Key Features
- Arduino UNO R3 Compatible — Fully compatible with Arduino UNO R3 pin layout and functionality
- ATmega328P & CH340 — Reliable microcontroller with CH340 USB chip for stable communication
- USB Cable Included — Ready to use out of the box with included USB cable
- STEM Education Focus — Designed for learning programming, electronics, and robotics
- 14 Digital I/O Pins — Including 6 PWM outputs for motor and LED control
- 6 Analog Input Pins — 10-bit ADC for sensor readings and analog signals
- Free Online Tutorials — Step-by-step guides and example projects available online
- Arduino IDE Compatible — Works with all standard Arduino libraries and sketches
- Shield Compatible — Standard UNO pin layout accepts all Arduino shields
- Versatile Platform — Suitable for robotics, automation, IoT, and DIY electronics projects
SPECIFICATION
| Specification | Value |
|---|---|
| Product Type | Development Board |
| Microcontroller | ATmega328P |
| USB Chip | CH340 |
| Operating Voltage | 5V |
| Input Voltage (Recommended) | 7-12V |
| Input Voltage (Limit) | 6-20V |
| Digital I/O Pins | 14 (6 PWM) |
| Analog Input Pins | 6 |
| DC Current per I/O Pin | 20 mA |
| DC Current for 3.3V Pin | 50 mA |
| Flash Memory | 32 KB (0.5 KB used by bootloader) |
| SRAM | 2 KB |
| EEPROM | 1 KB |
| Clock Speed | 16 MHz |
| USB Interface | USB-B |
| Dimensions | 68.6 x 53.4 mm |
| Weight | Approx. 25g |
| Included Accessories | USB cable |
Tutorials
COMPATIBLE HARDWARE
This DIYables STEM V3 board is compatible with all Arduino UNO shields and accessories including:
- Arduino UNO Shields
- Sensor Modules
- Motor Driver Shields
- LCD Display Modules
- Relay Modules
- Servo Motors
- Stepper Motors with Drivers
- LED Modules and Strips
- Buzzer Modules
- Button and Switch Modules
- Temperature and Humidity Sensors
- Ultrasonic Distance Sensors
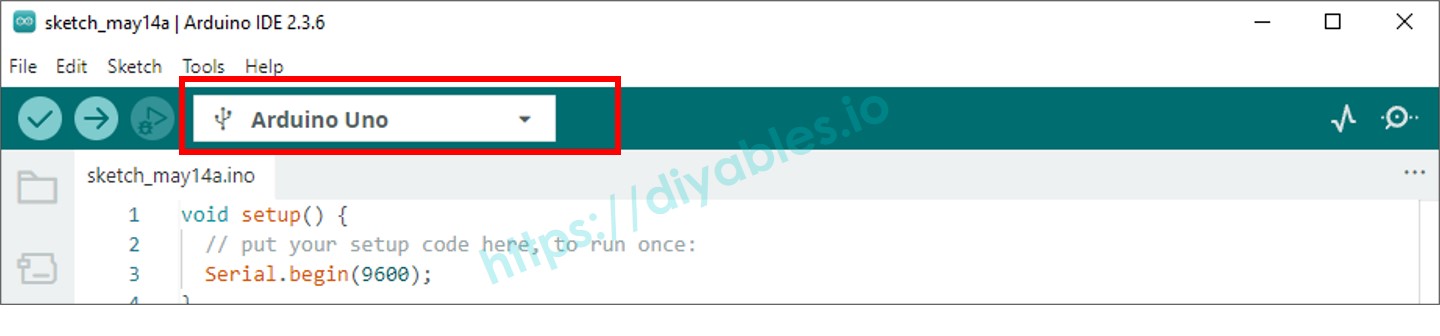
ARDUINO IDE BOARD SELECTION
- Connect the DIYables STEM V3 board to your computer using a USB cable.
- Launch the Arduino IDE on your computer.
- Select the Arduino Uno and COM port.
DRIVER
This board uses the CH340/CH341 USB to Serial chip. Most operating systems support it automatically, but if your computer doesn't recognize the board, you may need to install the driver manually.
TROUBLESHOOTING
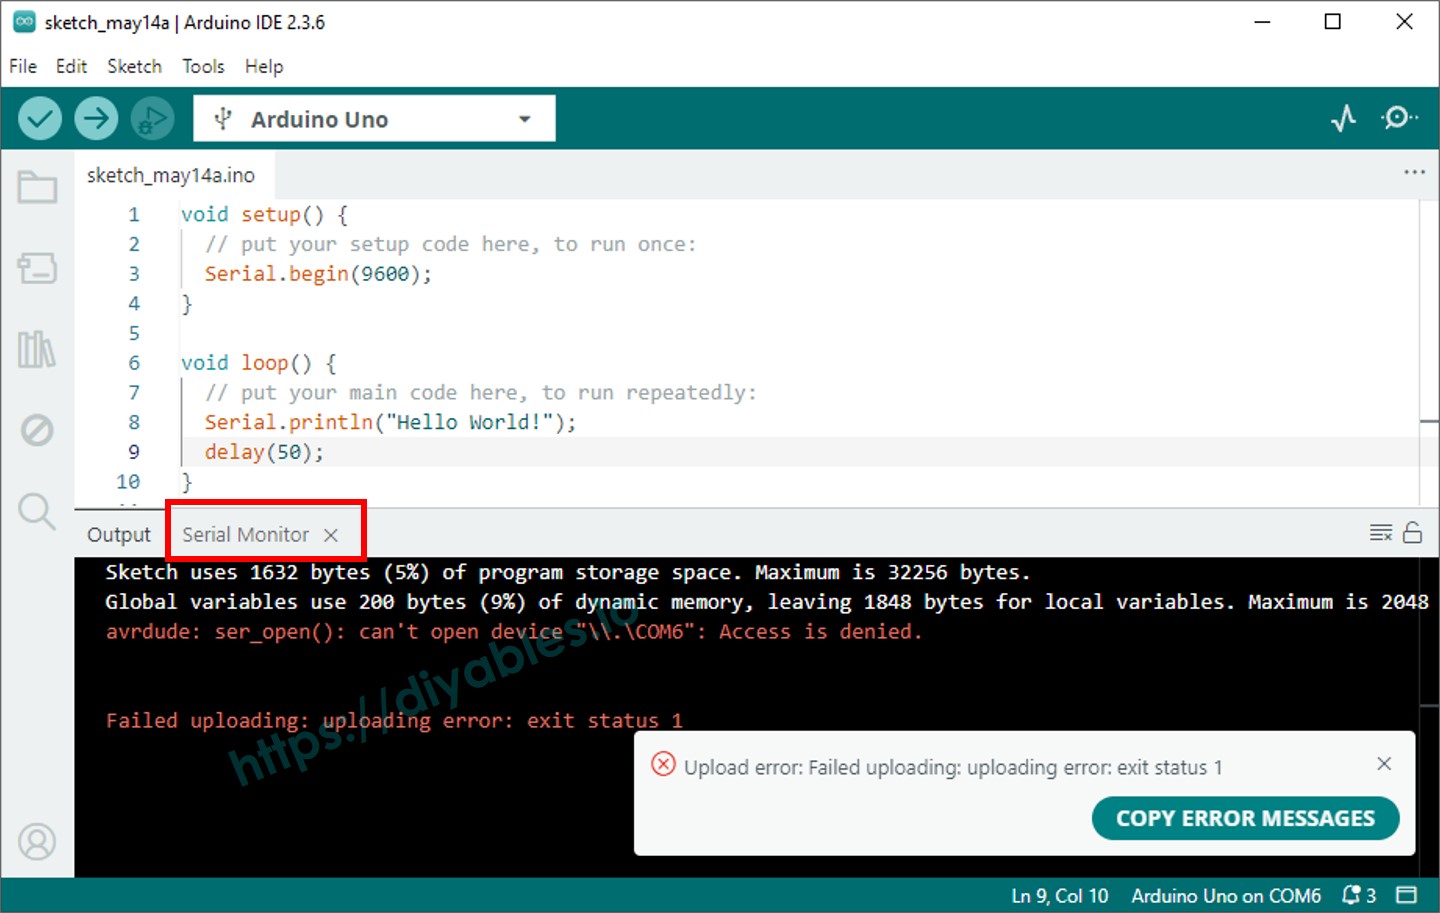
When you upload your sketch, you may see an error like:
This means another program is already using that COM port. Most often, it’s because the Arduino IDE’s Serial Monitor is open. To fix this:
- Close the Serial Monitor.
- Disconnect USB cable from PC, then reconnect again.
- Upload your code again.
- Once the upload succeeds, reopen the Serial Monitor if you need it.
If it still does not work, please feel fee to contact us