DIYables 38-Pin ESP32S ESP-WROOM-32 WiFi and Bluetooth Development Board with USB Type-C and CP2102, Dual-Core ESP32 Microcontroller for IoT Projects, Compatible with Arduino IDE
 Click to zoom
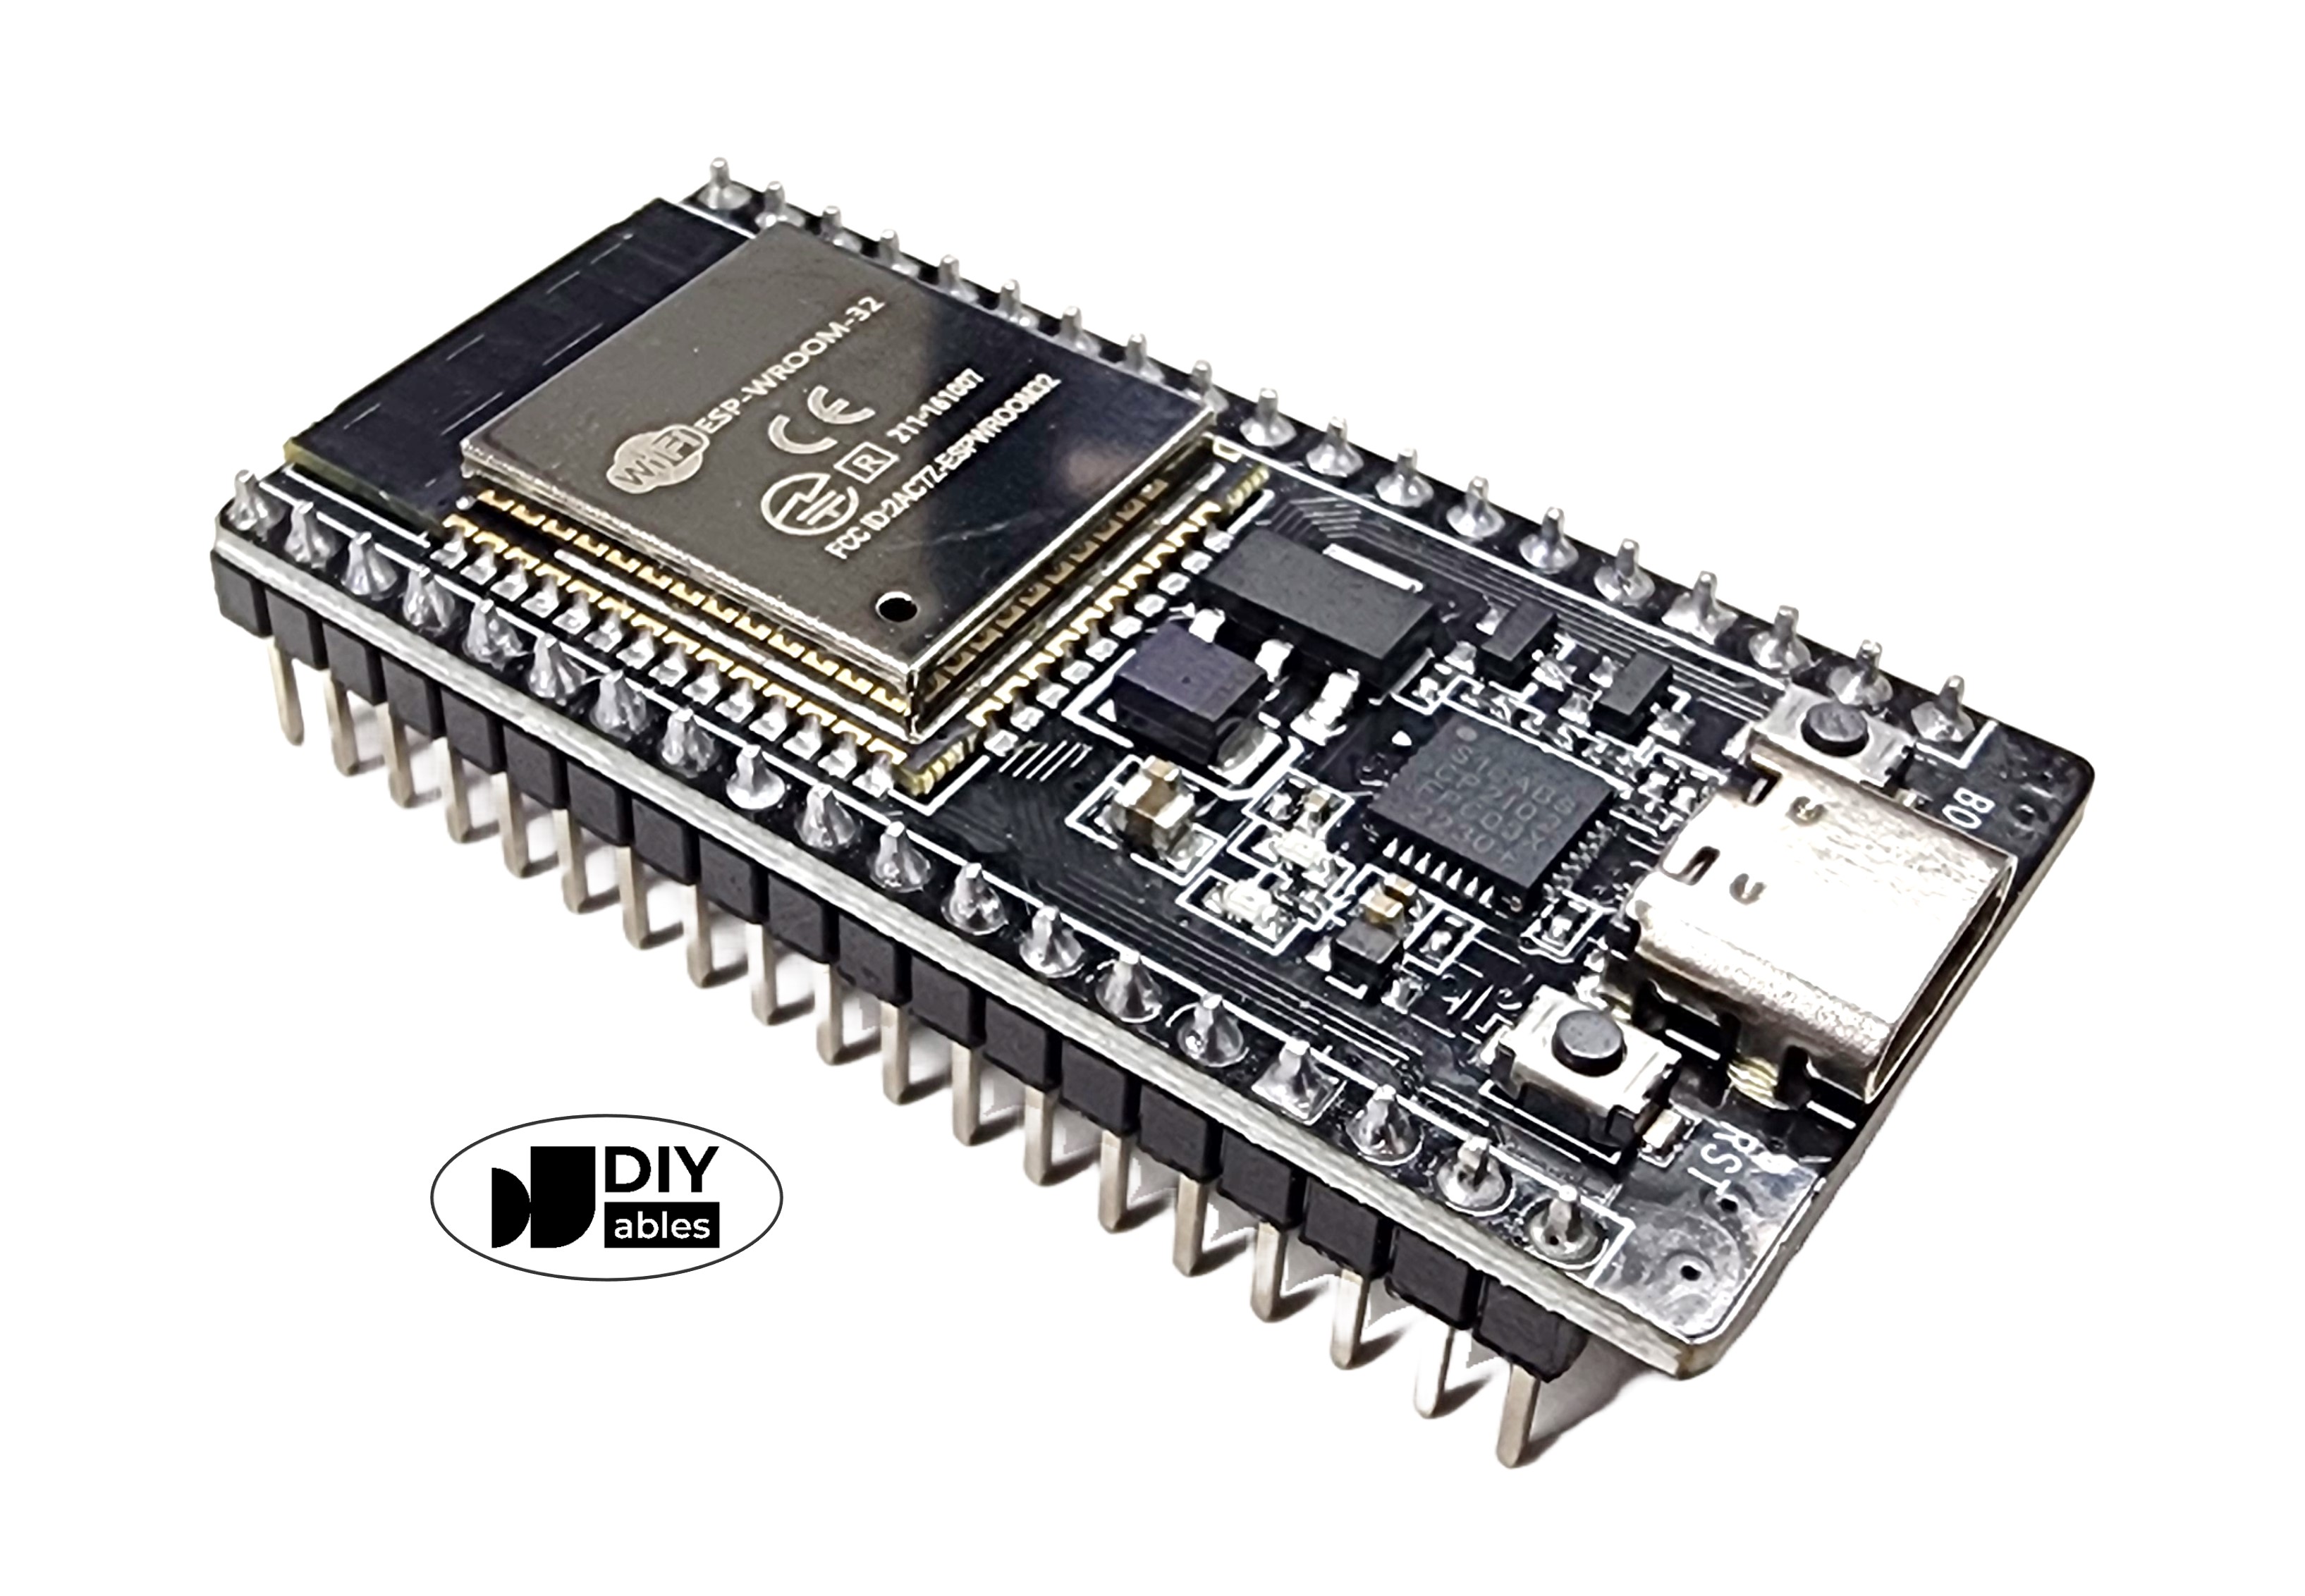
Quick Overview
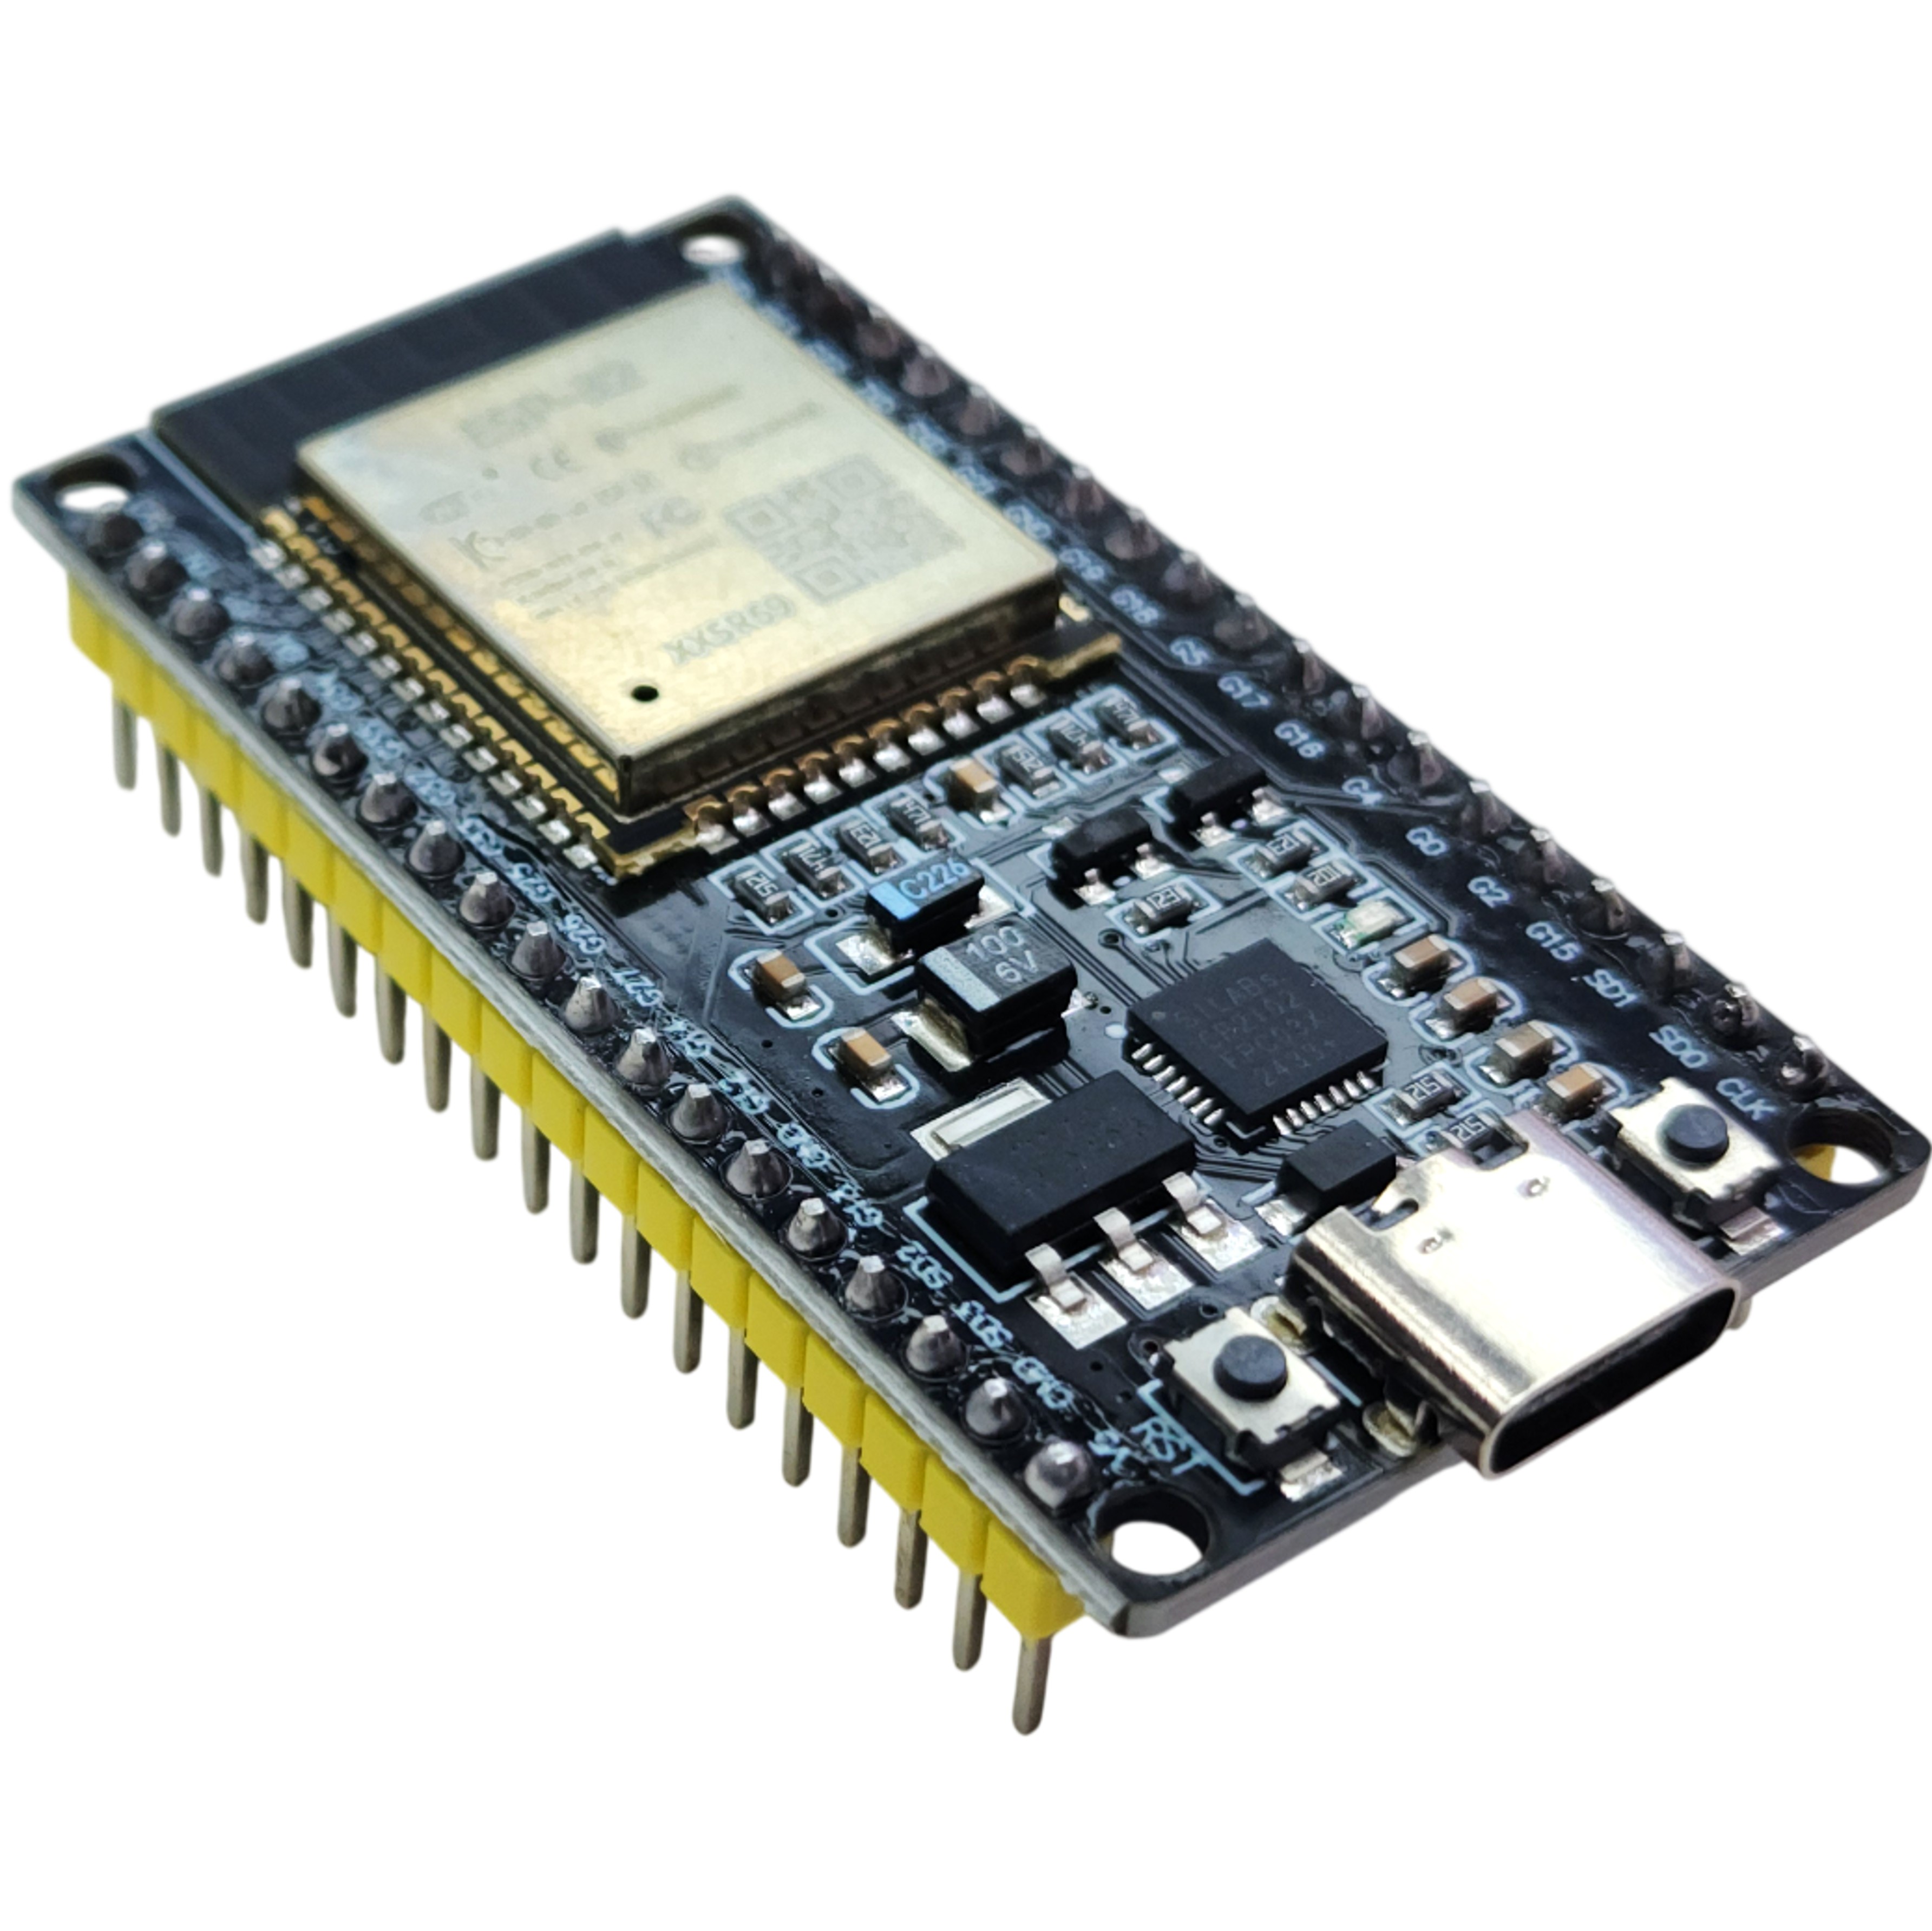
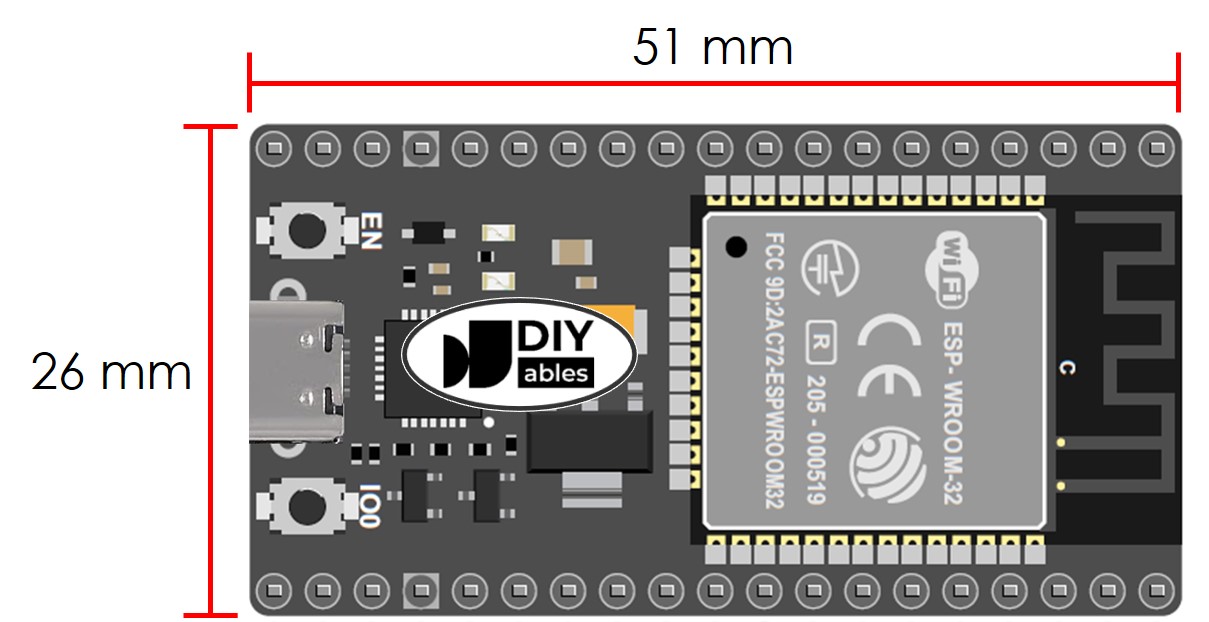
The DIYables ESP32 development board is based on the ESP32S ESP-WROOM-32 dual-core microcontroller and provides built-in WiFi and Bluetooth for connected projects. With a 38-pin layout for expanded GPIO access and a modern USB Type-C connector, it’s a convenient board for IoT, automation, wireless sensors, and smart device prototypes.
This board uses a CP2102 USB-to-serial converter for reliable programming and serial communication. It is compatible with Arduino IDE, making it approachable for beginners and practical for experienced developers.
Key Features
- USB Type-C with CP2102 — USB Type-C connector with CP2102 USB-to-serial for power, programming, and serial communication
- ESP32S ESP-WROOM-32 MCU — Dual-core ESP32 platform with WiFi and Bluetooth for IoT and wireless builds
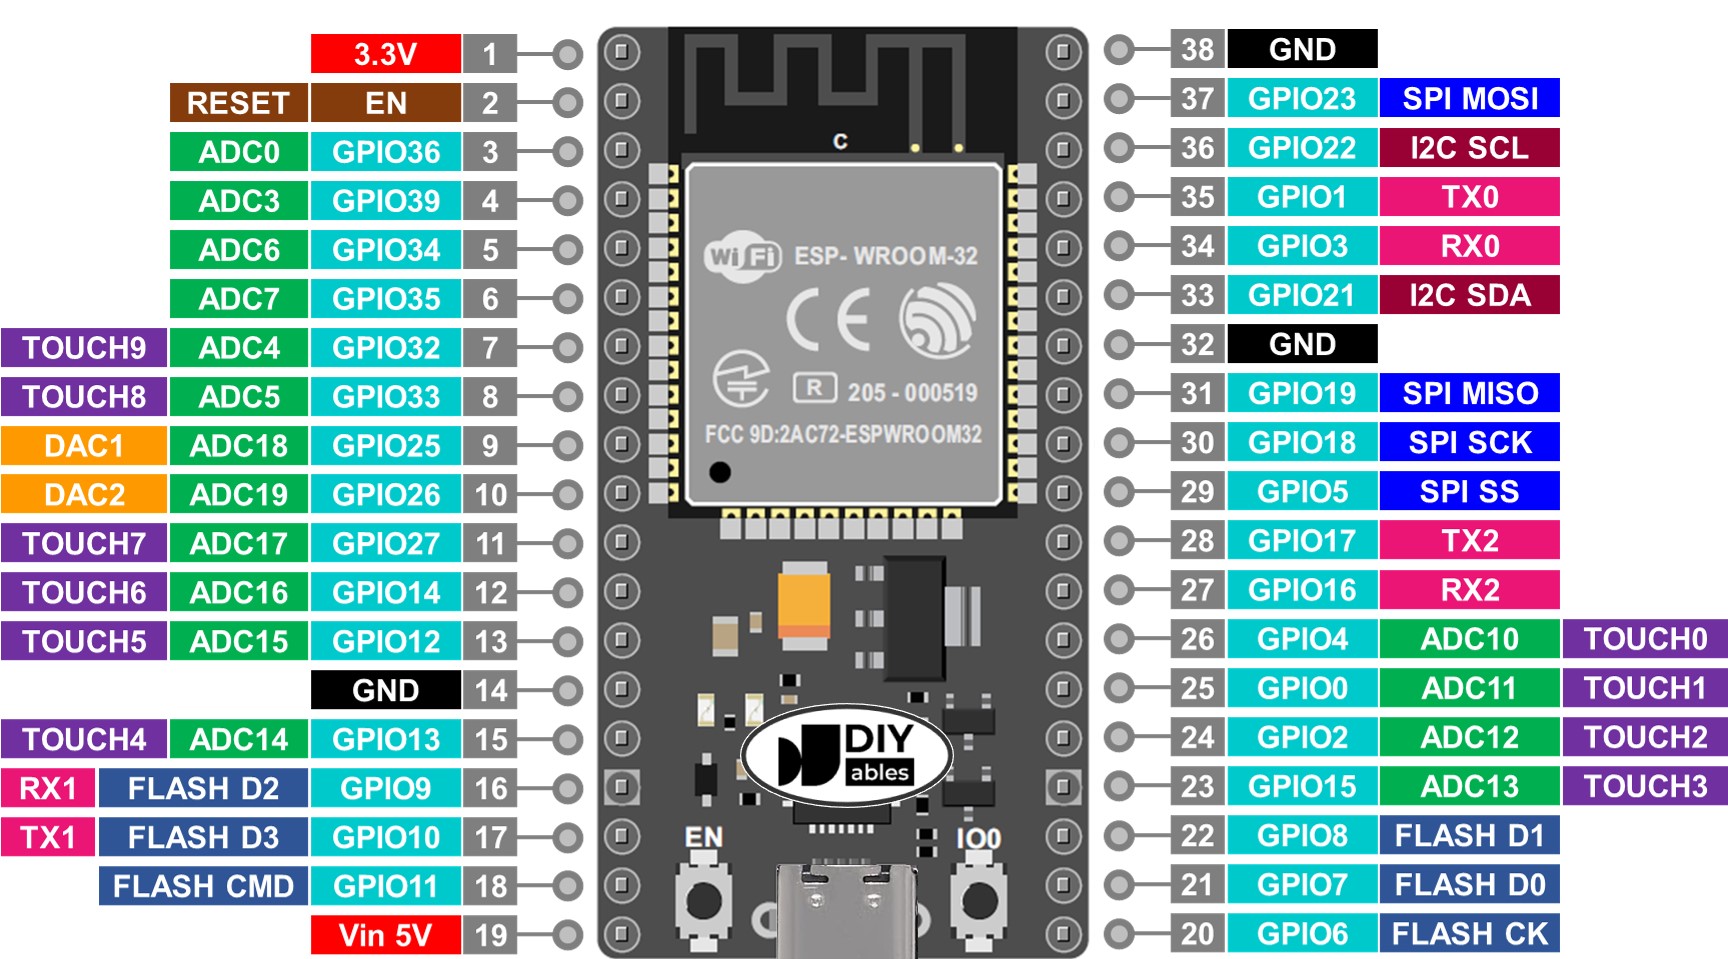
- 38-Pin Layout — Expanded pin access for GPIO interfacing and project expansion
- Arduino IDE Compatible — Works with Arduino IDE for quick setup and familiar development workflow
- Compact, Project-Friendly Form Factor — Designed for prototyping and embedding into custom hardware projects
SPECIFICATION
| Specification | Value |
|---|---|
| Product Type | ESP32 Development Board |
| Module | ESP32S ESP-WROOM-32 |
| Microcontroller | Xtensa dual-core 32-bit LX6 |
| Clock Speed | Up to 240 MHz |
| Flash Memory | 4 MB |
| SRAM | 520 KB |
| Wireless | WiFi 802.11 b/g/n + Bluetooth v4.2 |
| Operating Voltage | 3.3V |
| Input Voltage | 5V (via USB) |
| USB Connector | USB Type-C |
| USB-to-Serial Chip | CP2102 |
| Pin Layout | 38-pin |
| GPIO Pins | 34 |
| ADC | 18 channels, 12-bit |
| DAC | 2 channels, 8-bit |
| PWM | 16 channels |
| Touch Sensors | 10 capacitive touch GPIOs |
| Interfaces | SPI, I2C, I2S, UART, CAN |
| Arduino IDE Compatibility | Yes |
| Dimensions | Approx. 55mm x 28mm |
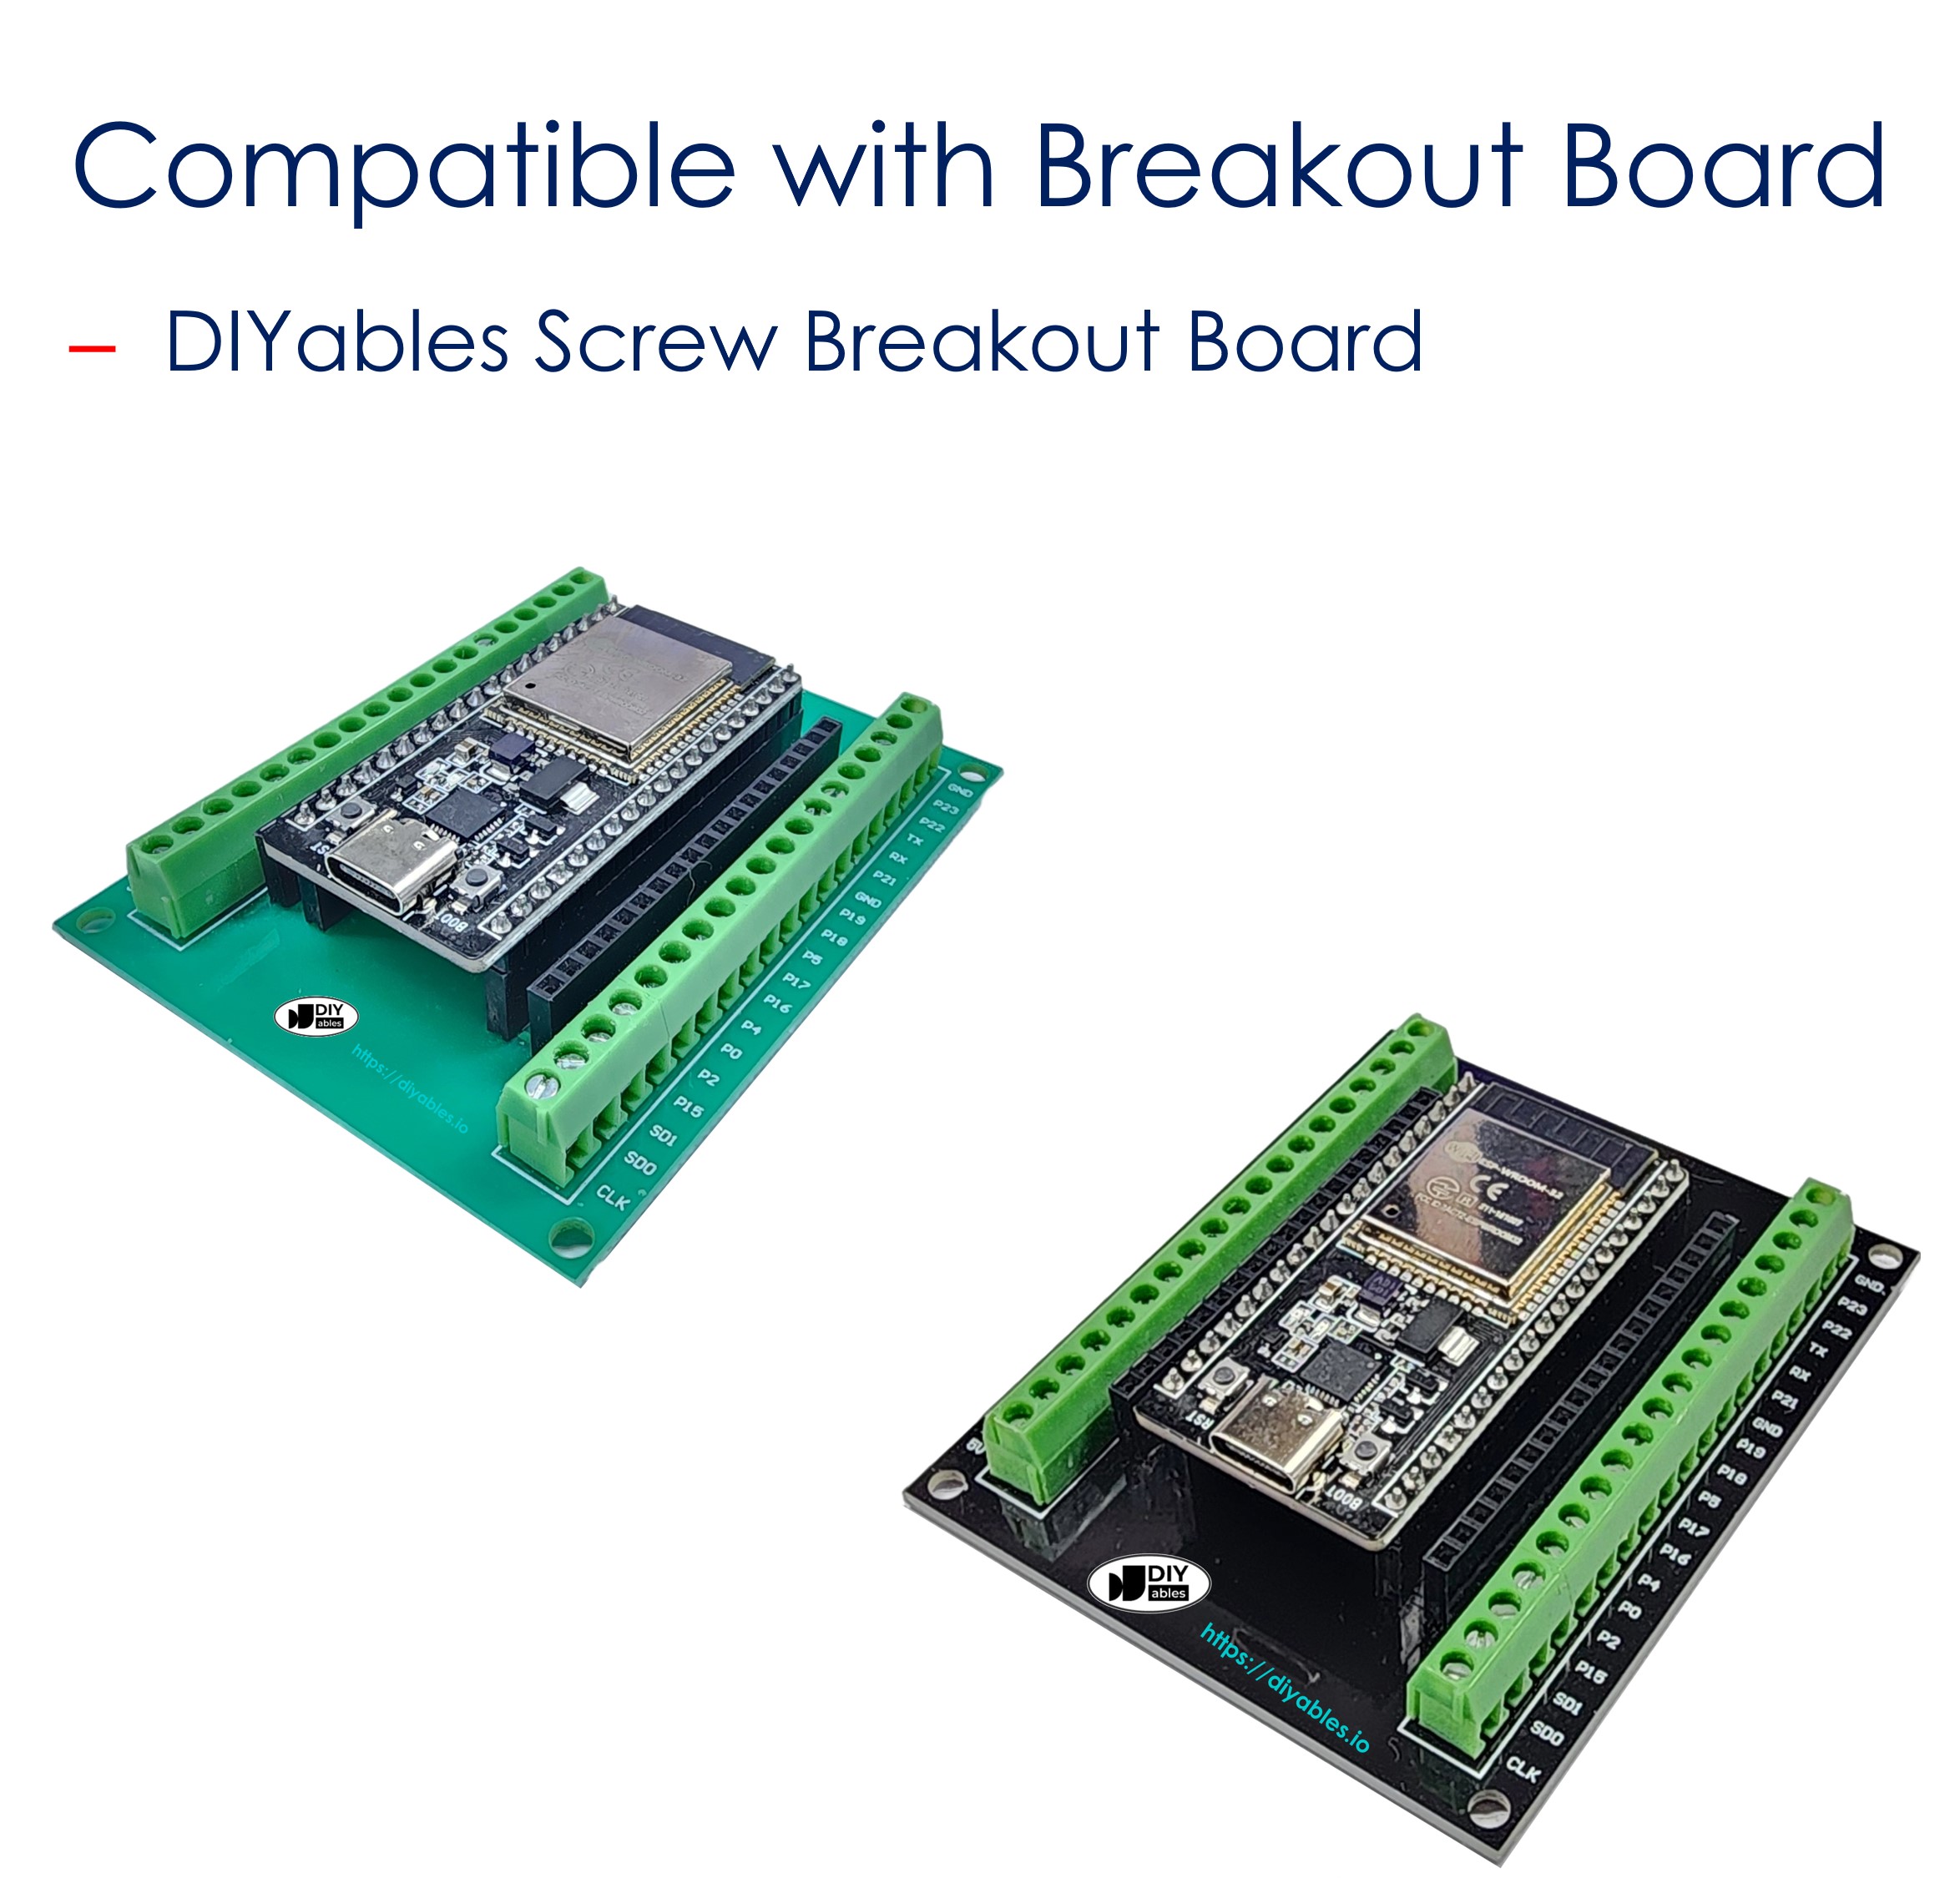
COMPATIBLE HARDWARE
This ESP32 development board is compatible with:
- Sensors and Modules (I2C, SPI, UART)
- Relay Modules
- OLED and LCD Displays
- Motor Drivers
- Servo Motors
- Stepper Motors
- LED Strips and Modules
- Buzzer Modules
- Button and Switch Modules
- Temperature and Humidity Sensors
- Ultrasonic Distance Sensors
- Level Converters for 5V Devices
DRIVER INSTALLATION
Normally, the driver for this board is automatically supported by the Arduino IDE. However, in some cases, the Arduino IDE may not recognize the board properly. If that happens, please follow the instructions below to install the driver manually.
- Download the Driver: Download the CP210x driver from the following links:
- After downloading, unzip the contents of the file to a folder on your computer. There is no installation executable in the package.
- Open Device Manager
- Press Windows + X and select Device Manager, or search for "Device Manager" in the Start menu.
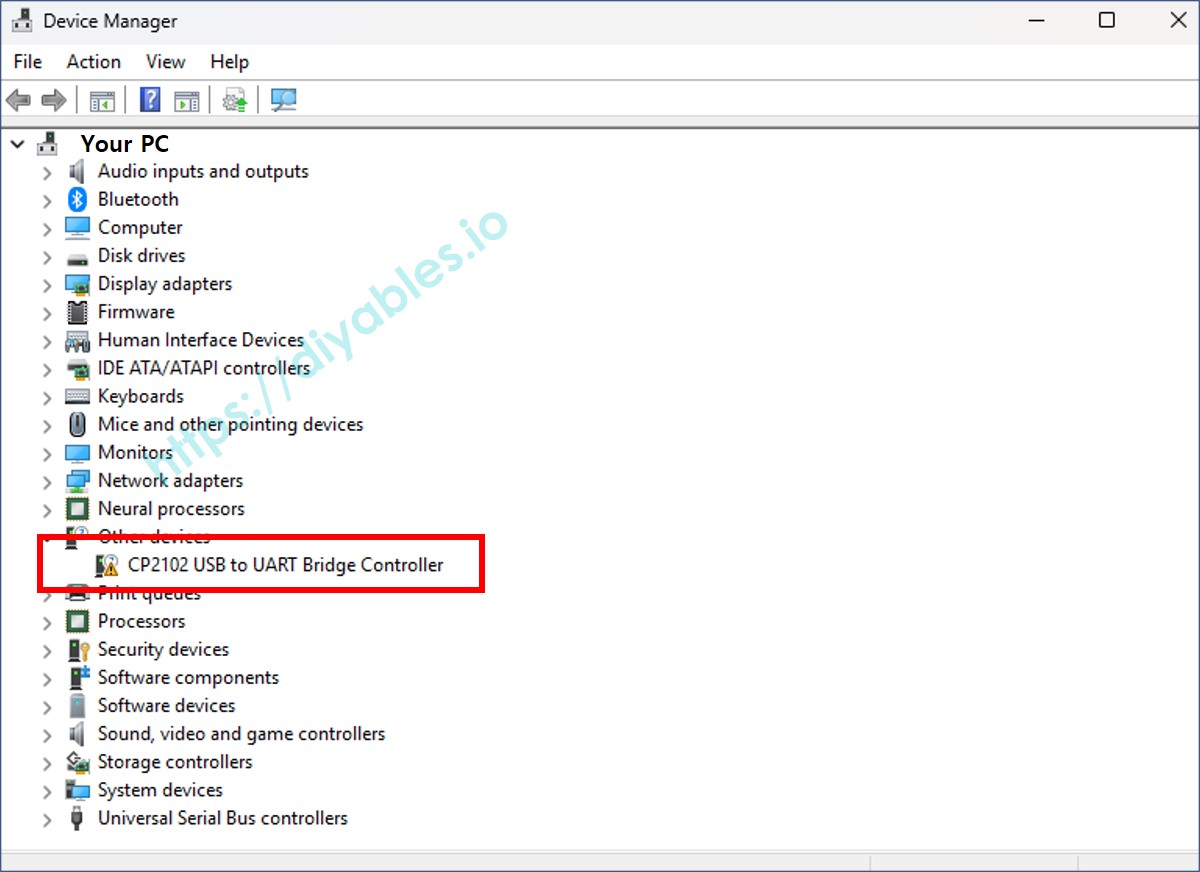
- Locate the device under Ports (COM & LPT), You will see a port usually listed as USB Serial Port or similar as below image.
- Connect the ESP32 Board
- Connect your ESP32 Board to the computer using a USB cable.
- Watch the Ports (COM & LPT) section in Device Manager to see which new serial port appears when the board is connected. This is your ESP32 device.
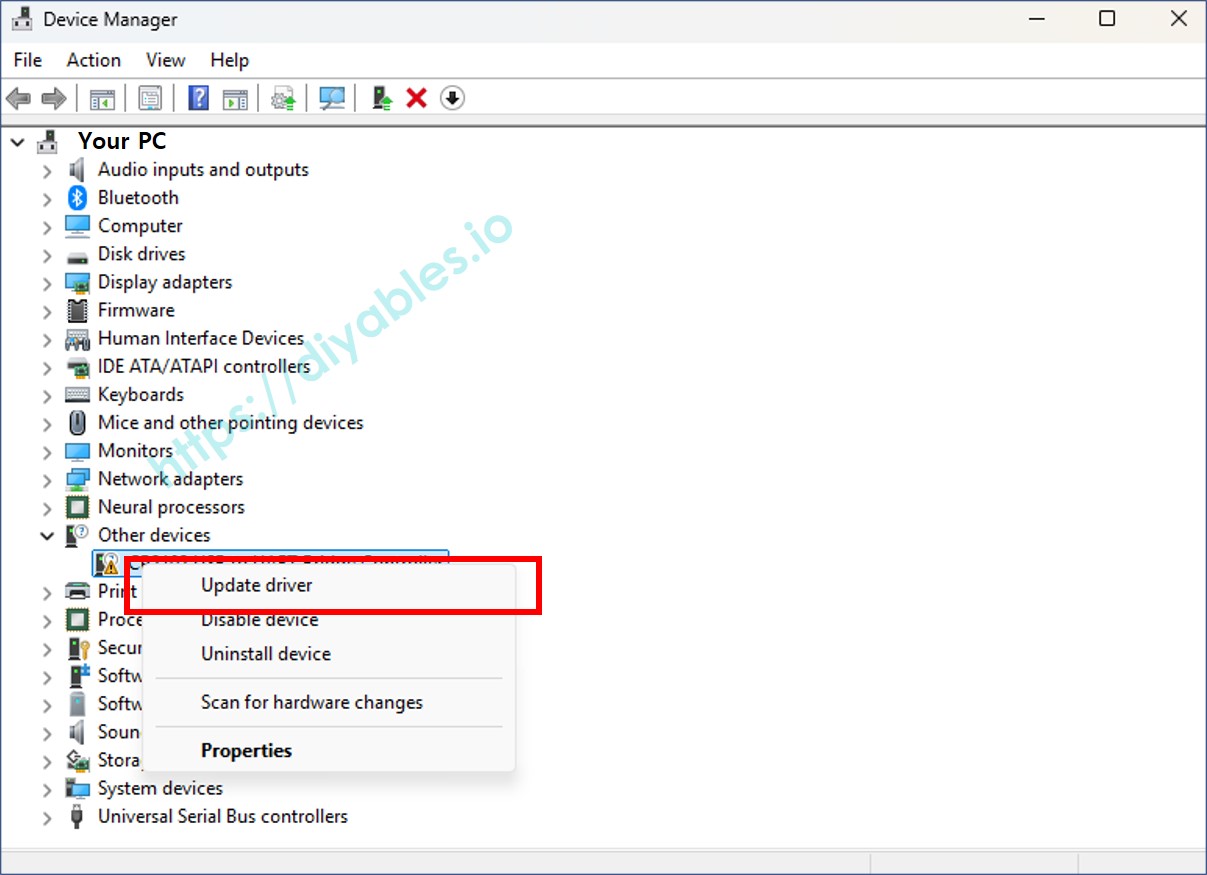
- Update the Driver
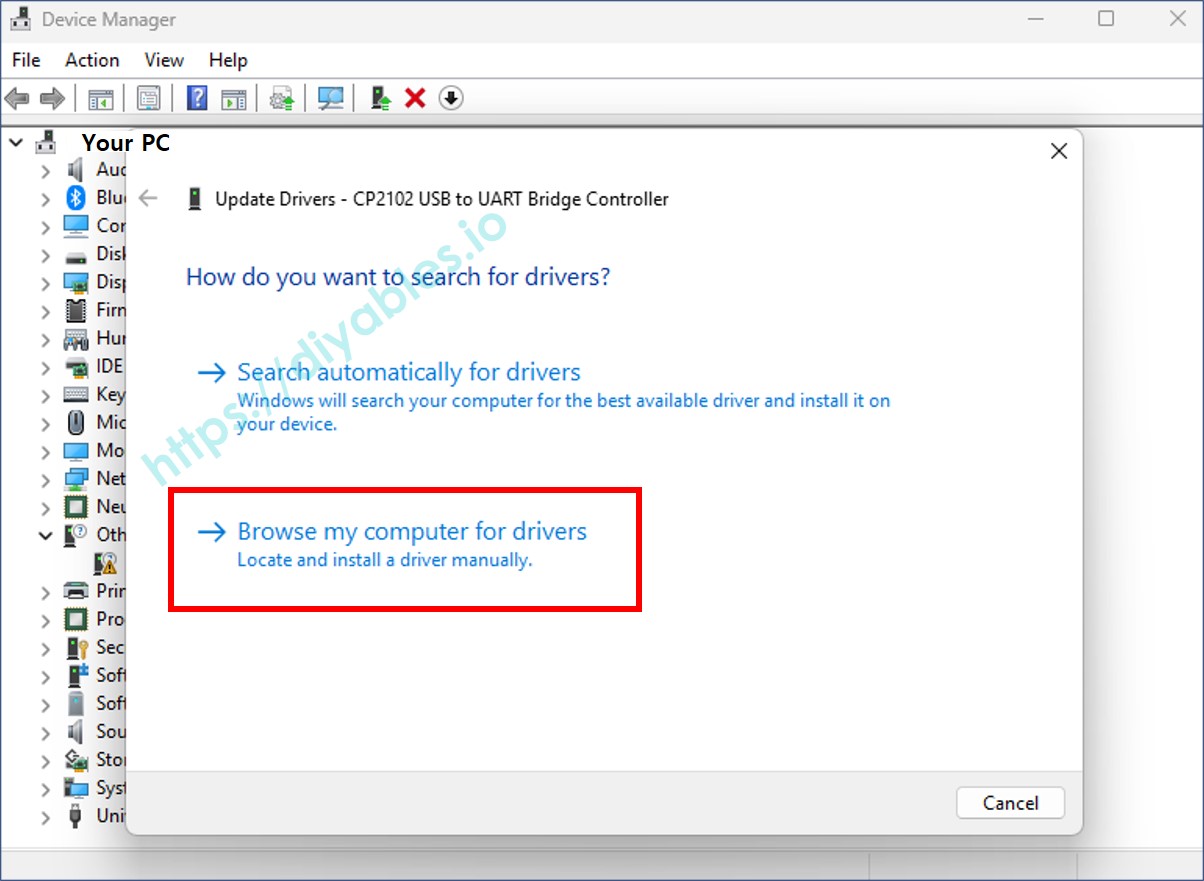
- Right-click on the detected serial device (e.g., “USB Serial Port”) and choose Update driver, like the below image:
- In the window that appears, select Browse my computer for drivers.
- Select the Unzipped Folder
- Click Browse, then navigate to the folder where you unzipped the driver.
- Click Next and follow the prompts to complete the installation.
- Finish
Once the driver is installed, the device should appear correctly under Ports (COM & LPT) in Device Manager. It looks like below images:
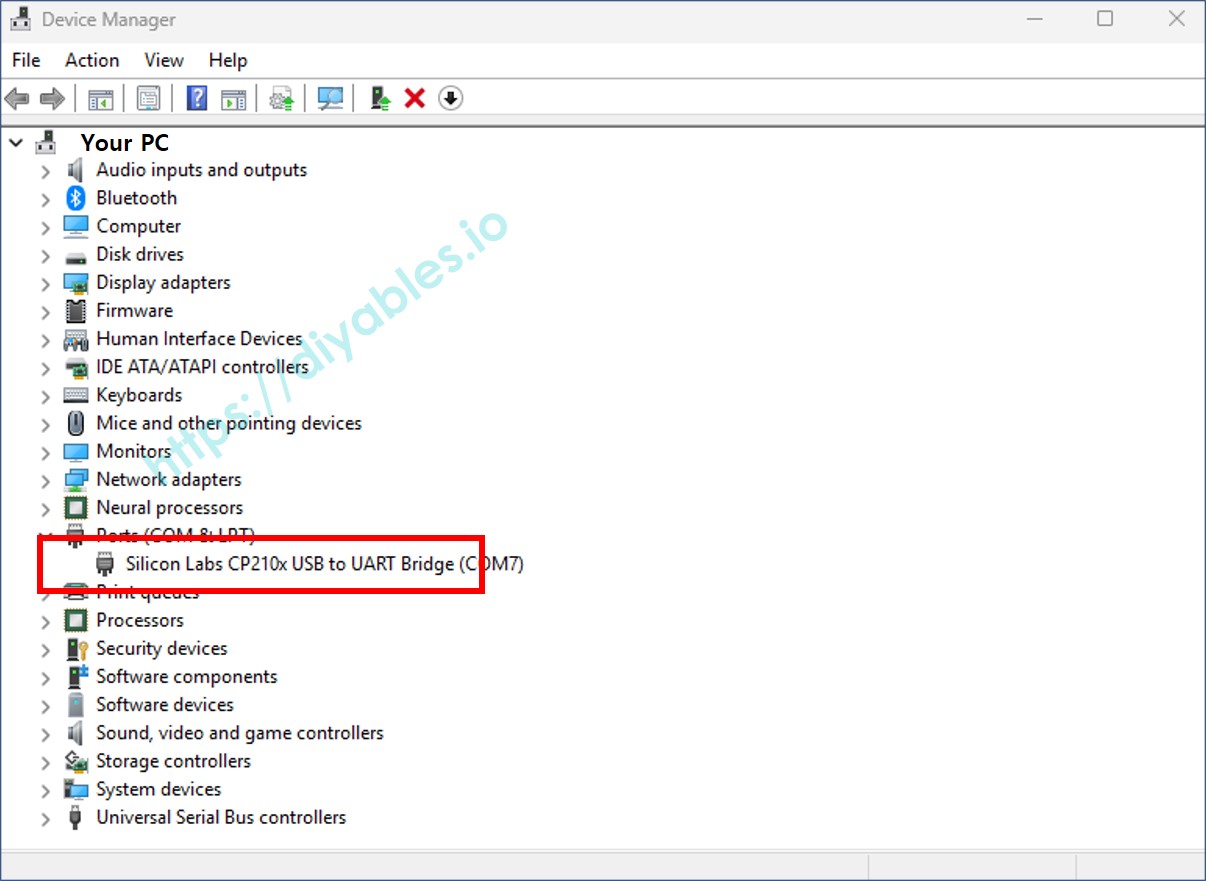
Note that if it does not work, you may need to uninstall the existing driver for that COM port before installing new driver as the instruction above.
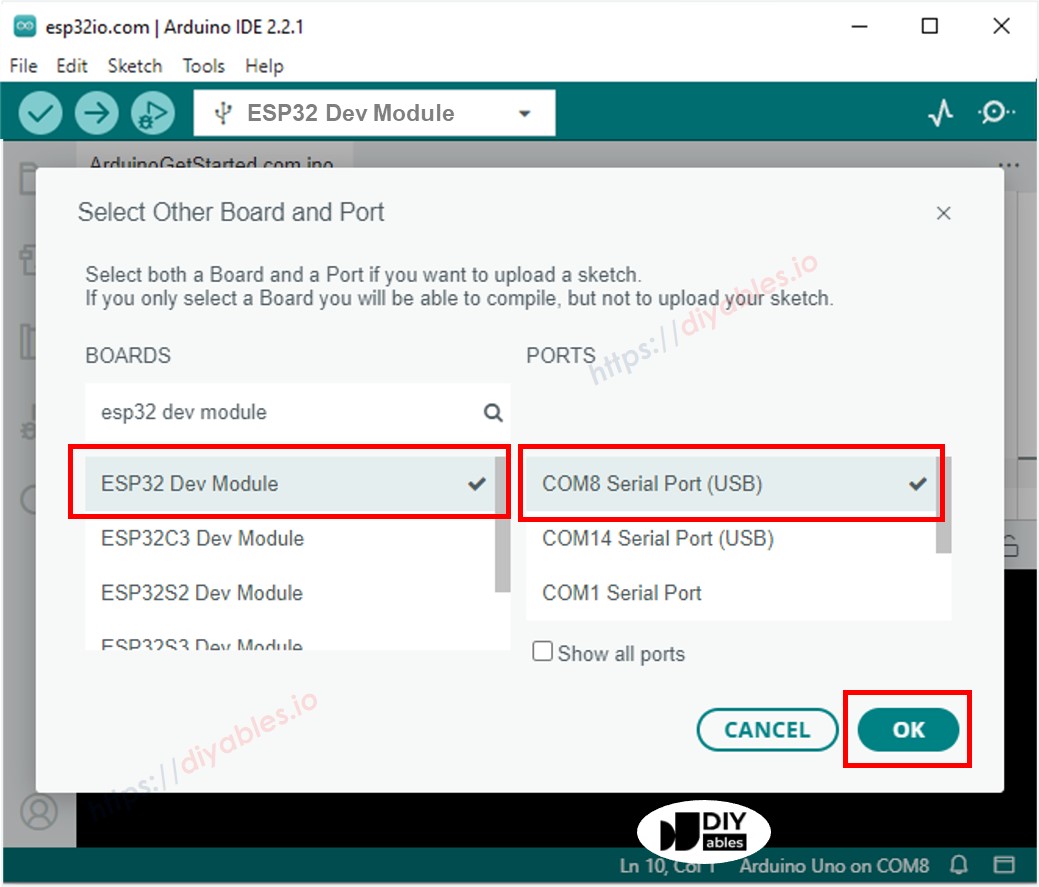
ARDUINO IDE BOARD SELECTION
- Connect the DIYables ESP32 board to your computer using a USB cable.
- Launch the Arduino IDE on your computer.
- Select the ESP32 Dev Module and COM port.