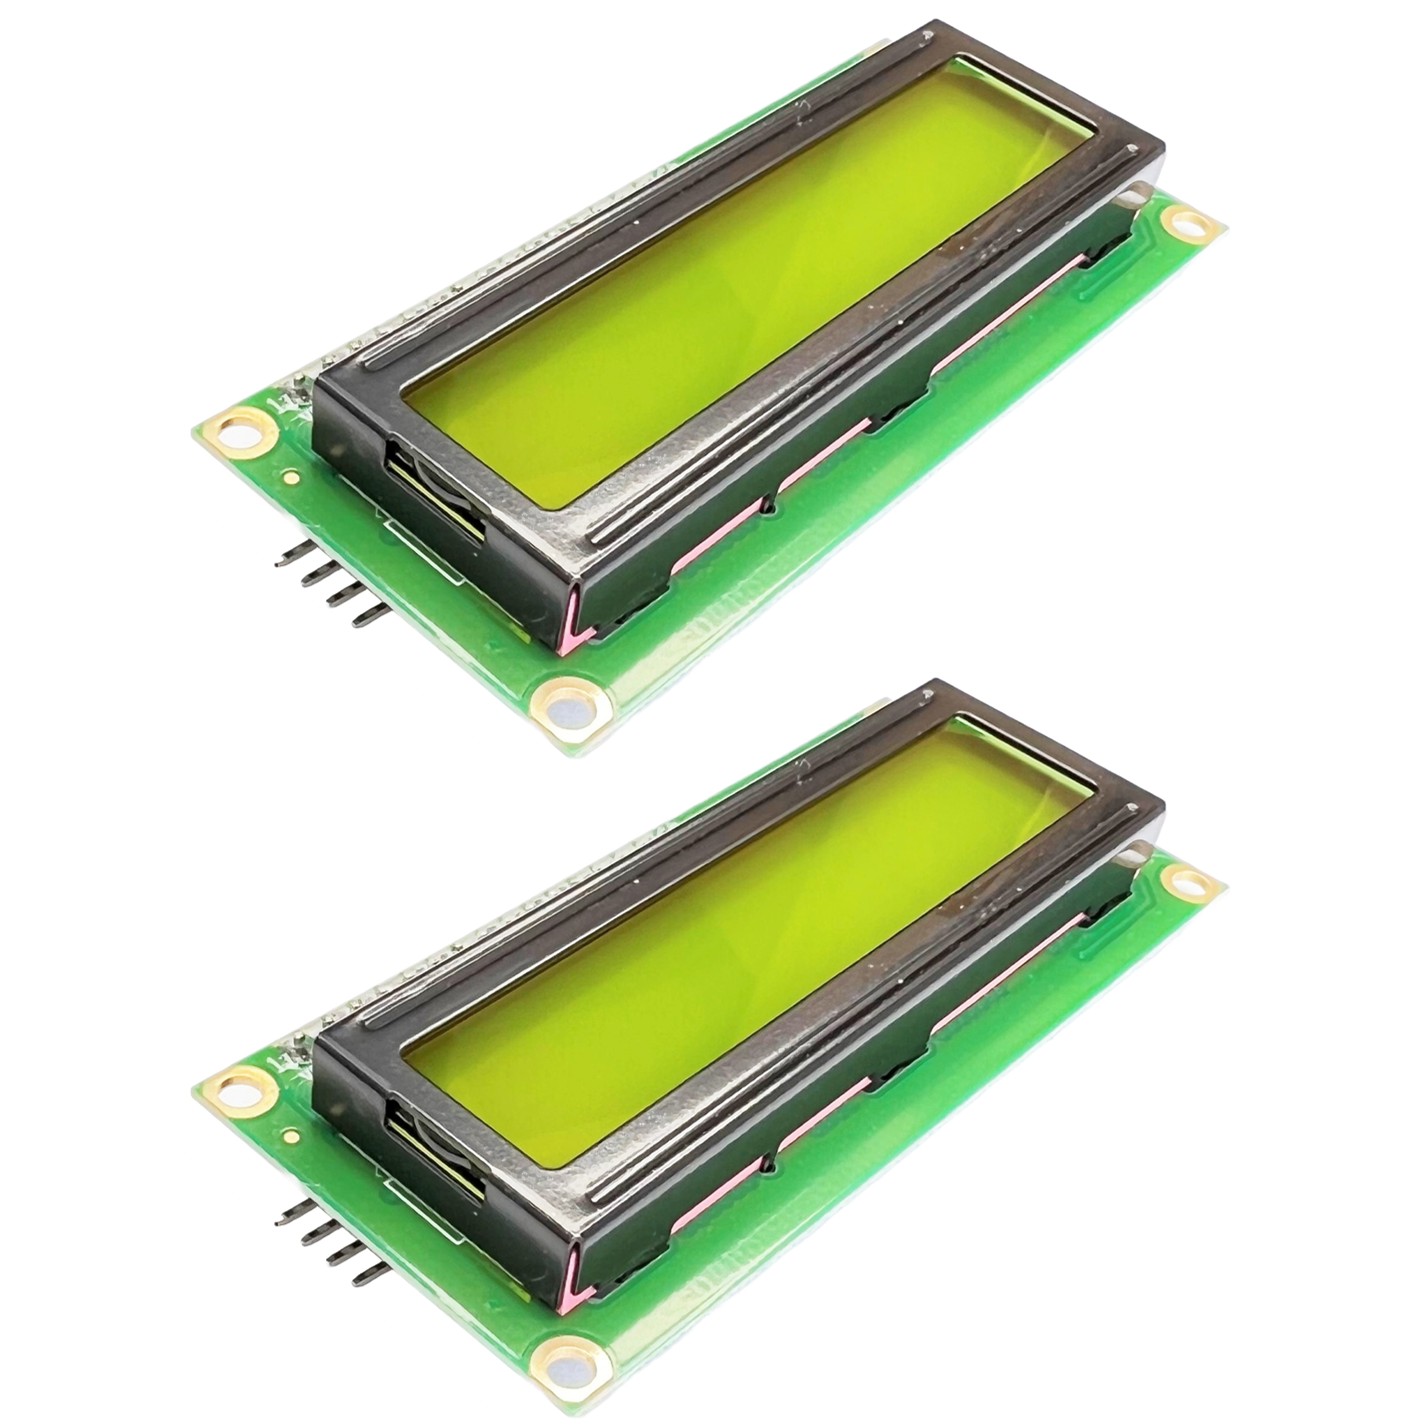
DIYables LCD I2C 16x2 Blue Background for Arduino, ESP32, ESP8266, Raspberry Pi, 2 Pieces…
 Click to zoom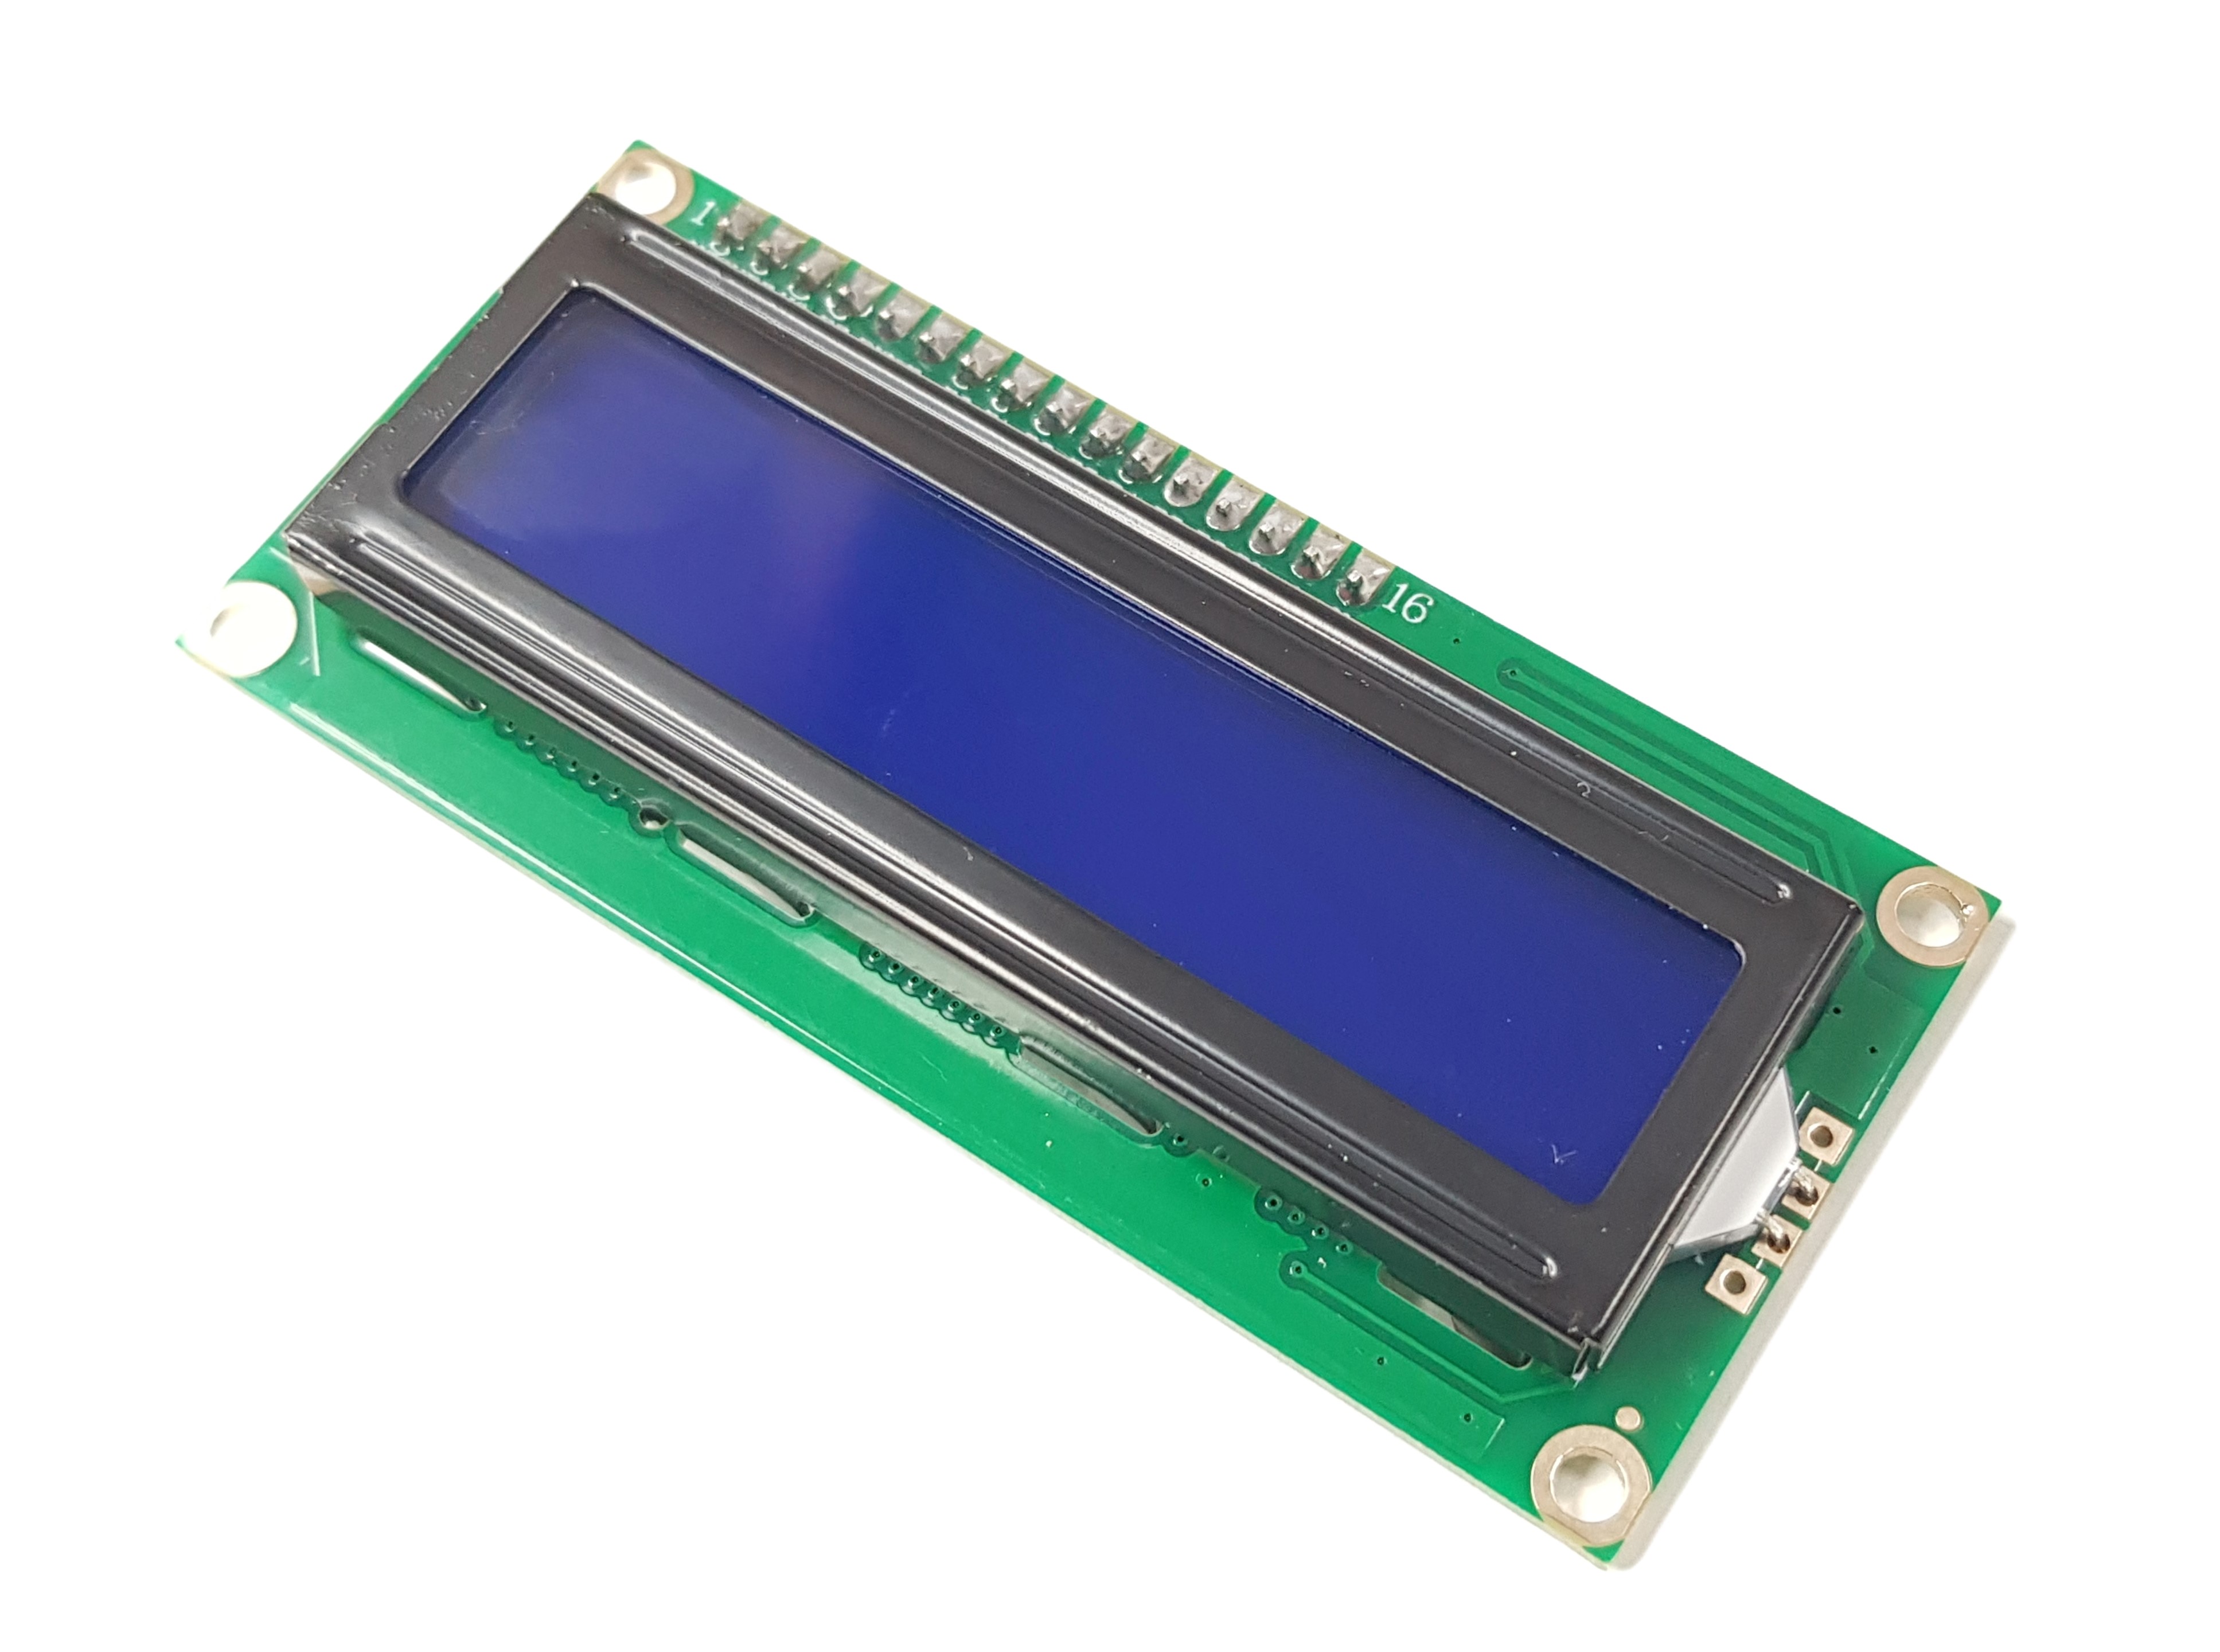
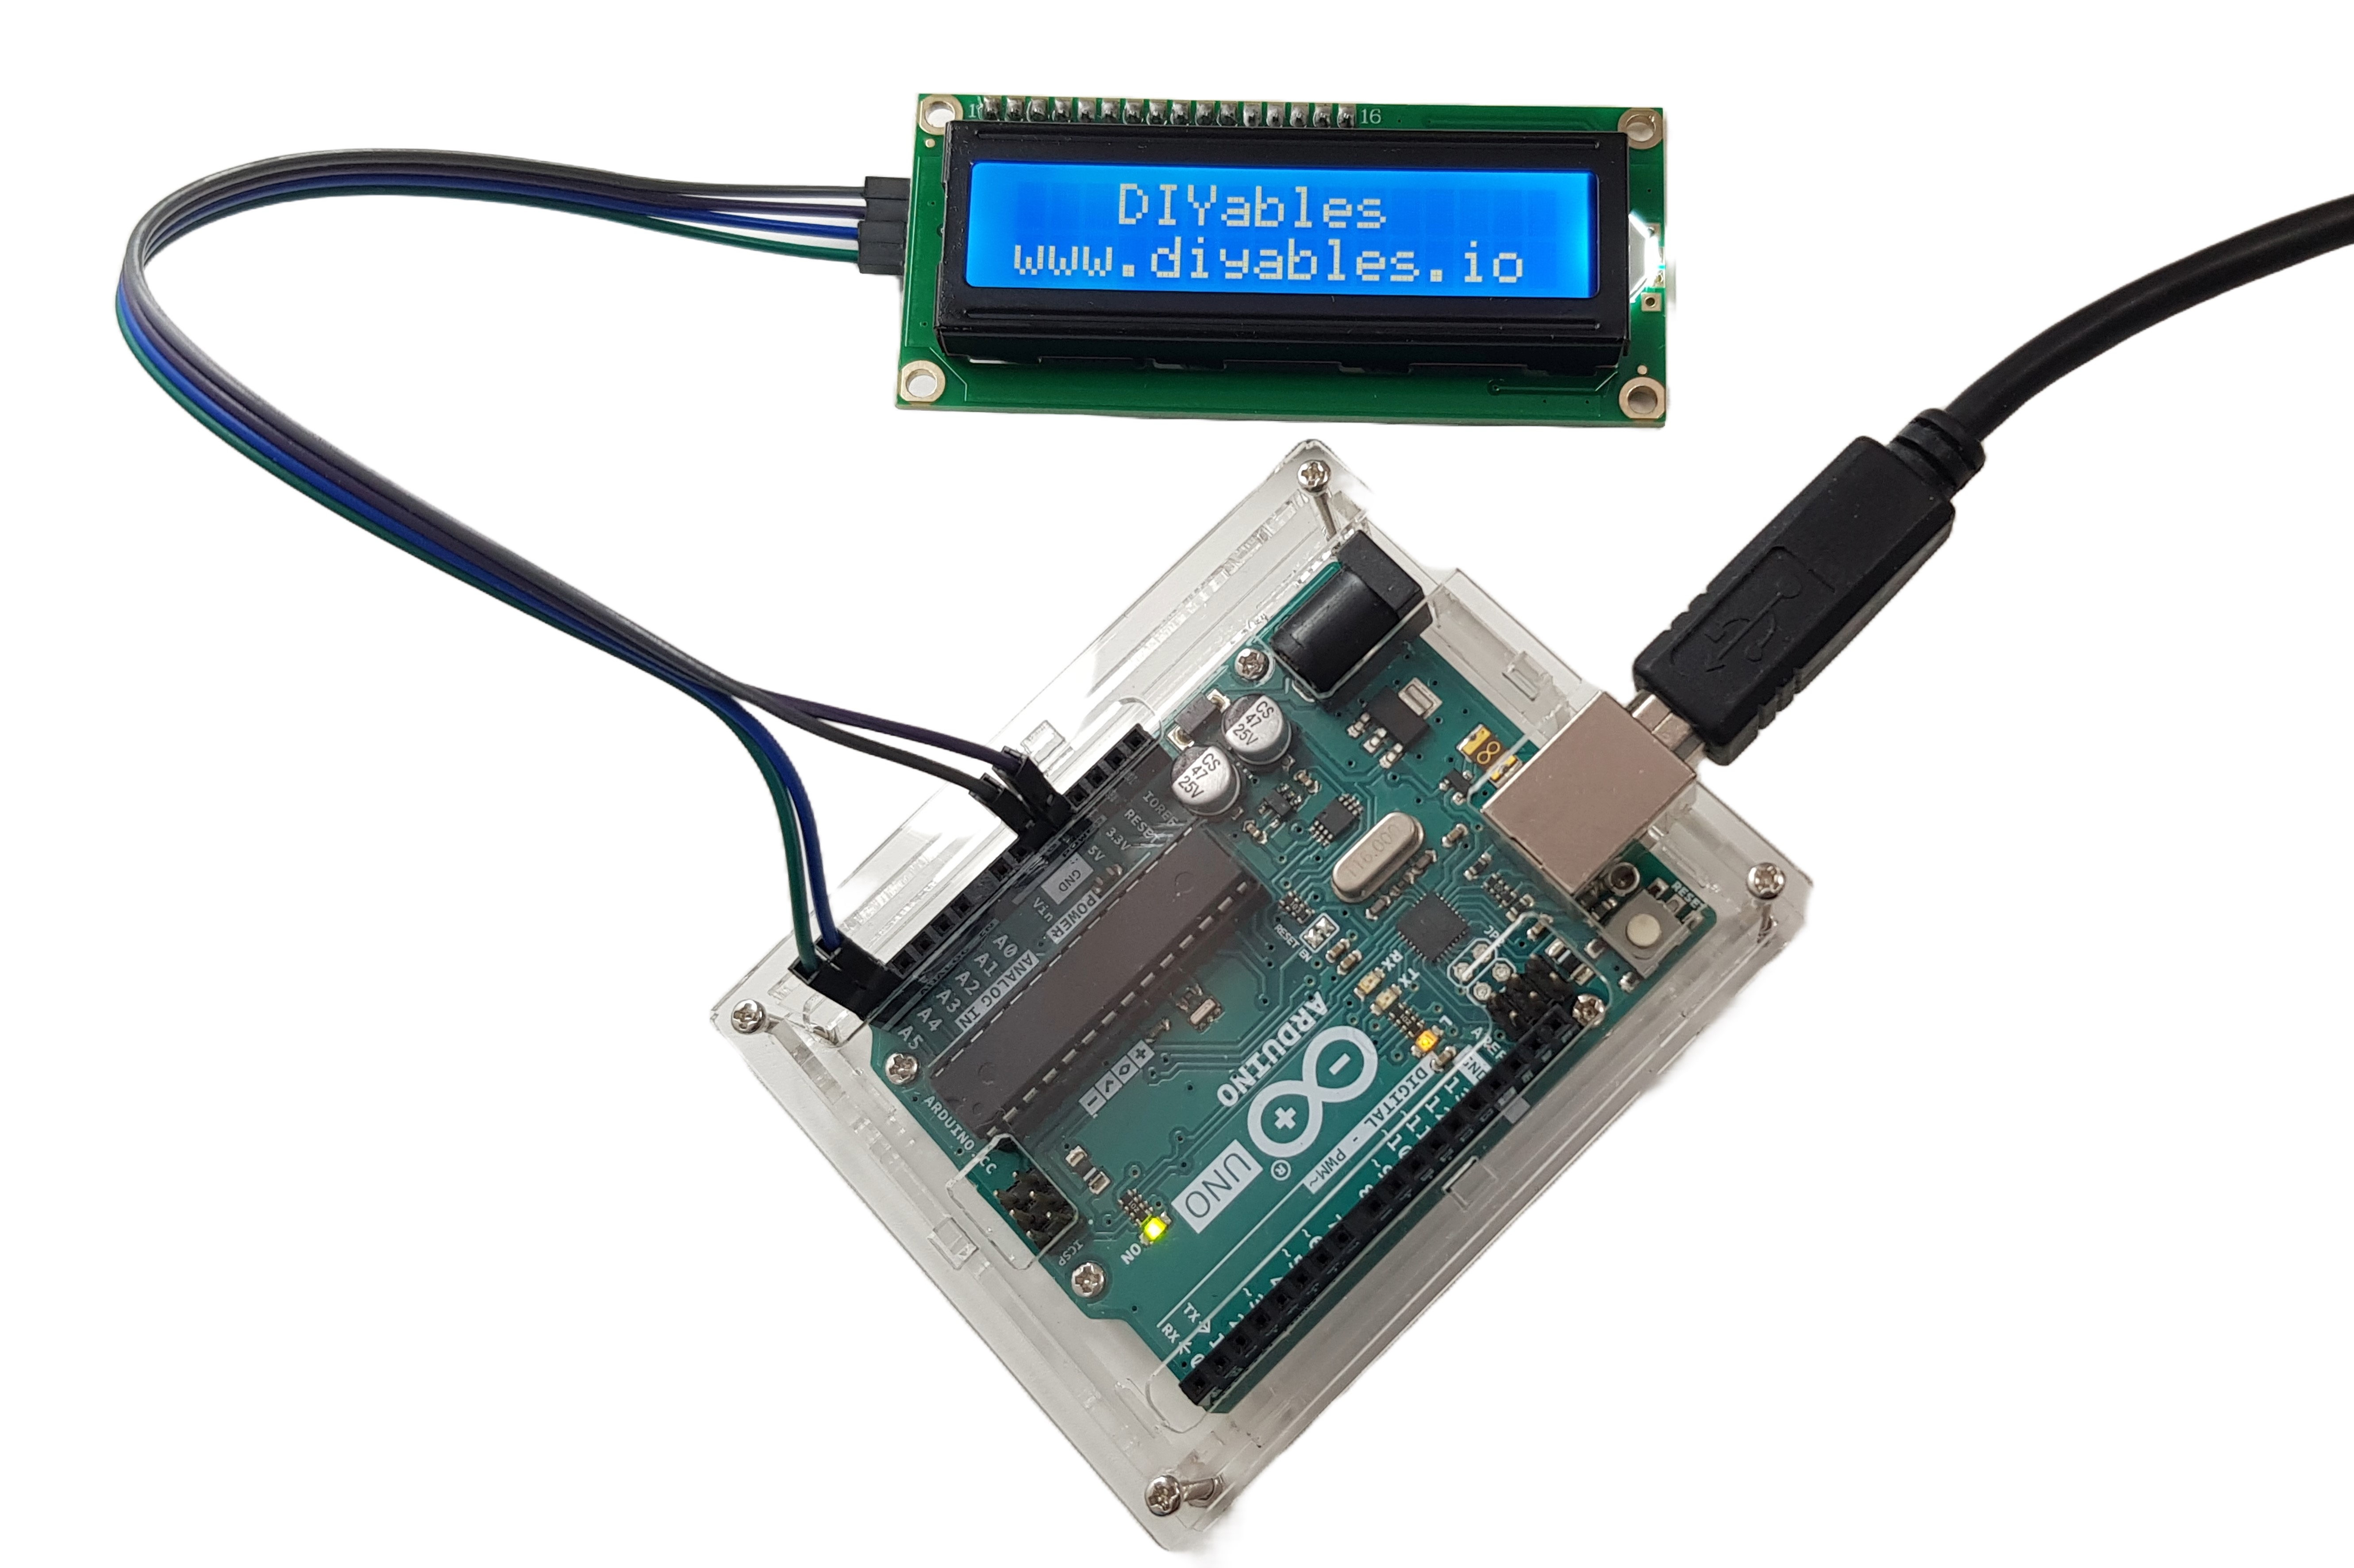
Quick Overview
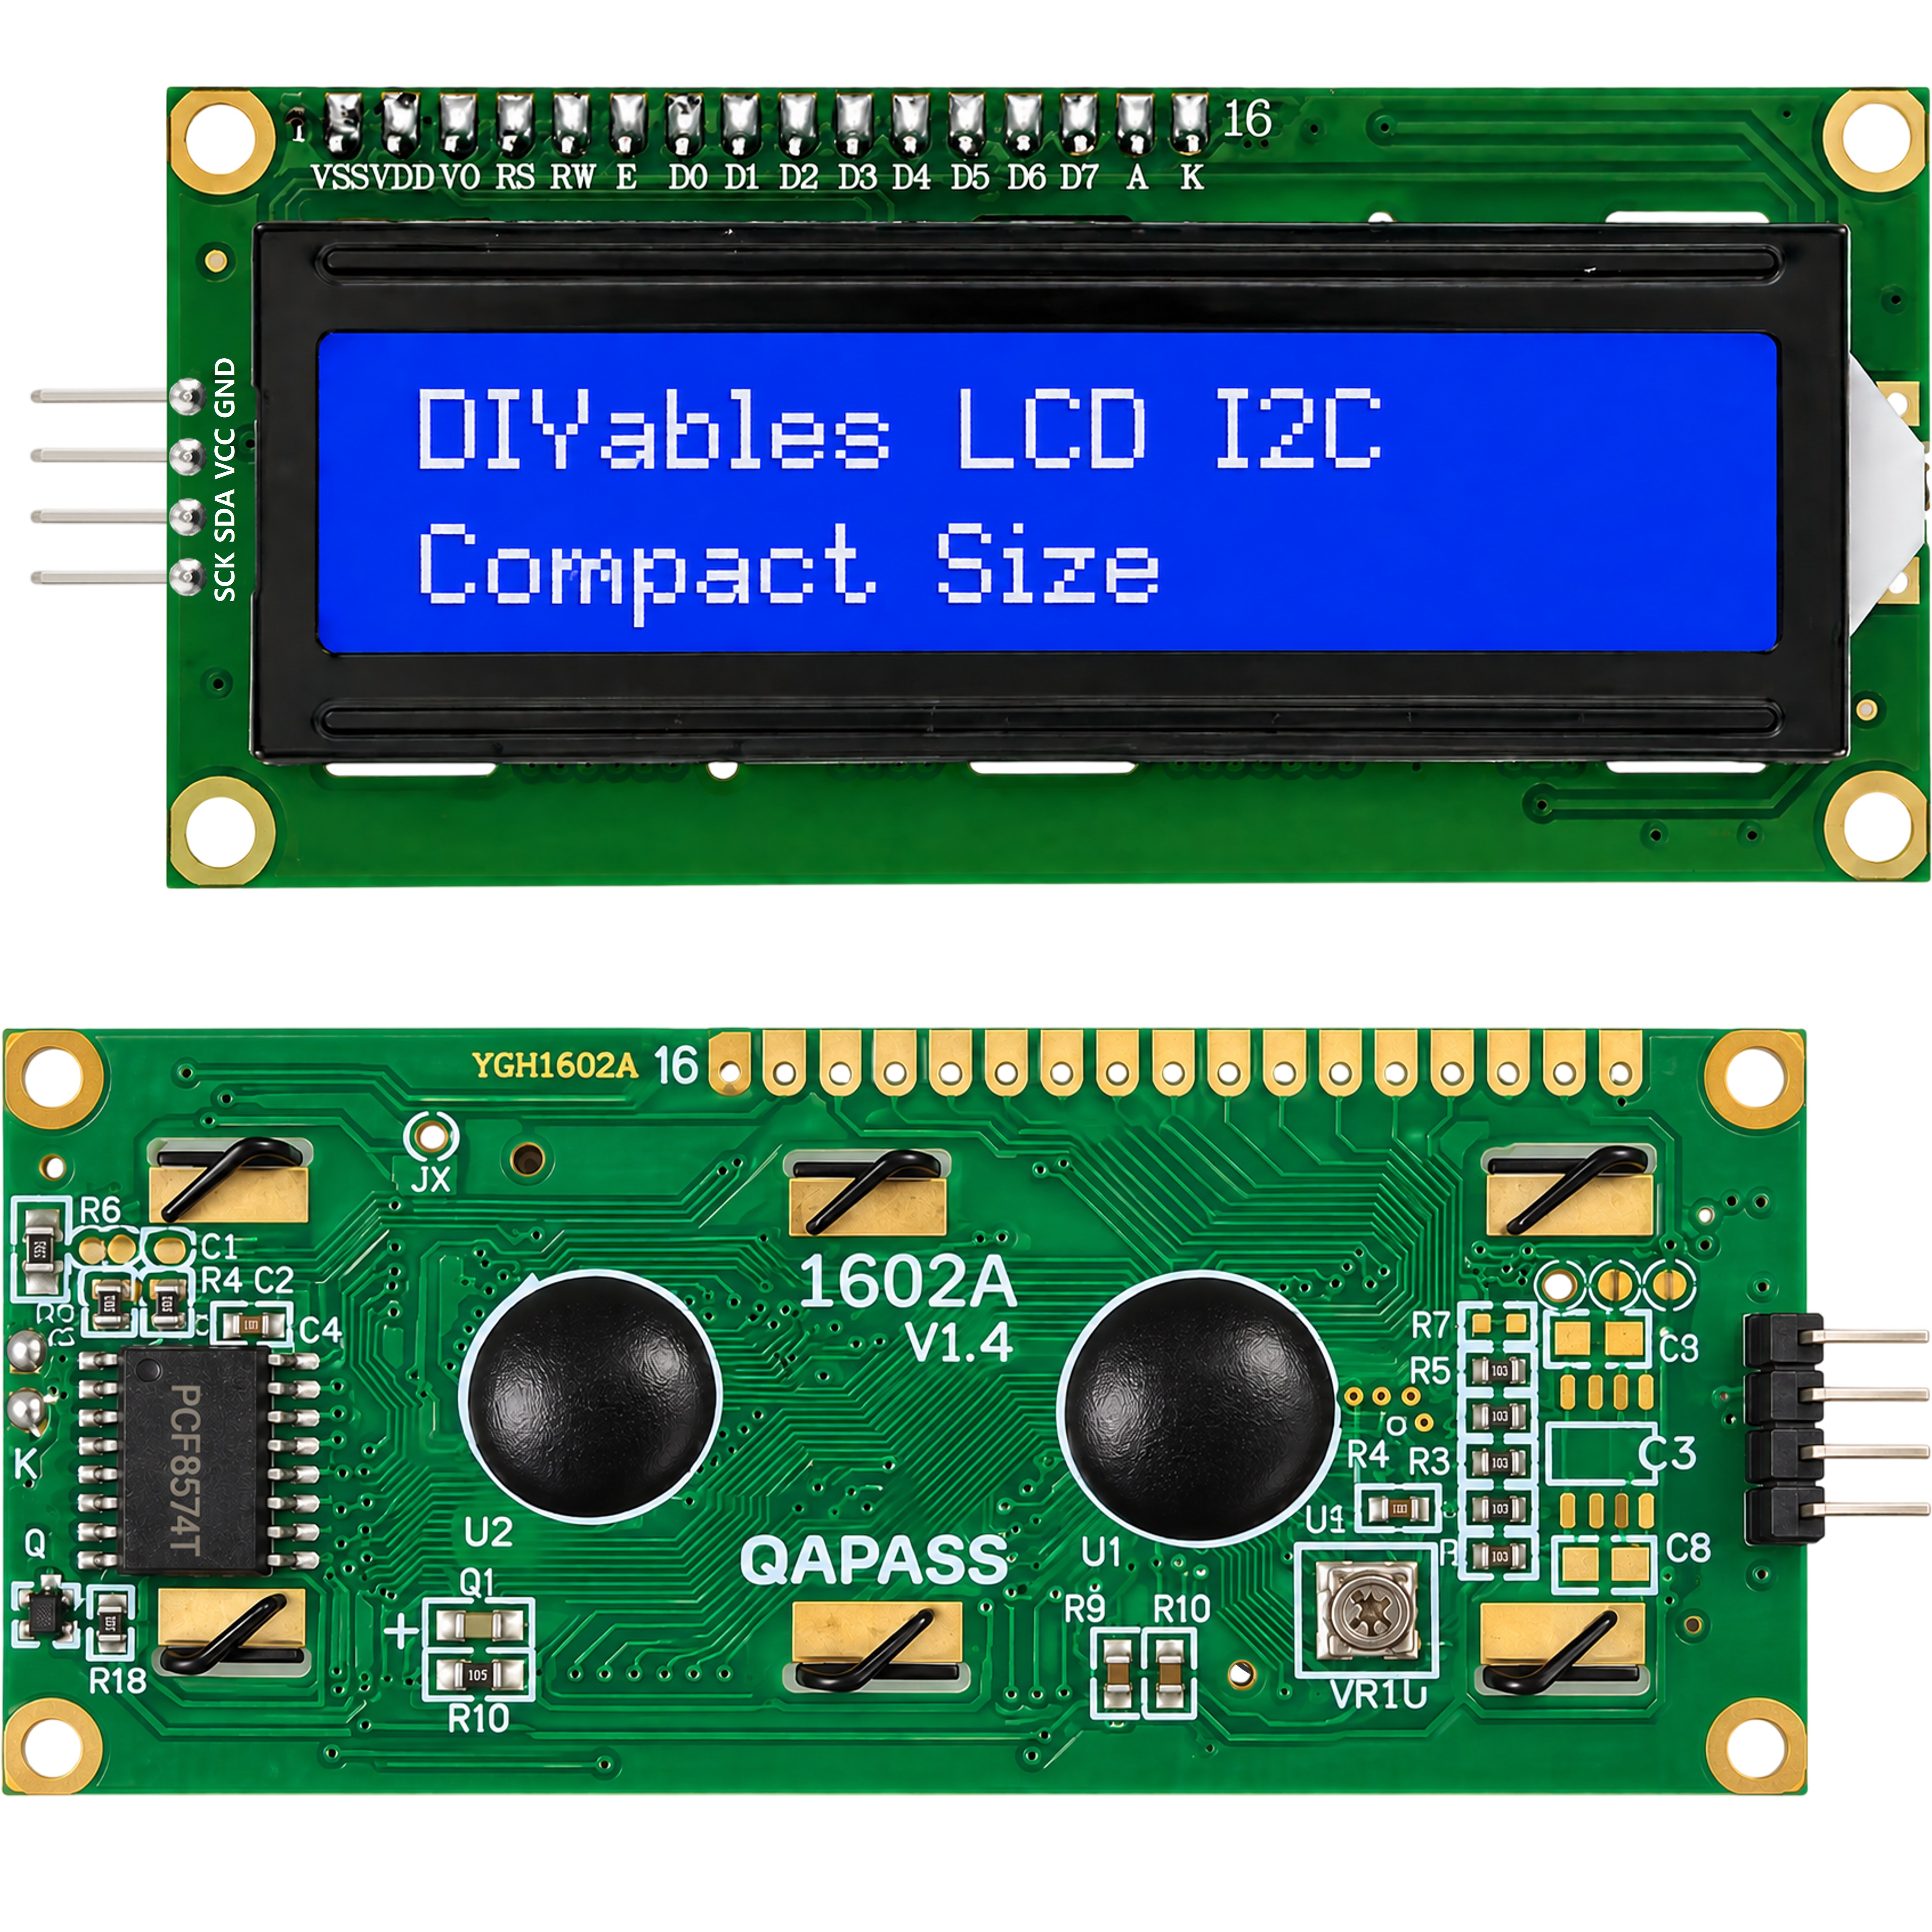
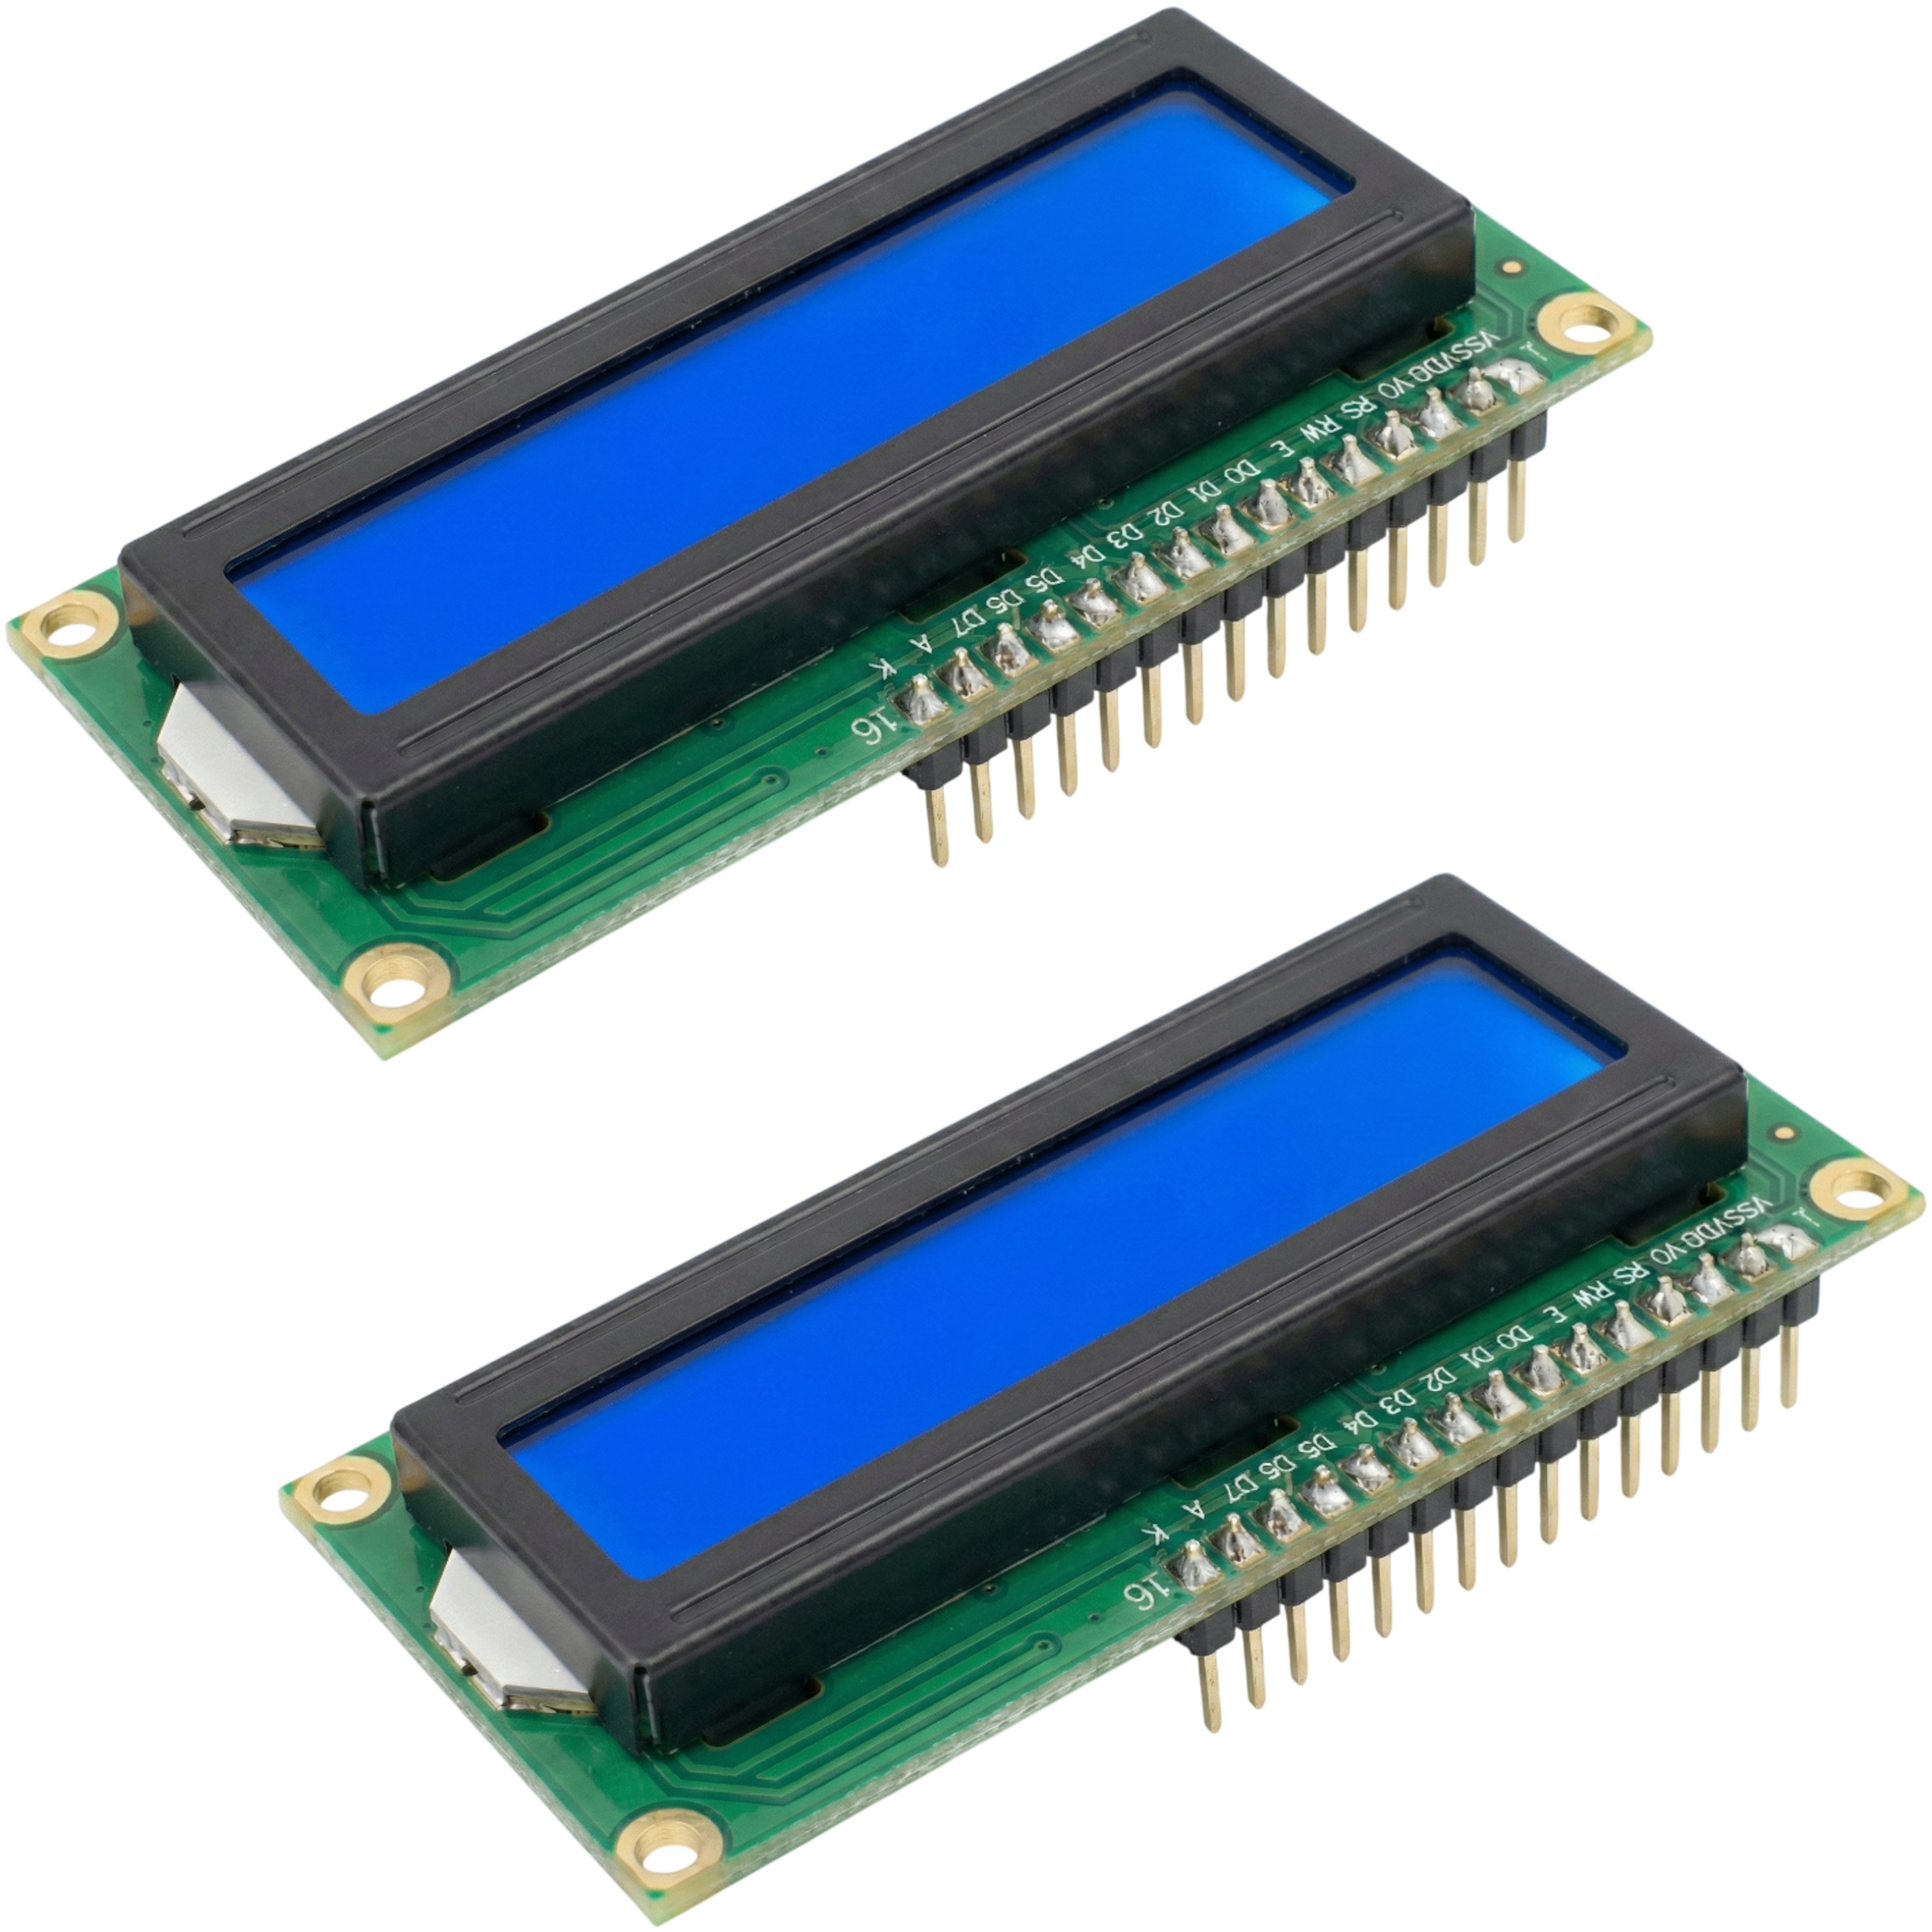
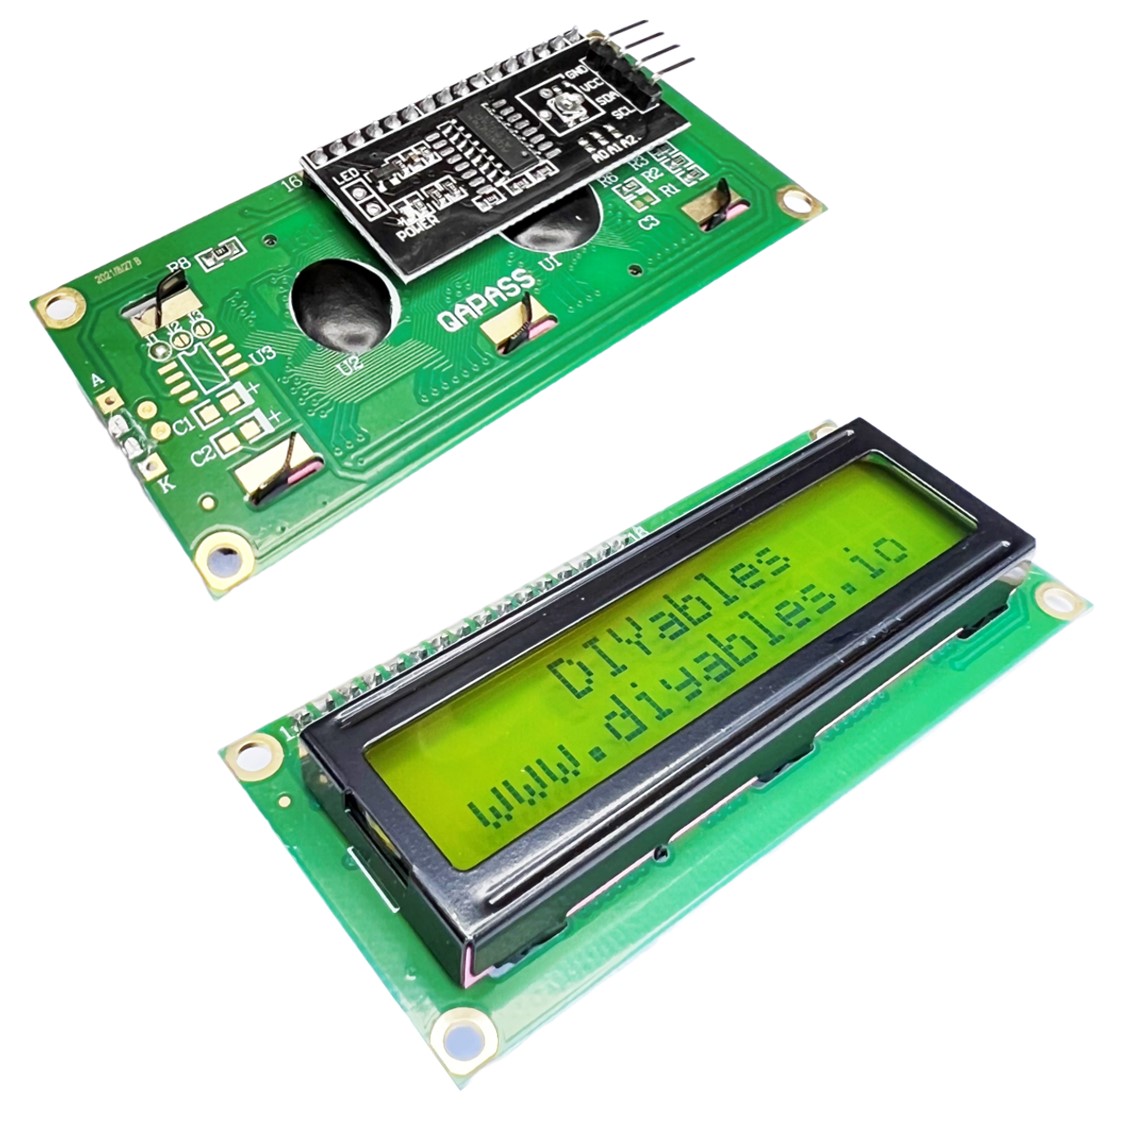
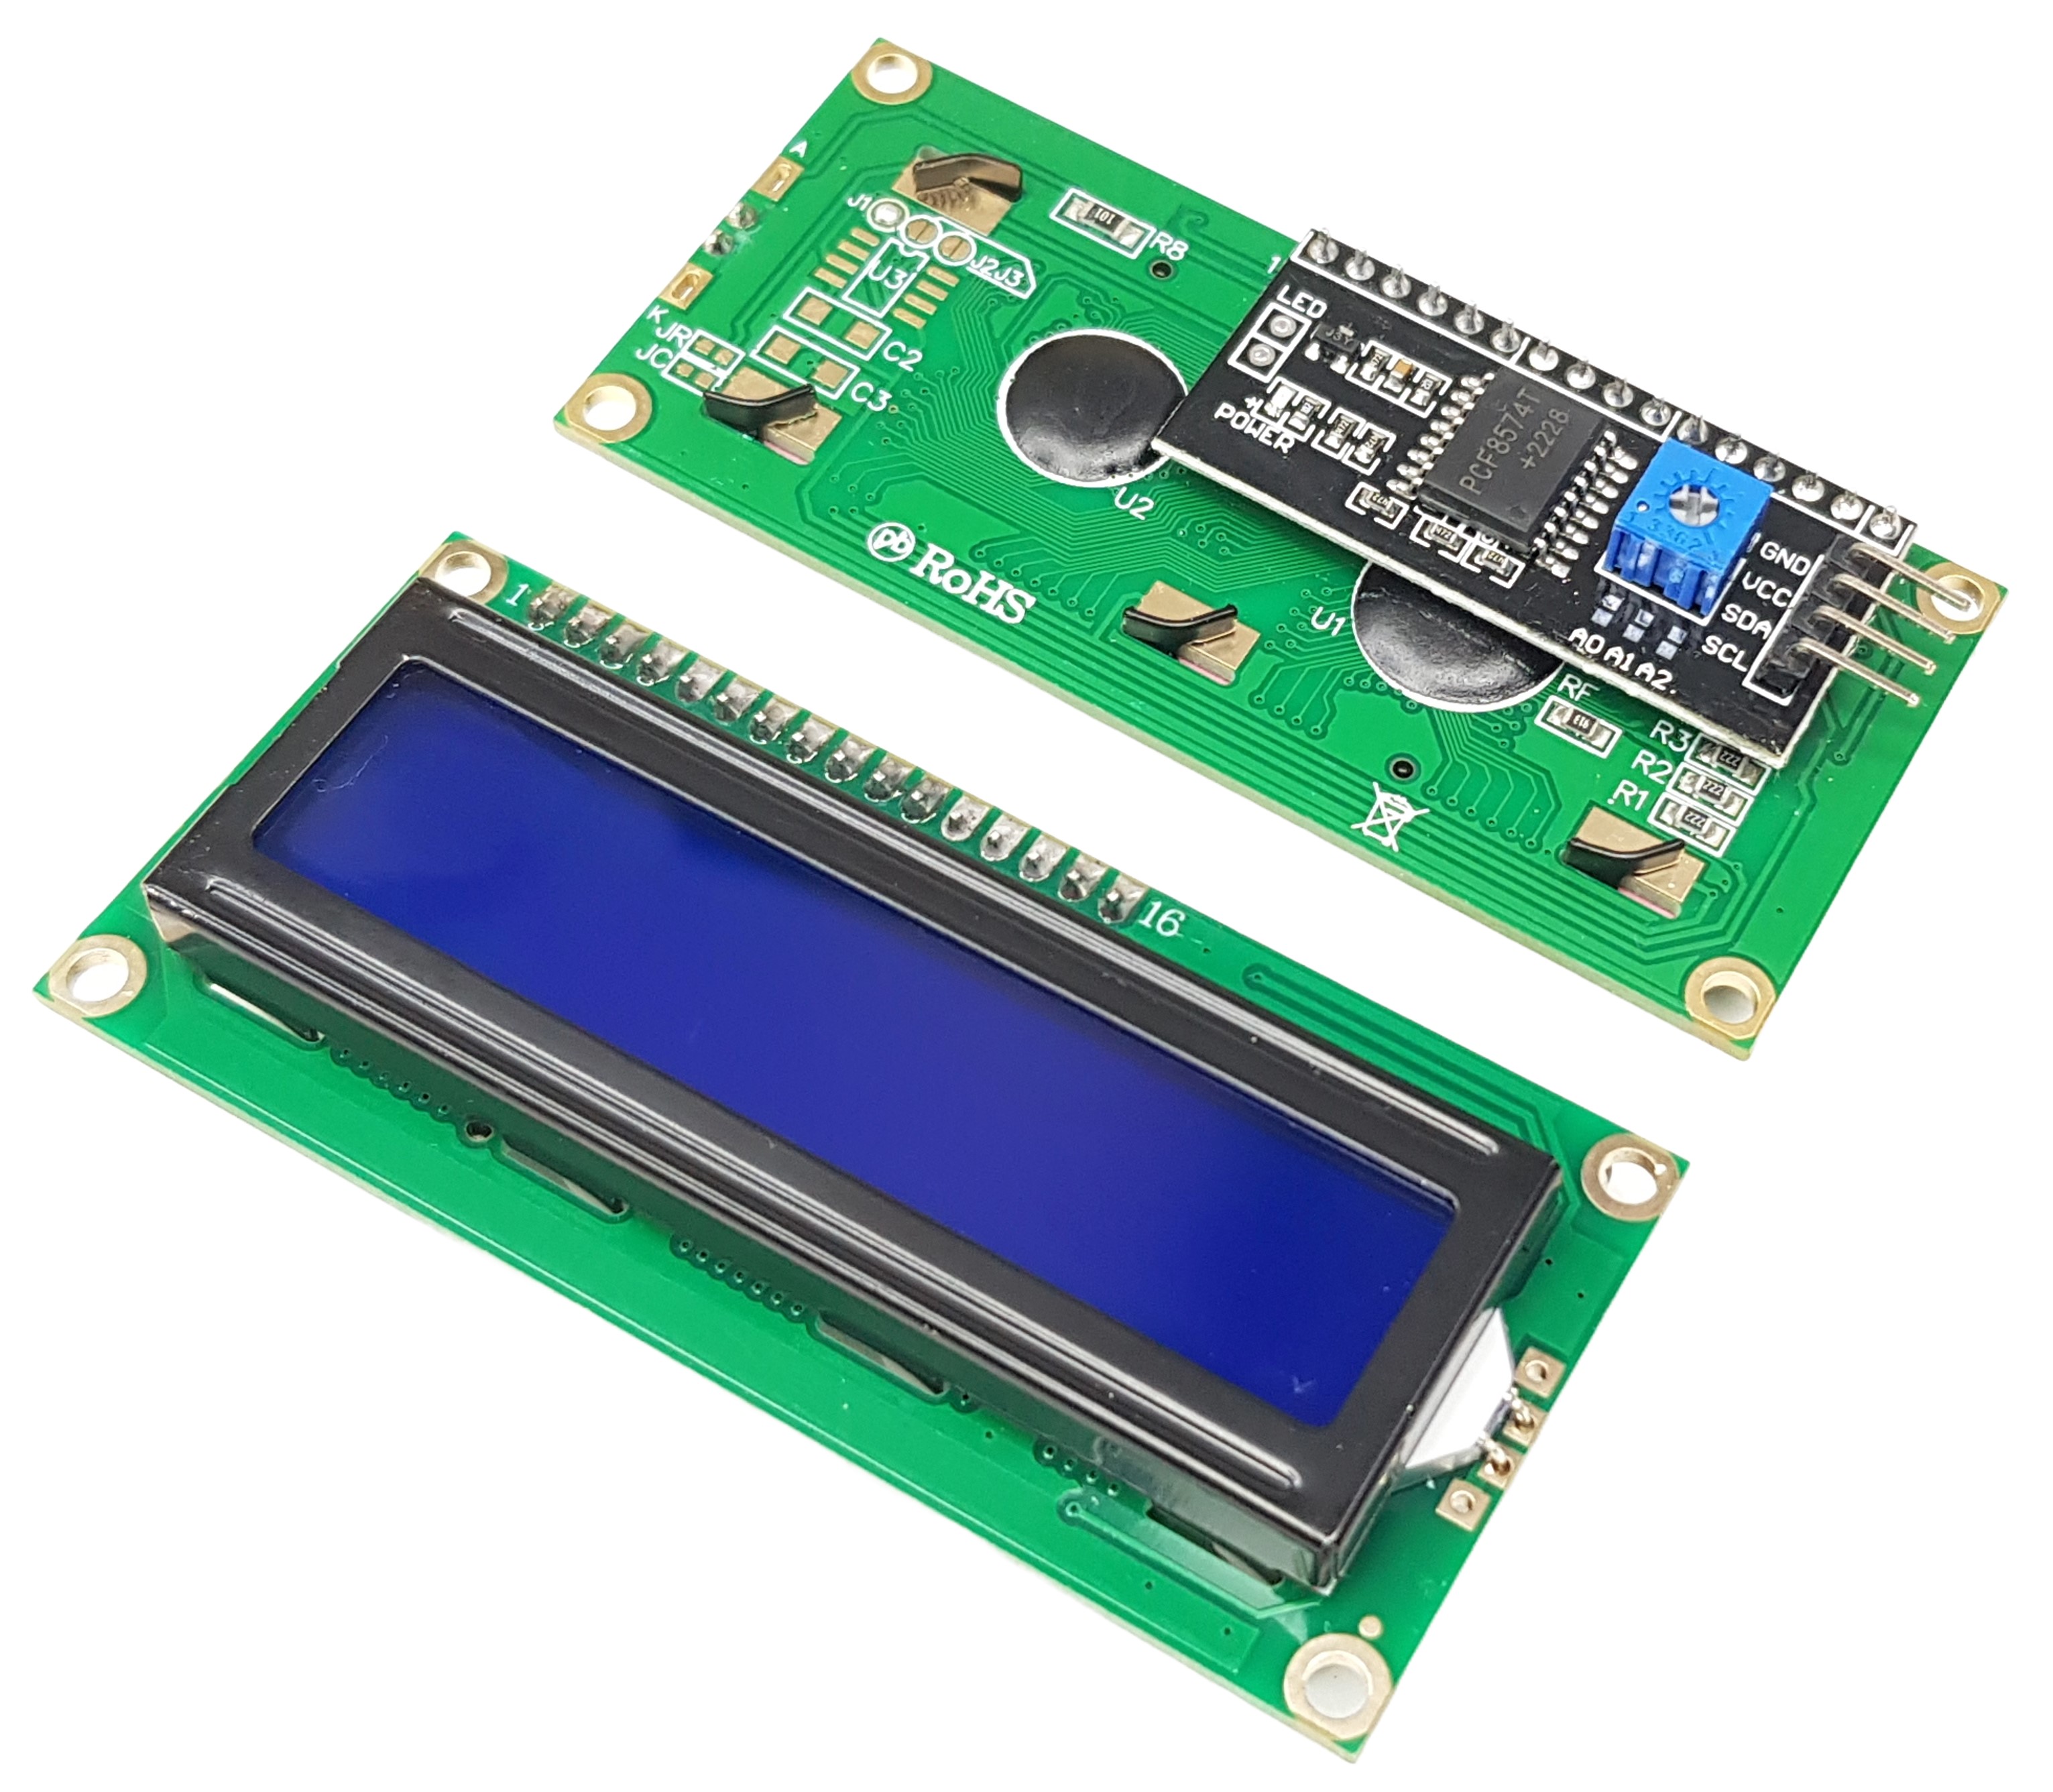
This 16x2 character LCD display features a blue background with I2C interface for simple 4-wire connection. The display shows 2 lines of 16 characters each with adjustable contrast via built-in potentiometer and programmable backlight control.
Perfect for Arduino, ESP32, ESP8266, and Raspberry Pi projects requiring clear text display. The I2C interface (address 0x27) reduces wiring complexity and saves GPIO pins.
Key Features
- 16x2 Display: 32 characters (16 columns × 2 rows)
- Blue Background: Clear visibility with blue backlight
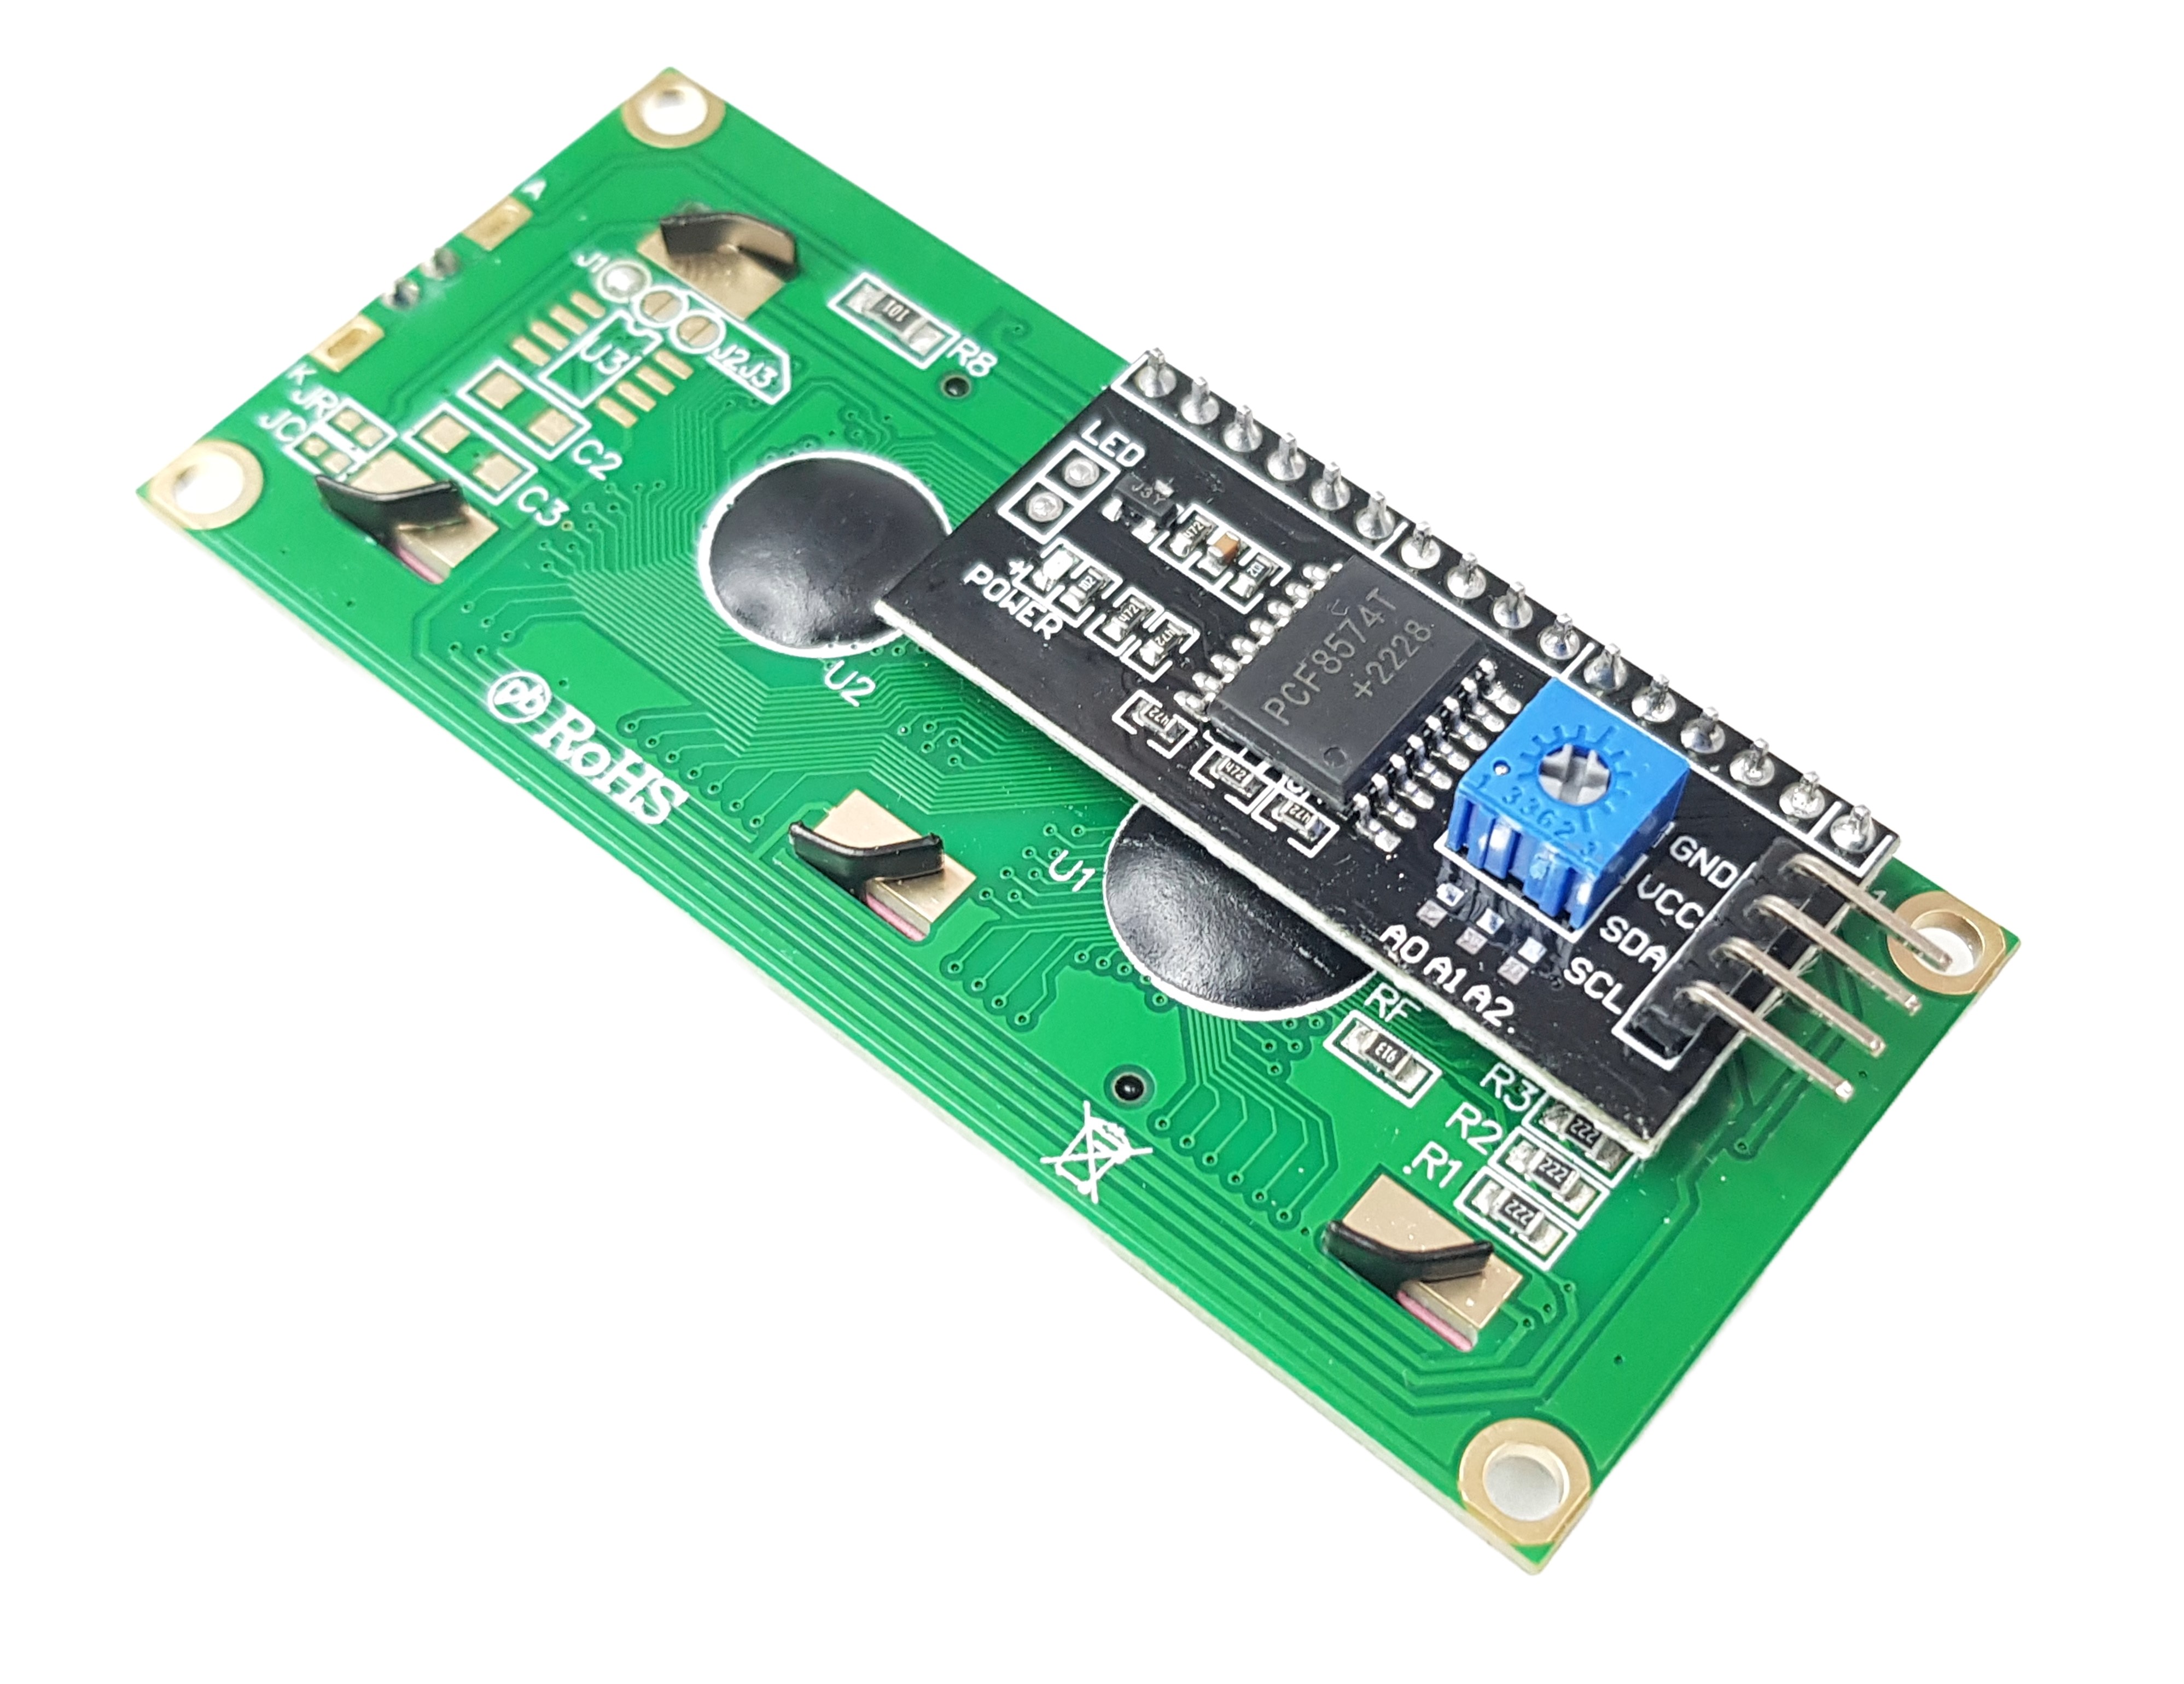
- I2C Interface: 4-wire connection (VCC, GND, SDA, SCL)
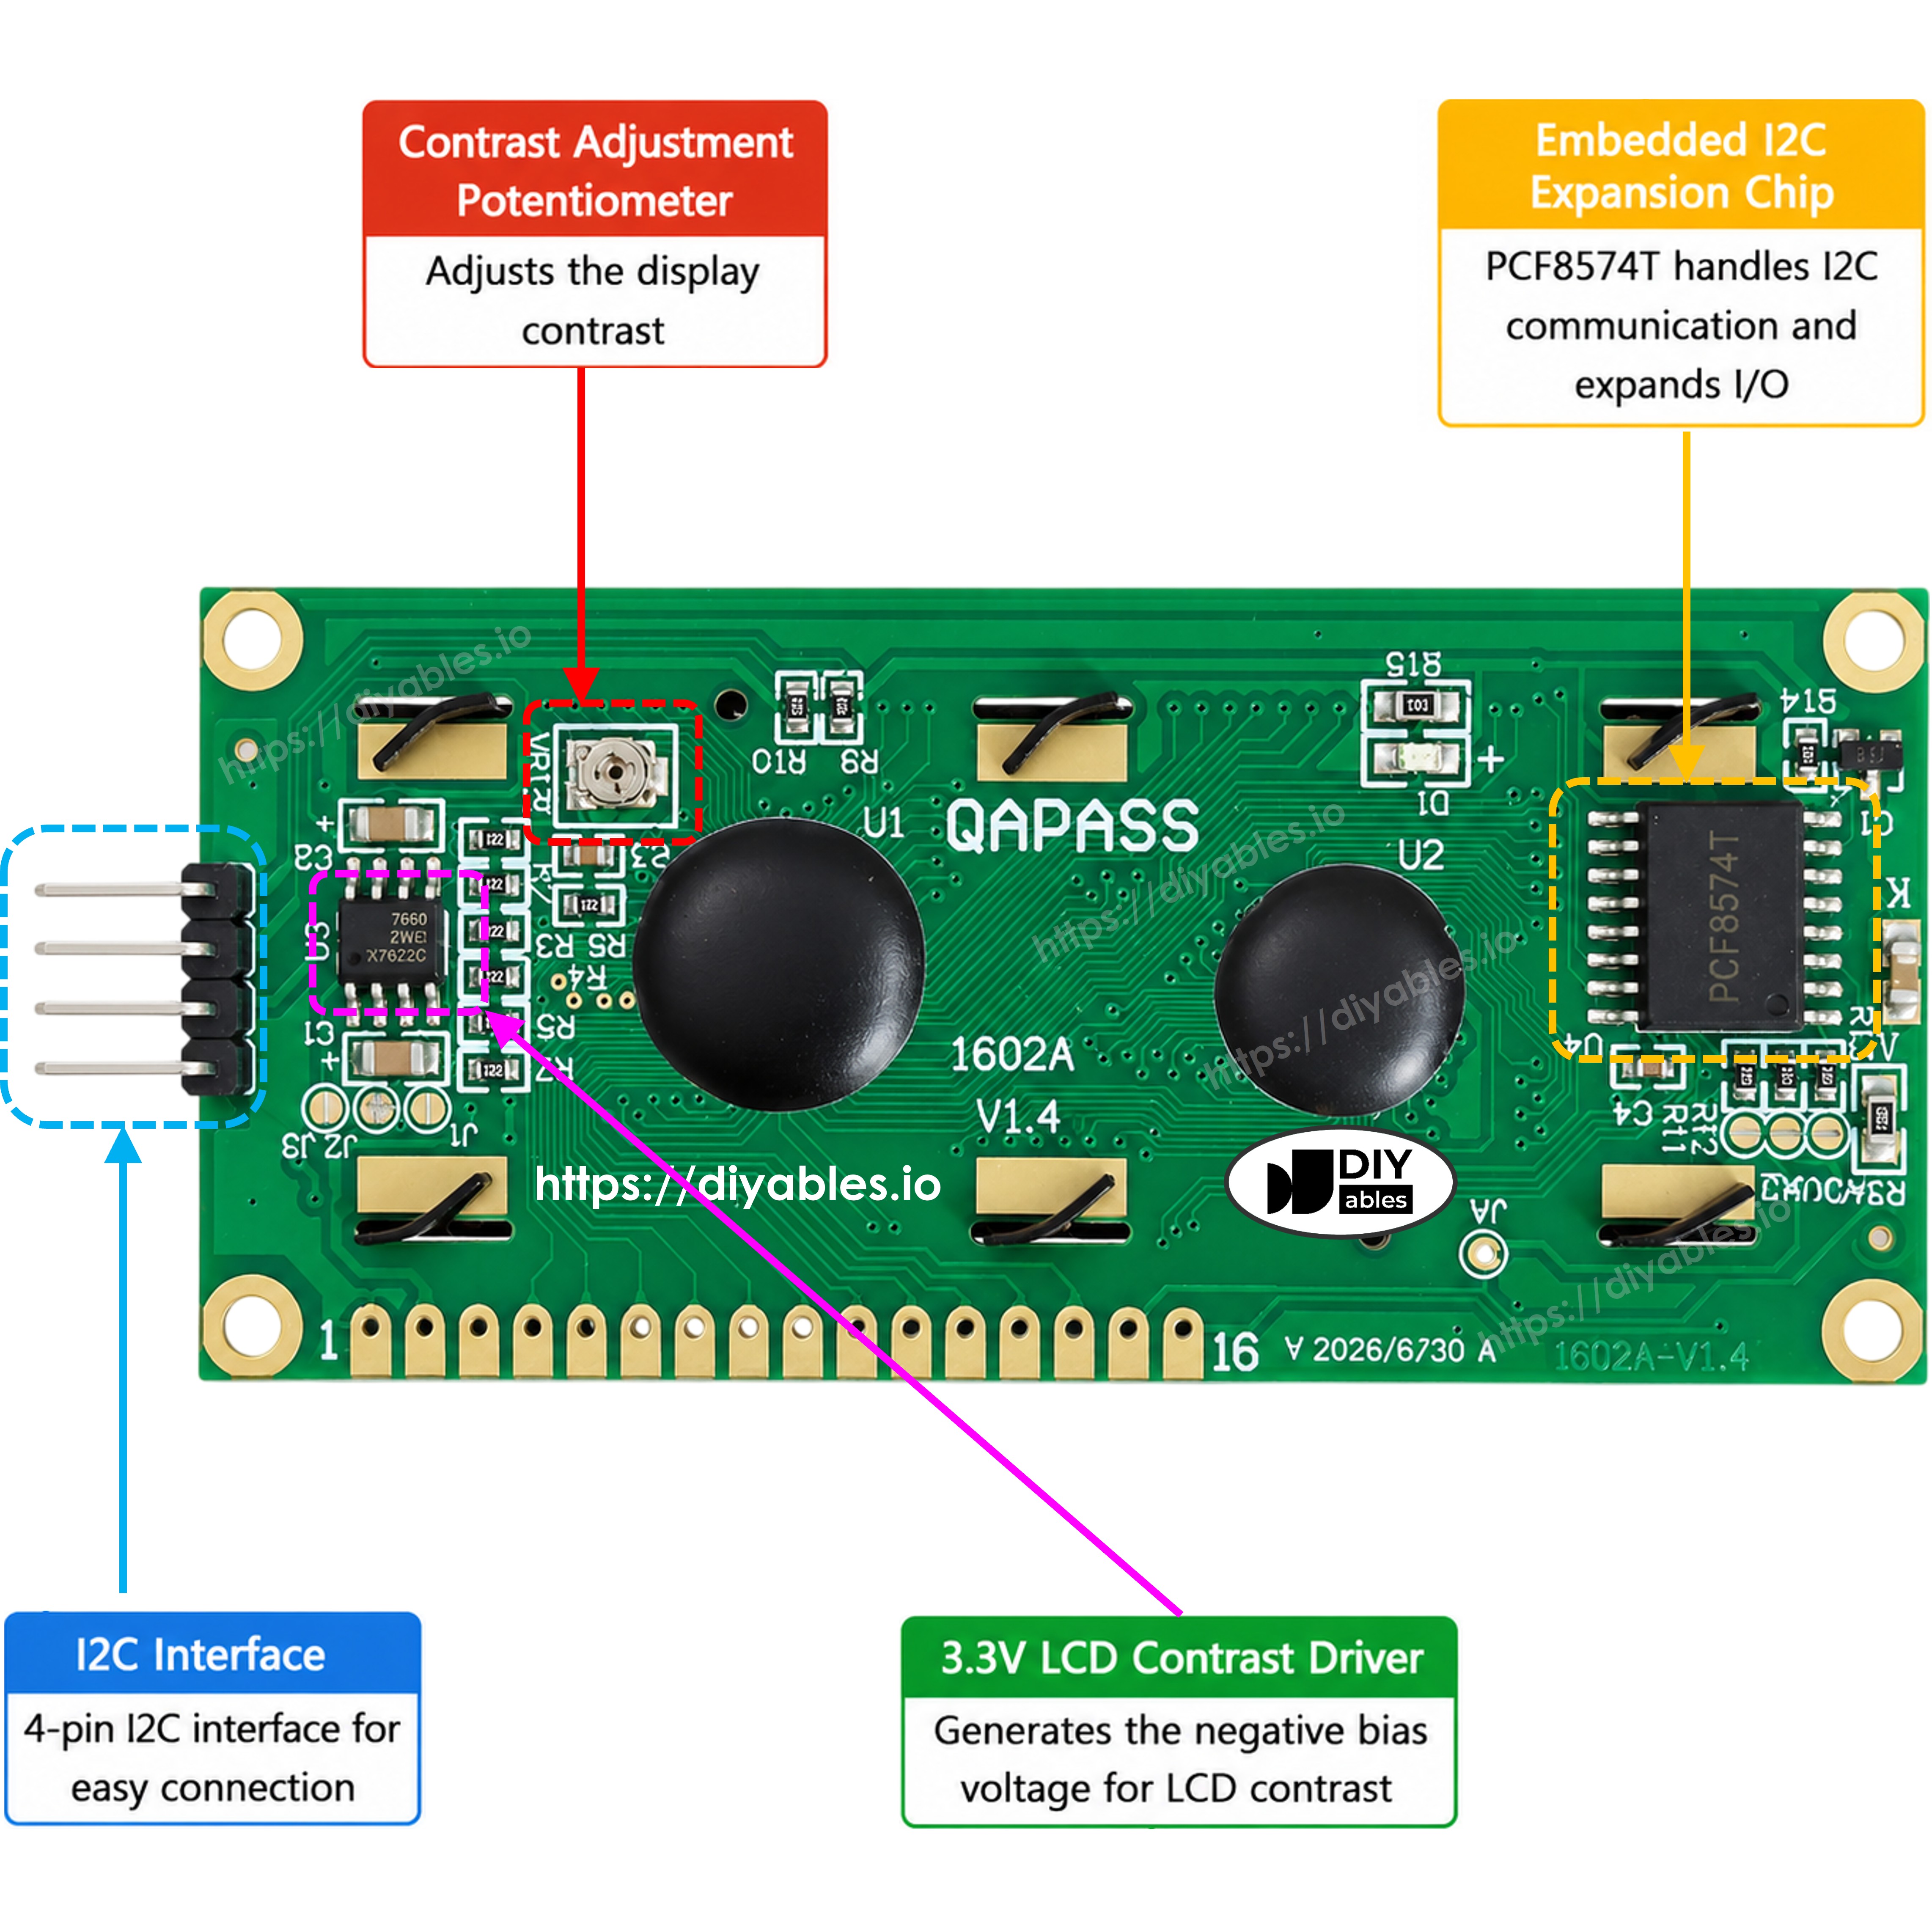
- Adjustable Contrast: Built-in potentiometer
- Programmable Backlight: ON/OFF control via code
- Standard I2C Address: 0x27
- Compact Size: 78mm × 34mm × 13mm (L × W × H)
- 5V Operation: +5V power supply
SPECIFICATION
| Specification | Value |
|---|---|
| Product Type | LCD Character Display with I2C |
| Display Size | 16x2 (16 columns, 2 rows) |
| Background Color | Blue |
| Interface | I2C (4 wires) |
| I2C Address | 0x27 |
| Supply Voltage | +5V |
| Contrast Adjustment | Potentiometer |
| Backlight Control | Programmable ON/OFF |
| Dimensions | 78mm × 34mm × 13mm (L × W × H) |
INTERFACE
- VCC pin: the power supply for the LCD, connect this pin to VCC (5V).
- GND pin: connect this pin to GND (0V).
- SCL pin: I2C clock signal pin, connect this pin to SCL of microcontroller
- SDA pin: I2C data signal pin, connect this pin to SDA of microcontroller
Tutorials
- Arduino - LCD I2C tutorial
- Arduino Uno R4 - LCD I2C tutorial
- Arduino Uno Q - LCD I2C tutorial
- Arduino Nano - LCD I2C tutorial
- Arduino Nano ESP32 - LCD I2C tutorial
- Arduino Nano 33 IoT - LCD I2C tutorial
- Arduino Mega - LCD I2C tutorial
- Arduino MKR WiFi 1010 - LCD I2C tutorial
- Arduino Giga R1 WiFi - LCD I2C tutorial
- Arduino MicroPython - LCD I2C tutorial
- ESP32 - LCD I2C tutorial
- ESP32-C3 Super Mini - LCD I2C tutorial
- ESP32-S3 - LCD I2C tutorial
- ESP32 MicroPython - LCD I2C tutorial
- ESP8266 - LCD I2C tutorial
- Raspberry Pi - LCD I2C tutorial
- Raspberry Pi Pico - LCD I2C tutorial
Arduino Example Code
Arduino Example Code - backlight enabled
/*
* This code is created by DIYables.io
* This code is released in the public domain
* For more detail, visit https://diyables.io/products/lcd-i2c-16x2-blue-background
*/
#include <DIYables_LCD_I2C.h>
DIYables_LCD_I2C lcd(0x27, 16, 2); // I2C address 0x27, 16 column and 2 rows
void setup() {
lcd.init(); // initialize the lcd
lcd.backlight();
lcd.setCursor(3, 0); // move cursor to (3, 0)
lcd.print("DIYables"); // print message at (3, 0)
lcd.setCursor(0, 1); // move cursor to (0, 1)
lcd.print("www.diyables.io"); // print message at (0, 1)
}
void loop() {
}
Arduino Example Code - backlight disabled
/*
* This code is created by DIYables.io
* This code is released in the public domain
* For more detail, visit https://diyables.io/products/lcd-i2c-16x2-blue-background
*/
#include <DIYables_LCD_I2C.h>
DIYables_LCD_I2C lcd(0x27, 16, 2); // I2C address 0x27, 16 column and 2 rows
void setup() {
lcd.init(); // initialize the lcd
//lcd.backlight();
lcd.setCursor(3, 0); // move cursor to (3, 0)
lcd.print("DIYables"); // print message at (3, 0)
lcd.setCursor(0, 1); // move cursor to (0, 1)
lcd.print("www.diyables.io"); // print message at (0, 1)
}
void loop() {
}
COMPATIBLE HARDWARE
- Arduino boards (UNO, Mega, Nano, etc.)
- ESP32 development boards
- ESP8266 (NodeMCU, Wemos D1, etc.)
- Raspberry Pi (all models)
- Raspberry Pi Pico
- Any 5V or 3.3V microcontroller with I2C interface